


3-14
Cisco Video Surveillance 5010/5011 Indoor Fixed HD IP Dome Camera User Guide
OL-22669-01
Chapter 3 Operation
Imaging Tab
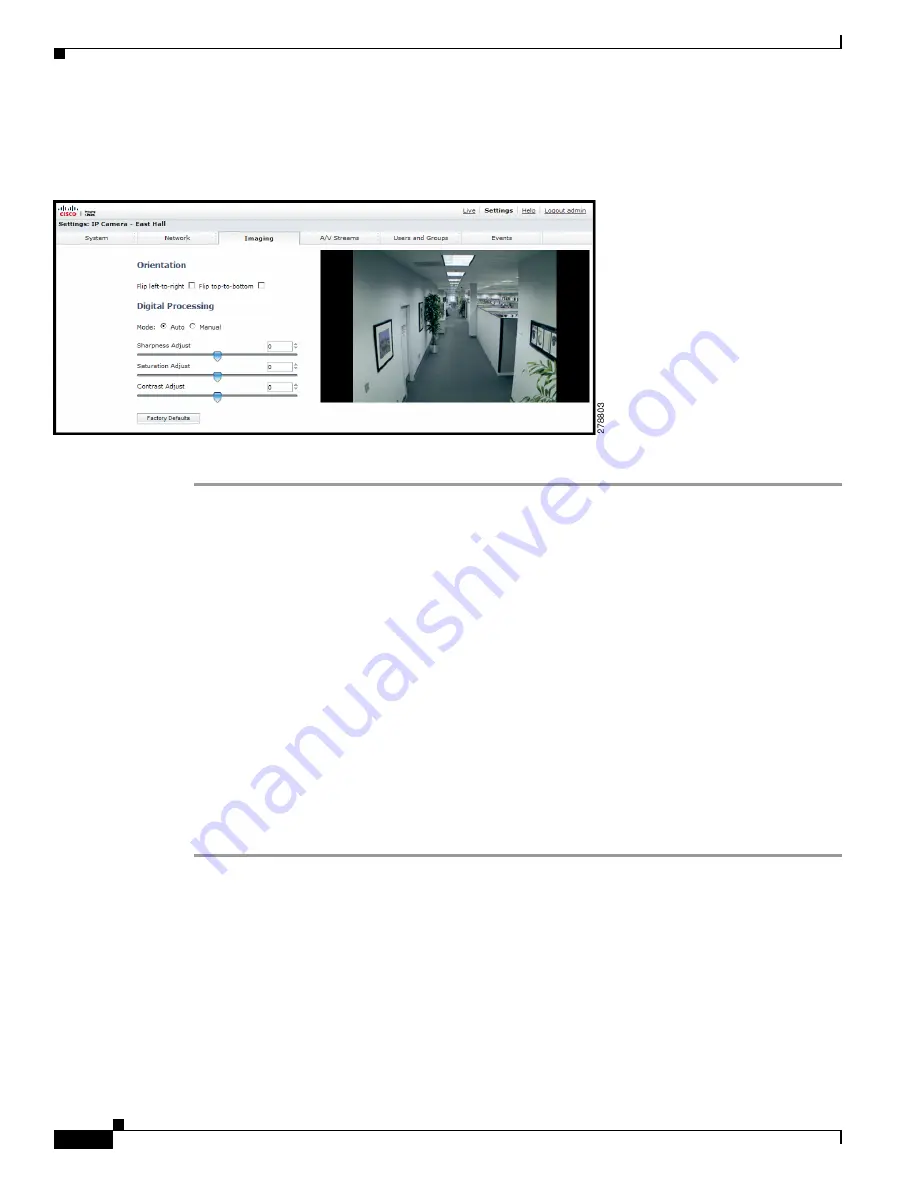
Changing the Digital Processing Settings
Figure 3-3
Digital Processing Page
Step 1
Place your mouse pointer over the Imaging tab.
Step 2
Select General from the drop-down menu.
Step 3
Select the mode: Manual or Auto. Auto is the default.
Step 4
Move the slider to the left or right to change the following settings:
•
Sharpness Adjust/Sharpness:
Controls the clarity of detail in a scene. Move the slider to the right
to increase the sharpness; move the slider to the left to decrease the sharpness. Increasing the
sharpness also increases the image noise. The auto range of adjustment is –100 to 100; the auto
default setting is 0 (zero). The manual range of adjustment is 0 to 100; the manual default setting is
50.
•
Saturation Adjust/Saturation:
Controls how intense or vivid the colors are in a scene. Move the
slider to the right to increase the saturation level; move the slider to the left to decrease the saturation
level. The auto range of adjustment is –100 to 100; the auto default setting is 0 (zero). The manual
range of adjustment is 0 to 100; the manual default setting is 50.
•
Contrast Adjust/Contrast:
Controls gradations between the darkest and lightest portions of the
scene. Move the slider to the right to increase the contrast; move the slider to the left to decrease the
contrast. The auto range of adjustment is –100 to 100; the auto default setting is 0 (zero). The manual
range of adjustment is 0 to 100; the manual default setting is 50.