background image


1.0 Introduction  

Thank you for purchasing the MN Series Timeclock, part of the uAttend

TM

 Employee Management 

System by Workwell Technologies, Inc. This document will guide you through the steps of setting up 
your uAttend account, setting up your Timeclock, and linking the Timeclock to your uAttend account. It 
will also give an overview of the features and functionality of the Timeclock 

PLEASE NOTE: 

The MN1000 and MN2000 Timeclocks share common functionality.  

In the following article, all references to the MN2000 are applicable to the MN1000.


To get started with uAttend, you will need to perform these tasks in the following order:  

1.


Create your uAttend account

, using the steps provided in Section 2. 

2.


Add Departments

, using the steps provided in Section 3 

3.


Add Employees

, using the steps provided in Section 4 

4.


Mounting Your MN2000,

 follow Section 5 to mount your Timeclock on a wall 

5.


Link the MN2000 to Your uAttend Account

 by following Section 6 

6.


Using your MN2000 


Section 7 contains an Overview of Timeclock Features and Operations 

7.


Enrolling Employees for Face Scan Clocking. 

After adding your Employees to your uAttend 

account, to complete the enrolment process, you will need to register their Faces (Face ID) on 
the Timeclock. Follow the guide in Section 8


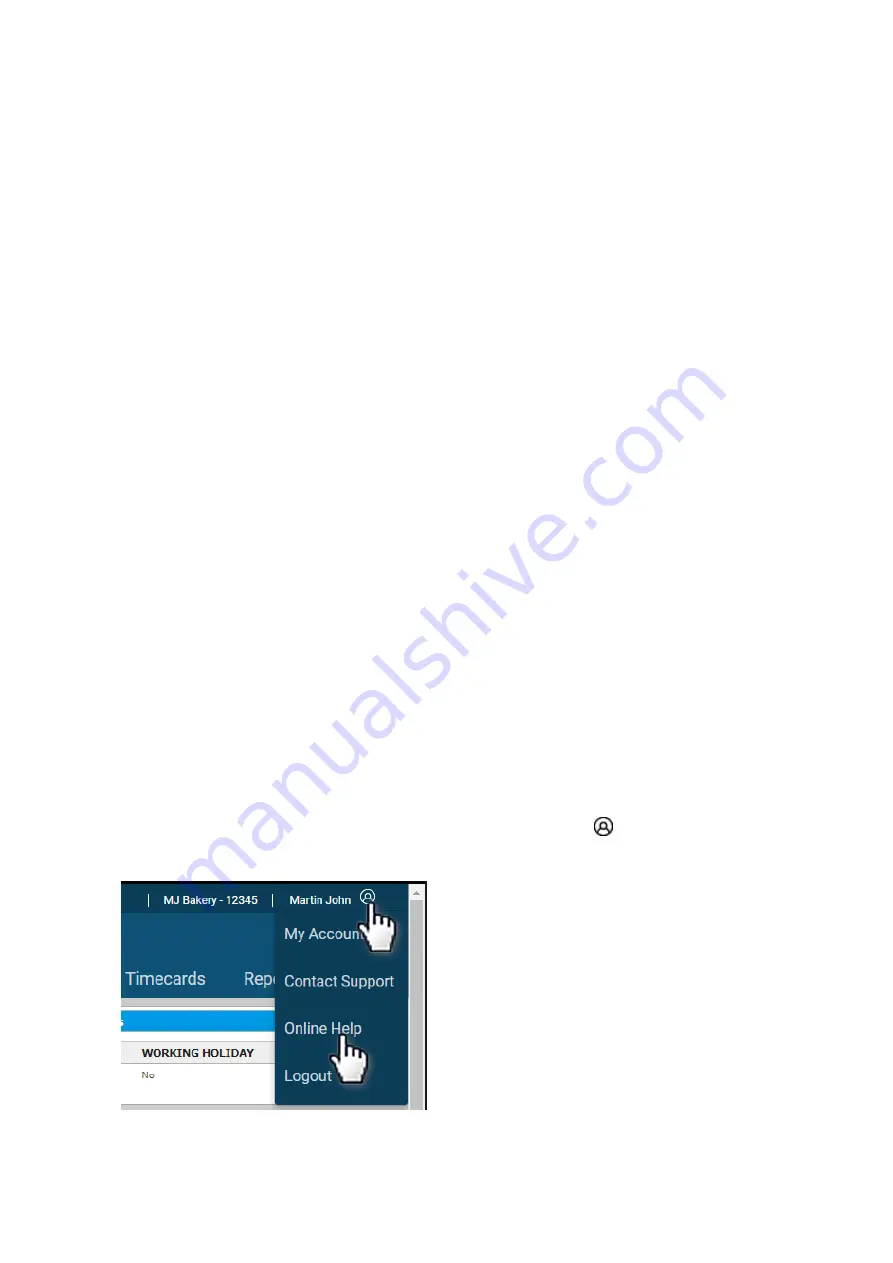
Once you have created your account, you will have access to the uAttend Online Help. The Help Pages 
will guide you through all of the features discussed in this guide and much more. 

The link appears in the upper-right corner of the uAttend screen. Click the 


icon and select “Online 

Help” from the dropdown options.


Our UK Support Team offer complimentary, online setup tutorials to get you up and running in no time.  
We recommend booking a session to ensure you make the most of the great features in uAttend. 


Summary of Contents for uAttend MN Series

Page 1: ...USER GUIDE For The MN Range Of Clocking Terminals...

Page 2: ...EES OTHER USERS 7 5 0 SETTING UP THE MN1000 2000 9 6 0 LINKING THE MN1000 2000 TO YOUR uATTEND ACCOUNT 10 6 1 CONNECTING TO YOUR ACCOUNT 10 6 2 SOLVING NETWORK ISSUES DURING SETUP 12 7 0 OVERVIEW OF T...

Page 3: ...steps provided in Section 4 4 Mounting Your MN2000 follow Section 5 to mount your Timeclock on a wall 5 Link the MN2000 to Your uAttend Account by following Section 6 6 Using your MN2000 Section 7 con...

Page 4: ...Dealer ID 3 Click the Right Arrow to Get Pricing You will be prompted to select a price plan that best suits your needs based on the number of employees who will use the system The plans are delivered...

Page 5: ...the service Enter the billing name billing address and credit debit card information that you wish to use This information will be stored on our system encrypted and secure for recurring monthly billi...

Page 6: ...ettings such as Clocking Rounding and Overtime on this screen or you may choose to enter that information later click Save Add New to add a new department or click Save Close How can I use Departments...

Page 7: ...ee users who are assigned to departments within uAttend and will be clocking in and out of the system Supervisor are uAttend account managers who are assigned departments for which they are responsibl...

Page 8: ...t 11 Face ID If the employee will use their Face to clock a unique six digit Face ID is required Registering a facial recognition template requires interaction with both your uAttend account and the T...

Page 9: ...your face inside the green box a yellow box appears to denote the area being scanned Do not allow waiting Employees to queue close behind the individual who is clocking If more than one face is in vi...

Page 10: ...Attend Company ID You can find your five digit company ID number at the top of any screen within your uAttend account If you have not yet created a uAttend Account please follow the instructions in Se...

Page 11: ...ezone by tapping the up and down arrows at the top of the screen 6 Your Clock is now setup and has been automatically added to your uAttend account After the confirmations message you will see the Hom...

Page 12: ...ard 1 Once the Timeclock has initialized and has been unable to connect to the uAttend Servers you will see this onscreen message 2 Pressing Settings and then LAN Settings 3 DHCP is ON by default You...

Page 13: ...nition PIN If you press the PIN button you can enter a PIN to clock in The PINs are set up through the user s profile in your uAttend account 7 2 Using the Timeclock Menus There are two main menus ava...

Page 14: ...ber 22 1984 would be registered as 221084 For larger workgroups of over 100 employees it may be advisable to use a sequential numbering schema For example assign IDs 100001 to your first Employee and...

Page 15: ...attempt to log in to trackmytime co uk the login form refreshes This indicates that the username password combination that you entered was not correct If you have forgotten your username and or passwo...

Page 16: ...o uk v2onlinehelp Please Note Your Dealer ID can be found in the orange label on the uAttend product box If you have already purchased a uAttend subscription your Dealer ID was emailed to you uAttend...

Reviews: