We have the right to improve and update the machine.
The picture and the content are just for your reference.
IN20808
2017 © Chief Automotive Technologies
CO9910.4
Rev. - 2/09/17
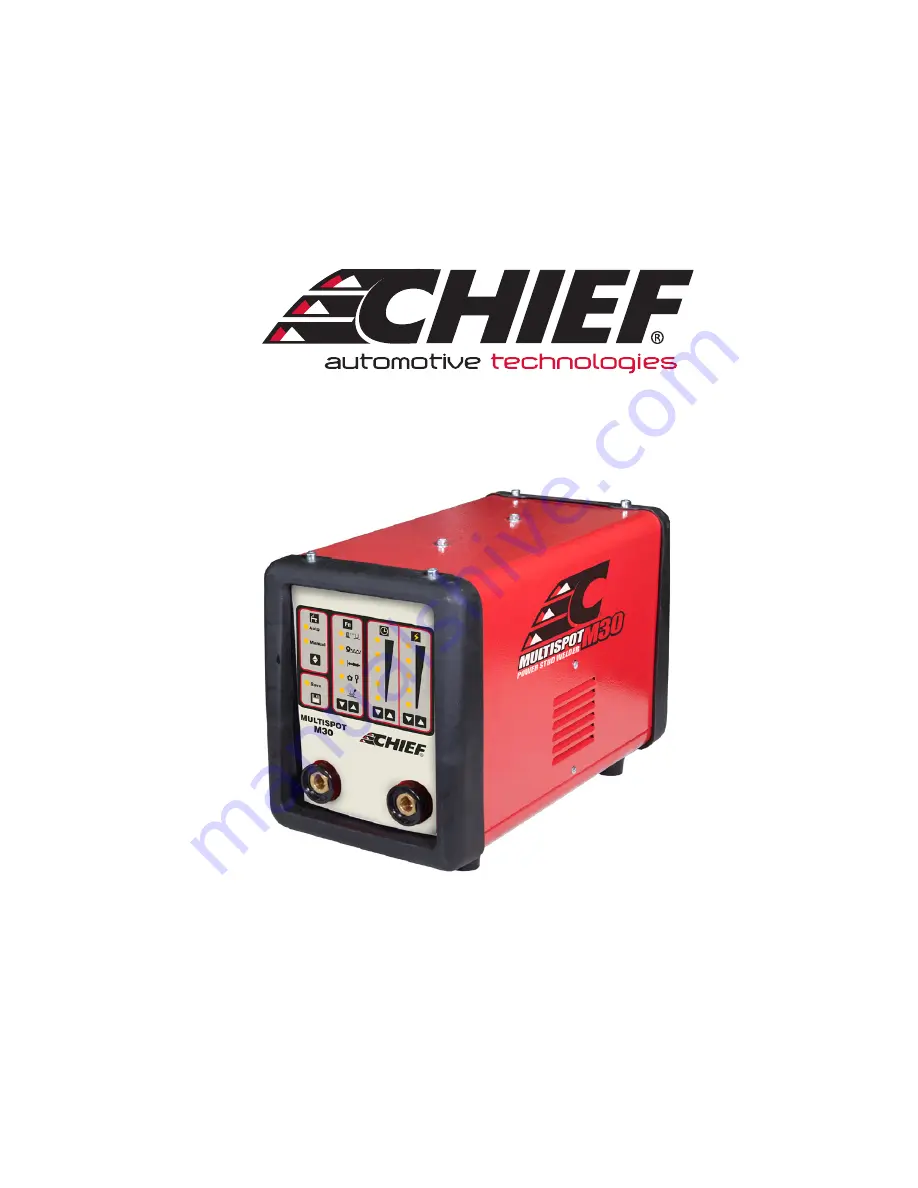
M30 SPOT WELDER
INSTRUCTION MANUAL
230V 1PH.
Page 1: ... the right to improve and update the machine The picture and the content are just for your reference IN20808 2017 Chief Automotive Technologies CO9910 4 Rev 2 09 17 M30 SPOT WELDER INSTRUCTION MANUAL 230V 1PH ...
Page 2: ...event gases from forming in the work area ARC RAYS May injure the eyes and burn the skin Protect your eyes with welding masks fitted with filtered lenses and protect your body with appropriate safety garments Protect others by installing adequate shields or curtains RISK OF FIRE AND BURNS Sparks sprays may cause fires and burn your skin be sure there are no flammable materials in the area and wear...
Page 3: ... damaged parts Should there be a claim for losses or damages it must be made by the purchaser directly to the shipper who handled the goods When requesting information about this welding machine please state the machine s part number and serial number to ensure receiving accurate information relating to your machine 2 2 DESCRIPTION OF TECHNICAL SPECIFICATIONS The contents are for your reference Pr...
Page 4: ... clamp to the work to be welded Make sure the ground clamp is tightly fastened to the work return cable and periodically check this connection remains well tightened A loose connection can cause weld current drops or overheating of the work return lead and clamp which creates the risk of burns from accidental contact with the work return lead The weld circuit must not be placed deliberate ly in di...
Page 5: ...for choice Auto mode and Manual mode B Save Save the customer setting The machine will load the save settings every operation C D Welding function selection Press C and D for 2 seconds the machine will clear the save settings E F Welding time adjustment Adjust the welding timer the larger number the longer welding time G H output power adjustment The larger number the higher output power ...
Page 6: ...piece are still contacting the machine will show an error warning The power indicator LED will blink indicating an error you must lift the torch from the work piece before resuming welding 2 Manual mode Contact the torch to the work piece and press the torch switch the machine will begin welding If the user selects the welding timer the machine will stop welding when the welding time is up If the ...
Page 7: ...ck the stud welding strength If the strength is not sufficient adjust the torch pressure recharge and repeat the steps Traditional method such as rivets lock screws and common welding typically damages the base metal The stud welding process does not damage the base metal Using this specific welding function heat will not affect the back side of work piece The back of the work piece will have a go...
Page 8: ...making a good connection Keep the stud screw contacted to the base metal vertically 90 degrees 7 The stud welding voltage is not correct 8 The capacitor is damaged or limiting voltage 9 Welding torch must not have movement when welding All feet must contact base metal 10 Stud screw extends too long or too short from the stud clamp 11 Base metal has distortion dented or has moved while welding 12 M...
Page 9: ...ual 2T Ctrl 2 Set output current low current 3 Press the torch trigger The output power is ON continually If torch trigger is released the output power is OFF Spot welding S Do not use this function continuously for long periods of time transformer damage may occur ...
Page 10: ...NOTES 10 ...
Page 11: ...NOTES 11 ...
Page 12: ...996 Industrial Dr Madison IN 47250 Phone 800 445 9262 Fax 866 275 0173 www chiefautomotive com Chief reserves the right to alter product specifications and or package components without notice ...