background image

7

bestimmungen treffen oder bei Verletzungen von 
Leben, Körper oder Gesundheit. Die vorliegende 
Anleitung ist nur gültig für das mitgelieferte Pro-
dukt.

Weitere Informationen darüber sind bei den jeweili-
gen Cherry Distributoren oder direkt über die 
Cherry GmbH erhältlich.

Vorsicht! Explosionsgefahr bei unsachgemäßem 
Austausch der Batterien.

ProMouse wireless 
optical

M-8800

1

Setting up the devices

1.1

Removing battery insulation from the 
mouse

The batteries of the mouse are already inserted. 
The contacts are insulated with a yellow strip to 
prevent the batteries from discharging.

You do not need to open the battery compartment.

Pull the yellow strip from the battery compart-
ment.

1.2

Connecting the receiver to the PC

Insert the receiver into any desired USB port on 
your PC.

2

Installation of the Cherry 

KeyM@n

 software

The Cherry 

KeyM@n

 software is a powerful and 

extensive program. By using this software, you can 
assign links, programs, system functions and even 
any text you desire to the mouse buttons. You can 
thereby call up frequently used functions by pres-
sing a key.

2.1

Installing KeyM@n software in Win-
dows 98/ME/2000/XP

1 Place the Cherry CD in your CD-ROM drive.

The CD-ROM starts automatically. The 

Installa-

tion

 window is displayed.

2 If the CD-ROM does not start automatically, 

click the CD-ROM drive in Windows Explorer 
and then the 

Start.exe

 start file.

The 

Installation

 window is displayed.

3 Click on the Cherry product for which you would 

like to install the software.

The installation begins.

4 Follow the installation instructions on the screen.

The Cherry 

KeyM@n

 software is installed.

Running the Cherry KeyM@n software

You can run the Cherry 

KeyM@n

 software by the 

following means:

Start/Programs/Cherry Keyboard Manager/
Mouse properties

Start/Settings/Control Panel/Mouse

3

Recharging the batteries

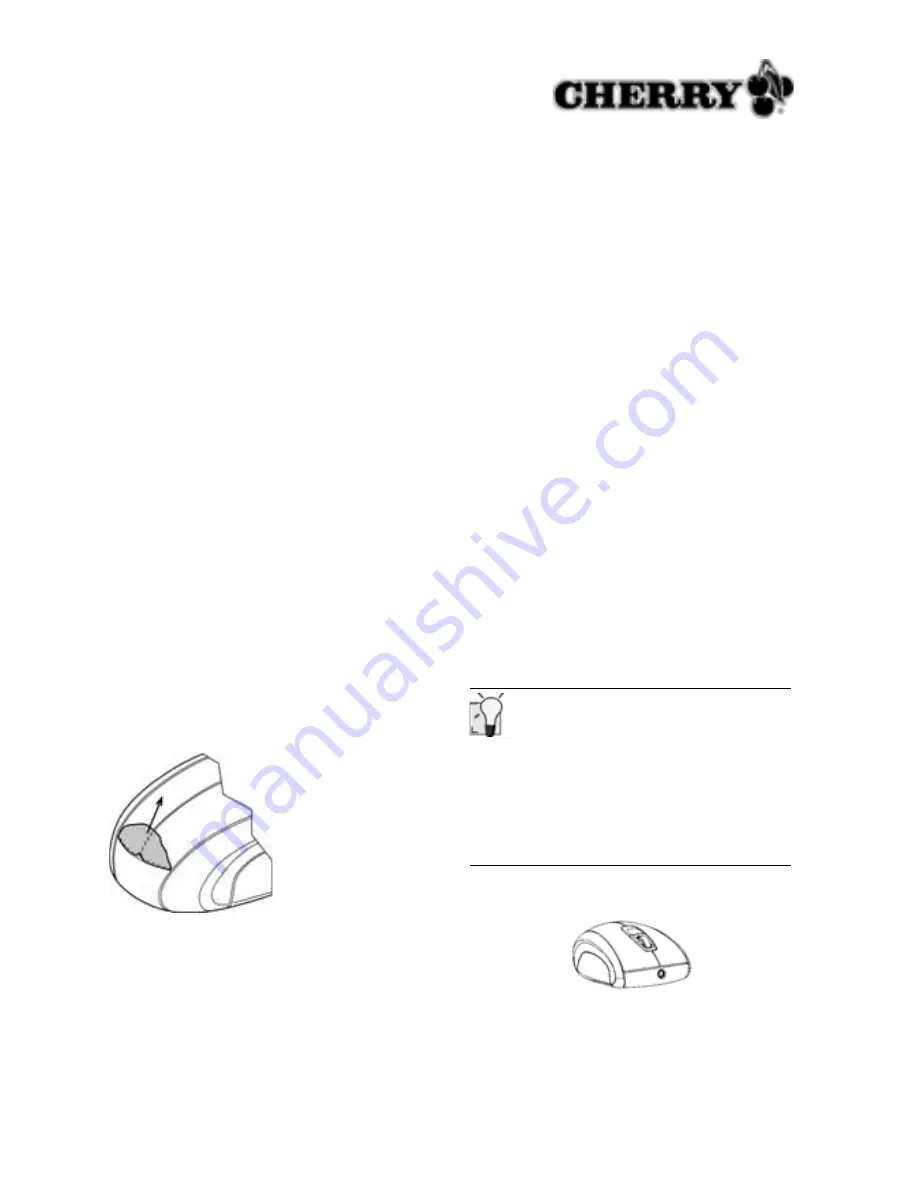
1 Insert the hollow connector of the charging cable 

into the socket on the front of the mouse.

Summary of Contents for ProMouse M-8800

Page 1: ...endruck aufrufen 2 1 Software KeyM n unter Windows 98 ME 2000 XP installieren 1 Legen Sie die Cherry CD in Ihr CD ROM Lauf werk Die CD ROM startet automatisch Das Fenster Installation erscheint 2 Wenn...

Page 2: ...li Batterien der Maus nur ber das Ladekabel 2 Verwenden Sie kein externes Ladeger t 4 Funktionen der Maus nutzen Voraussetzung f r eine optimale Nutzung Eine helle strukturierte Fl che als Mausunter g...

Page 3: ...n Druck auf eine Maustaste oder Bet ti gung des R dchens schaltet die Maus wieder ein Kleine DIP Schalter Aufgrund der kompakten Baugr e sind vor allem die DIP Schalter der Maus sehr klein Verwenden S...

Page 4: ...en Schalter zur Positionsziffer hin OFF Schalter von der Positionsziffer weg ON 3 Aktivieren Sie die Verschl sselung erneut Siehe Kap 5 1 Verschl sselung aktivieren 6 1 Sendefrequenzen Werksseitig sin...

Page 5: ...eine Maus vorhanden ist und deinstallieren Sie diese DIP Schalter Reichweite 7 8 OFF OFF Gering ON OFF Mittel OFF ON Hoch ON ON Maximal 2 Pr fen Sie ob der angemeldete Benutzer am PC die Rechte hat di...

Page 6: ...itte halten Sie bei Anfragen an den Technischen Support folgende Informationen bereit Artikel und Serien Nr des Produkts Bezeichnung und Hersteller Ihres PCs Note books oder Motherboards Betriebssyste...

Page 7: ...werful and extensive program By using this software you can assign links programs system functions and even any text you desire to the mouse buttons You can thereby call up frequently used functions b...

Page 8: ...e alkaline batteries of the mouse with the charging cable only 2 Do not use an external charging unit 4 Using the functions of the mouse Prerequisite for optimal use Using the mouse on a bright textur...

Page 9: ...n or actuating the wheel switches it back on Small DIP switches The DIP switches of the mouse in particular are very small due to the compact size Use a pointed object to change the switch setting 1 O...

Page 10: ...position digit ON 3 Reactivate encryption See Chap 5 1 Verschl sselung aktivieren 6 1 Transmission frequencies The devices are factory set to channel 1 Switch toward position digit OFF Switch away fr...

Page 11: ...stall it DIP switch Range 7 8 OFF OFF Minimum ON OFF Average OFF ON High ON ON Maximum 2 Check whether the user logged in on the PC has the rights to install the software example admi nistrator rights...

Page 12: ...hand when contacting technical support Item and serial No of the product Name and manufacturer of your PC notebook or motherboard Operating system and if applicable installed service pack version 12...

Page 13: ...du texte quelconque aux touches de la souris Vous pouvez ainsi appeler d un acti onnement de touche des fonctions fr quemment utilis es 2 1 Installation du logiciel KeyM n sous Windows 98 ME 2000 XP...

Page 14: ...uris uniquement l aide du c ble de chargement 2 N utilisez pas de chargeur externe 4 Utiliser les fonctions de la souris Conditions pour une utilisation optimale L utilisation de la souris sur une sur...

Page 15: ...ouris apr s une p riode d inactivit de 17 minu tes La dur e de vie des piles en est prolong e d env 15 Une pression sur une touche de la souris ou l actionnement de la roulette remet la souris en serv...

Page 16: ...position des commutateurs DIL 1 4 de la souris selon le tableau au chap 6 1 Sendefrequenzen Commutateur sur le chiffre de position OFF Commutateur cart du chiffre de position ON 3 Activez nouveau le...

Page 17: ...tres appareils 2 4 GHz il est judicieux de modifier la fr quence d mis sion Voir chap 6 Sendefrequenz einstellen Commuta teur DIL Port e 7 8 OFF OFF Faible ON OFF Moyenne OFF ON Elev e ON ON Maximale...

Page 18: ...ax 30 mA Dur e de service avec piles charg es env 3 mois pour une utilisation bureautique typique Dur e de chargement env 12 18 h Canaux de fr quence 16 Port e 20 m dans un environnement optimal Puiss...

Page 19: ...on FCC Radio Frequency Interference Statement Information to the user This equipment has been tested and found to comply with the limits for Class B digital device pursuant to Part 15 of the FCC Rules...

Page 20: ...20 13 3 CE Konformit tserkl rung CE Declara tion of Conformity D claration de confor mit CE...

Reviews: