27
27
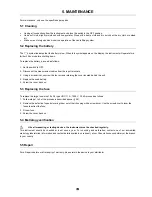
5. MAINTENANCE
For maintenance, only use the specified spare parts.
5.1 Cleaning
Unplug all connections from the instrument and place the switch in the OFF position.
Use a soft cloth slightly moistened with soapy water. Rinse with a damp cloth and dry quickly with a dry cloth or pulsed
air.
Make sure no foreign bodies hinder the operation of the cable fitting system.
5.2 Replacing the battery
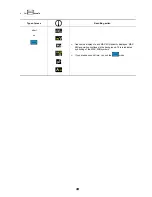
The
symbol indicates that the battery is low. When this symbol appears on the display, the instrument will operate for a
further 20 hours before shutting down.
To replace the battery, proceed as follows:
1. Set the switch to OFF.
2. Disconnect the measurement cables from the input terminals.
3. Using a screwdriver, unscrew the four screws retaining the cover located behind the unit.
4. Replace the used battery.
5. Screw the cover back on.
5.3 Replacing the fuse
To replace the large fuse: size 10 x 38 type HRC, 11 A, 1000 V, 30 kA, proceed as follows:
1. Follow steps 1 to 3 of the procedure described above (§ 5.2).
2. Remove the defective fuses by levering them out of their housing with a screwdriver. Use the screwdriver to lever the
fuses to extract the fuse.
3. Fit new fuse.
4. Screw the cover back on.
5.4 Metrology verification
Like all measuring or testing devices, the instrument must be checked regularly.
This instrument should be checked at least once a year. For checking and calibration, contact one of our accredited
metrology laboratories (information and contact details available on request), at our Chauvin Arnoux subsidiary or the branch
in your country.
5.5 Repair
For all repairs before or after expiry of warranty, please return the device to your distributor.

