Chassis Plans CPX1-241 Technical Reference
Appendix F – Network Connection
Page 60
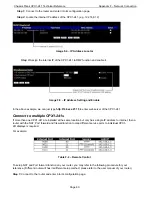
Step 1:
Connect to the router and enter into its configuration page.
Step 2:
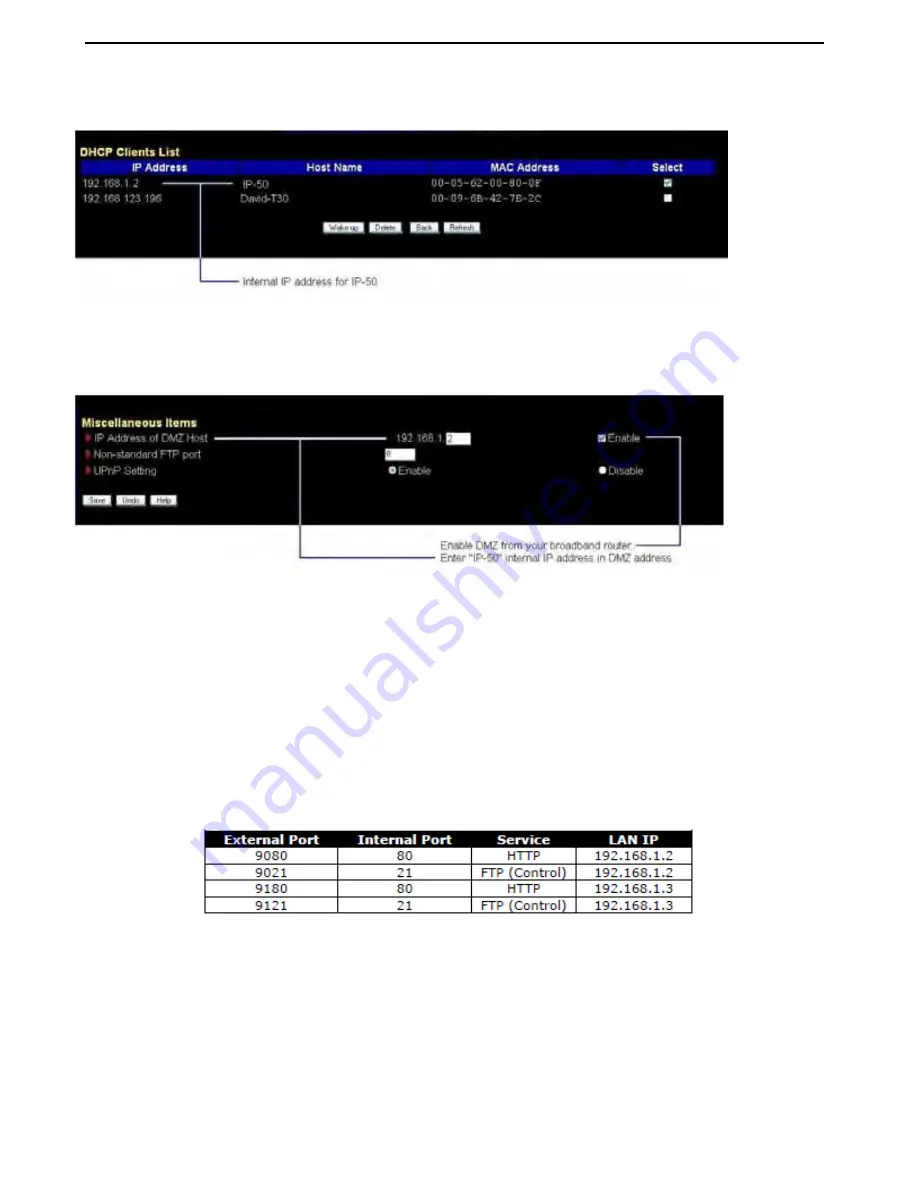
Locate the internal IP address of the CPX1-241. (e.g. 192.168.1.2)
Image F-4 – IP Address Locator
Step 3:
Assign the internal IP of the CPX1-241 to DMZ function and enable it
.
Image F-5 – IP Address Setting and Enable
In the above example, we can just type
http://148.xxx.27.15
to enter web server of the CPX1-241.
Connect to multiple CPX1-241s
If more than one CPX1-241 are installed at the same location but only has a single IP address to internet, then a
router with the NAT, Port forward and firewall function to map different service ports to individual CPX1-
241displays is required.
For example:
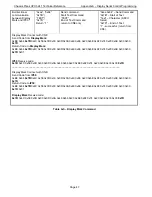
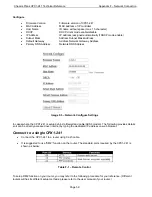
Table F-2 – Remote Control
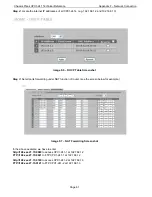
To setup NAT and Port forward function on your router, you may refer to the following procedure for your
reference. (Different router will has its different setup method; please refer to the user manual of your router.)
Step 1:
Connect to the router and enter into its configuration page.


