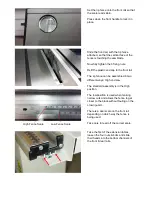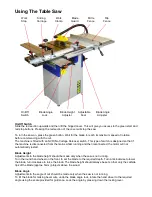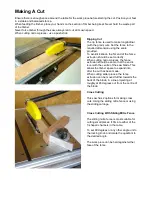
High Fence Scale Low Fence Scale
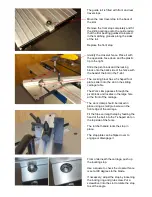
Set the rip fence onto the front rail so that
the scale reads Zero.
Press down the front handle to lock it in
place.
Slide the front rail, with the rip fence
attached, so that the vertical face of the
fence is touching the saw blade.
Now fully tighten the 3 fixing nuts.
Refit the plastic end cap to the front rail.
The rip fence can be assembled in two
different ways; High and Low.
The standard assembly is in the High
position.
The low position is used when making
narrow cuts and allows the fence to get
closer to the blade without fouling on the
crown guard.
There is a dual scale on the front rail
depending on which way the fence is
being used.
Take care to read off the correct scale.
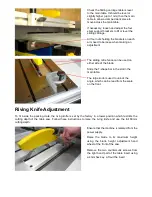
Take the first of the extension tables,
loosen the four nuts & bolts and slide
their heads into the bottom channels of
the front & rear rails.


