


22
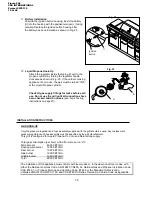
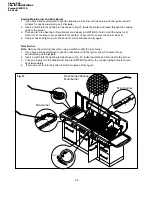
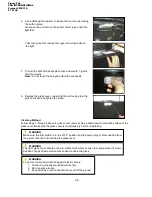
Using the Rear Burner
Your grill is capable of performing back burner rotisserie cooking. Light the rear burner as described in
the Lighting Instructions on page 22. Once lit, the rear burner will reach cooking temperature in about 1
minute.
Rotisserie kits are sold as accessory items. Please follow the rotisserie kit directions for proper use.
The rotisserie motor must be electrically grounded in accordance with local codes or, in the absence of
local codes, with the National Electrical Code, ANSI/NFPA 70.
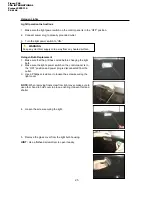
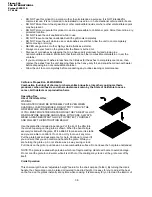
Using the Infrared Searing Main Burner
The infrared searing main burner produces intense heat to “sear” the outside of the food ,which likes the
flavorful juices inside. To properly use, cook each side of the meat for 1-5 minutes depending on food
type. Once the outside of the meat has been seared, move to the main cooking area to finish cooking the
inside to the desired level.
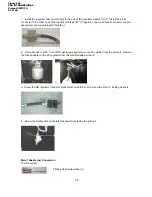
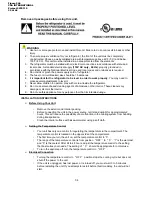
Lighting Instructions
Before Lighting
Inspect the gas supply hose prior to turning on the gas. If there is evidence of cuts, wear, or abrasion, it
must be replaced prior to use.
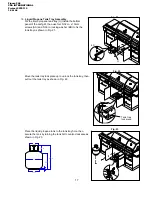
Screw the regulator (type QCC1) onto the cylinder, and leak check the hose and regulator connections
before operating the grill (See the “Leak Testing” instructions on page 20).
Only the pressure regulator and hose assembly supplied with the unit should be used. Never substitute
regulators. If a replacement is necessary, contact customer service for proper replacement.
WARNING
Do not use the grill if the odor of gas is present. Contact customer service at 1-877-323-5263.
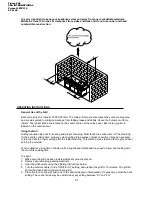
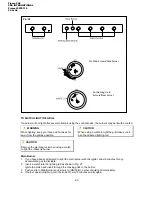
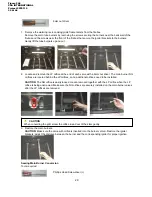
TO LIGHT THE MIAN BURNERS
1. Make sure all the knobs are in the “OFF” position, and then turn the Liquid Propane cylinder valve
“ON” by slowly turning counterclockwise.
2. Open the lid, push and turn Main Burner knob slowly to IGNITE/HI, burner should light immediately.
3. If burner does not light up after step 2, turn the knob off, wait 5 minutes, and repeat the lighting
procedure above or light by match.
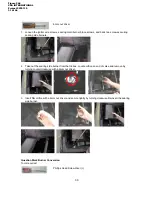
TO LIGHT THE SEARING MAIN BURNER OR REAR BURNER
1. Push and turn the Searing or Rear Burner knob slowly to IGNITE/ON, hold in until the burner is lit.
Once it is lit, continue to press and hold for another 15 seconds to ensure the burner stay lit.
2. If burner does not light up, turn the knob off and repeat the lighting procedure.
3. If burner does not light up after Step 2, turn the knob off, wait 5 minutes, and repeat the lighting
procedure or light by match.
TO LIGHT THE SIDE BURNER
1. Push and slowly turn the Side Burner knob to IGNITE/HI position, the corresponding burner should be
lit immediately.
2. If burner is not lit, turn the knob to off and repeat the lighting procedure.
3. If burner does not light up after step 2, turn the knob off, wait 5 minutes, and repeat the lighting
procedure or light by match
Figure 246
CSA INTERNATIONAL
Project 2078110
23 of 46