3
Talk Button:
To talk, hold down the Talk button and
all intercoms in the network will receive the signal.
When holding down the Talk button on a different
intercom, a secure channel is created and the other
intercoms in the network do not hear the
conversation.
Clear Memory:
Press and hold Learn button, an
initial beep will be heard. Continue to hold until a
second beep is heard (about 15 seconds). If an
intercom signals during clearing mode, the process
will have to be repeated. Once memory is clear the
intercom can be programmed to a new network.
Battery:
The AA Alkaline batteries (not provided) will
last up to a year depending on use (Lithium batteries
recommended for colder environments).
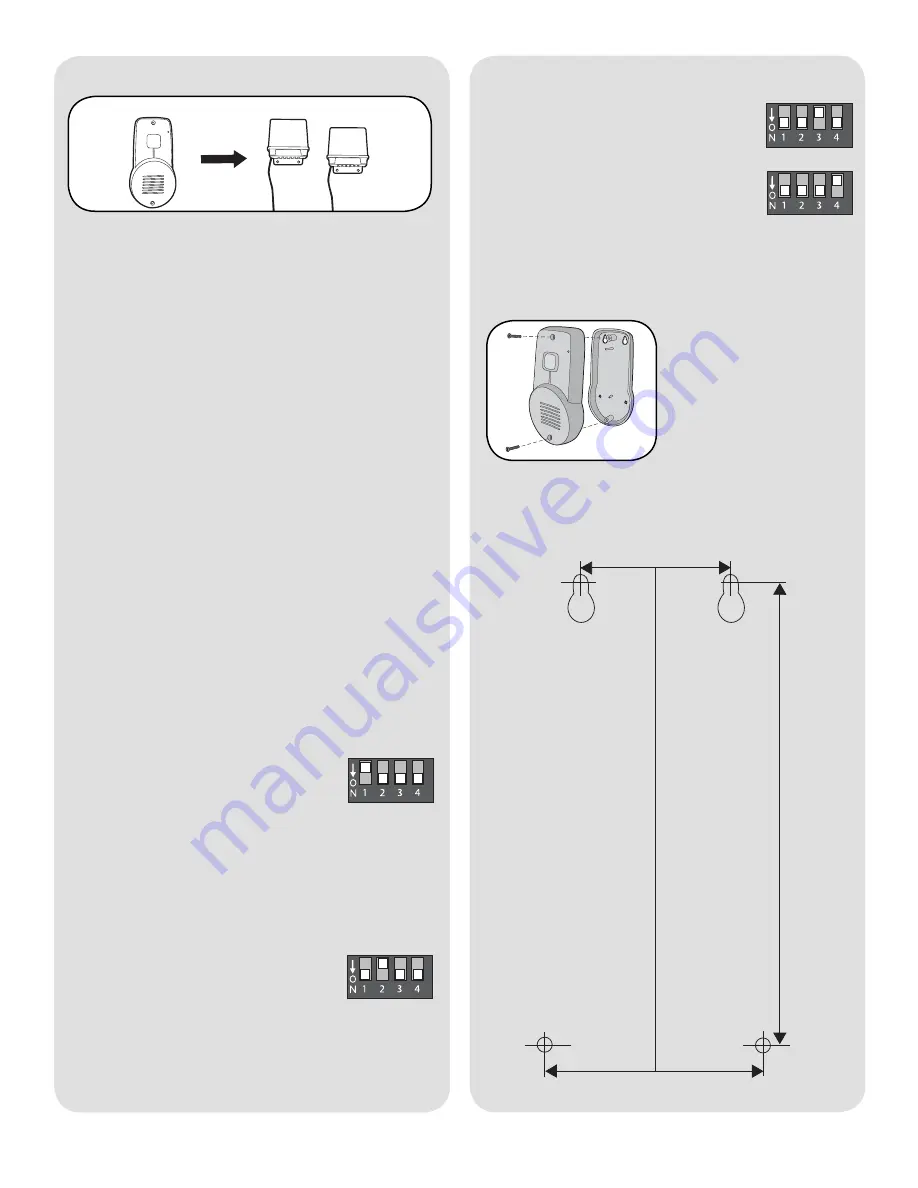
Switch 1:
Switch 1 sets the Active or
Passive Mode. If the intercom is in
Active Mode, only one other Passive
device may be added to the network.
If the intercom is in Passive Mode, the Active device
defines the number of additional devices that can be
added to the network (refer to the Active device
owner’s manual for the maximum number of
additional devices).
Default is Active.
Switch 2:
Switch 2 is the device
identifier. When the intercom is
programmed into a network, the
switch 2 setting will produce a different
chime pattern.
When the intercom is networked with an OTIU,
switch 2 setting determines the information displayed
in the telephone’s call ID display.
Operation
Secure cover with the two
large black screws.
Secure Cover
1 3/8"
4 1/4"
2"
Mounting Template
Switch 3:
Switch 3 controls Intercom
sensitivity. To increase sensitivity on the
intercom set Dipswitch #3 to OFF.
Switch 4:
Switch 4 controls volume. To
increase the intercom volume, set
NOTE:
Repeaters are optional and should be used
only if there is a problem with range.
Step 1:
Press the Learn button on the Intercom until
a beep is heard.
Step 1:
Within 15 seconds, press Learn button on
ONE
Repeater. LED will light.
NOTE:
If Repeaters have not been programmed into
a network, see Repeater manual for programming
instructions.
Repeater Set


