HELPLINE NO 08448012949
10
OrIgINaL INstructIONs
Fig. D
OPEratION
1. rELEasINg tHE saw HEad
(see E1, E2)
When boxed or during storage,
transportation, the saw head is locked in the
down position. To release the head ready
for operation, apply downward pressure and
pull out the lock pin (b), then turn 90° left
or right to lock it in place. The head will be
raised gently to upper position.
Fig. E1
Fig. E2
b
a1
2
Fig. B4
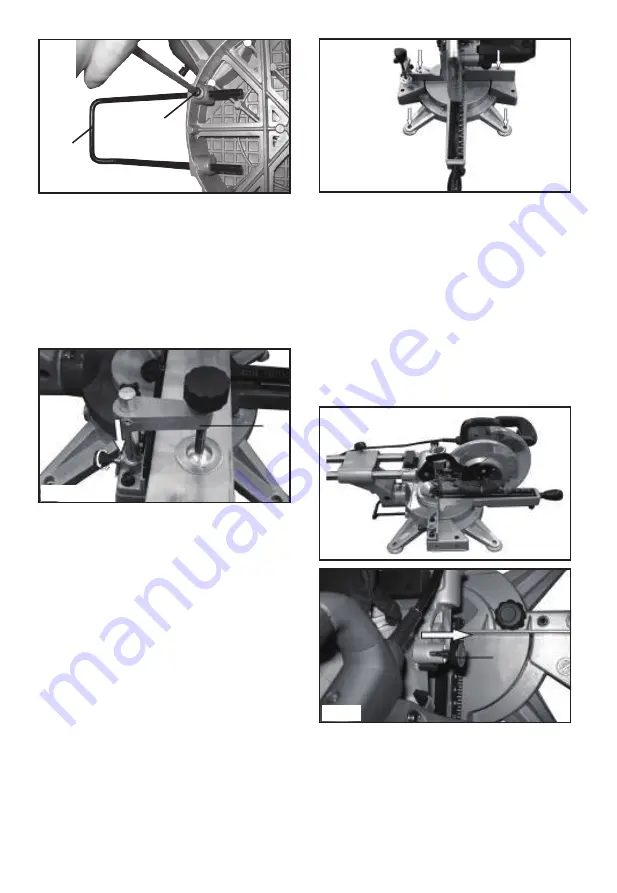
4. wOrK cLaMP (a2) (see c)
1) The work clamp can be fitted on either
side of the saw and is fully adjustable to
suit the size of the workpiece.
2) do not operate the saw without
clamping the workpiece.
3) Make sure that the work clamp
securing screws are tightened.
a2
Fig. C
5. MOuNtINg HOLEs (see d)
Before use, the saw can be fixed to a firm,
level surface with the 4 mounting bolts (not
supplied).
Four holes are provided in the base of the
saw to enable it to be fixed to a bench, or
other supporting surface.
To mount the saw, proceed as follows:
1) Locate and mark where the saw is to be
mounted.
2) Drill 4 holes through the surface.
3) Place the sliding miter saw on the surface
aligning holes in base with holes drilled in
the surface. Install bolts, washers and hex
nuts.
Summary of Contents for BMS210MS.1
Page 1: ...1700W 210mm Sliding Mitre Saw with Laser BMS210MS 1 ORIGINAL INSTRUCTIONS...
Page 18: ......
Page 19: ......
Page 20: ......


