Inflation & Anchoring
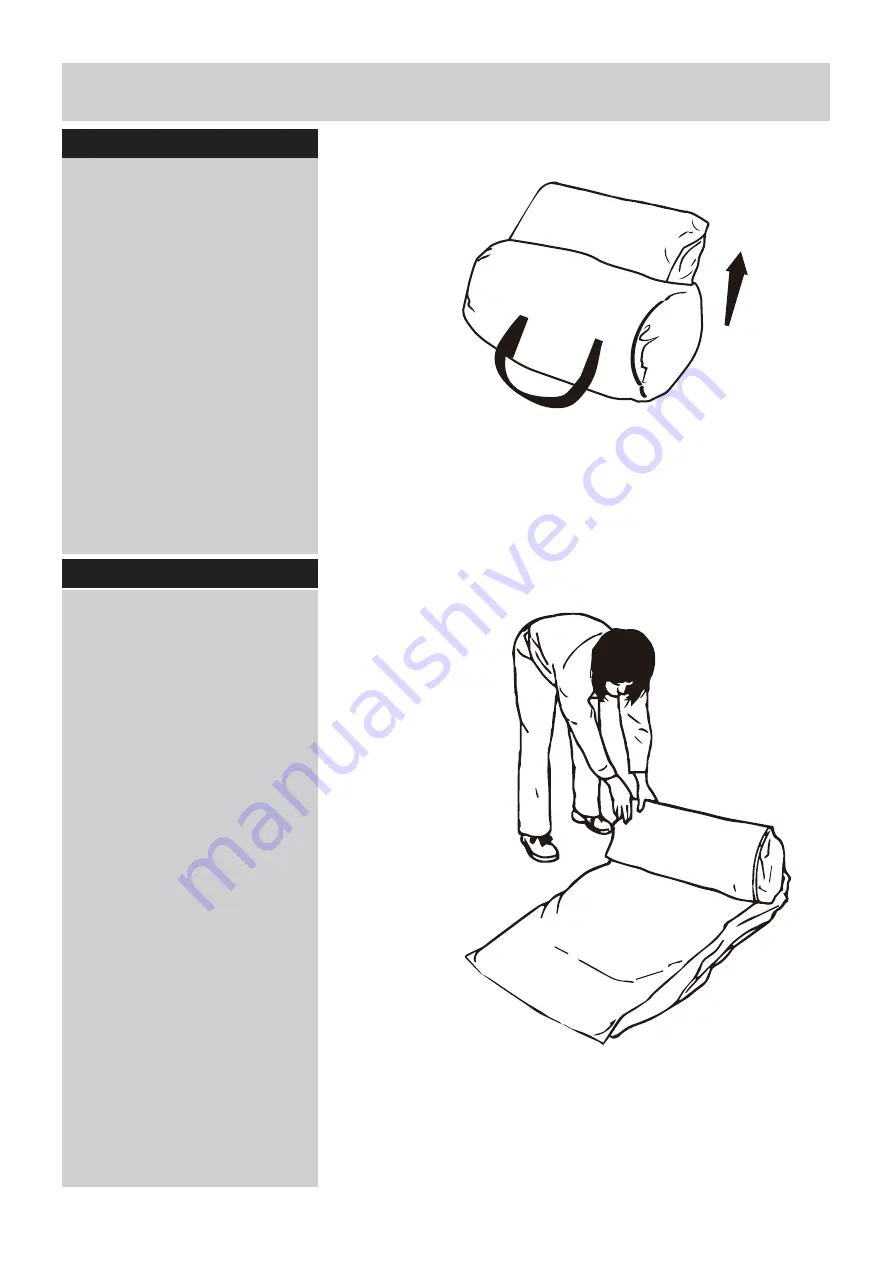
Step 1
Remove the product from the
storage case.
Step 2
Unfold the product.
6
Page 1: ...t and ensure safe and correct assembly use and maintenance If you need help or have damaged or missing parts call the Customer Helpline 44 0330 0904 420 Important Maximum individual user weight 30kg N...
Page 2: ...ion Parts Inflation Anchoring Care and Maintenance 2 5 9 10 11 12 6 8 13 1 Important Please read these instructions fully before assembly or use Deflation Storage Repair Instruction Blower Safety Info...
Page 3: ...et when not in use and before cleaning or servicing The air blower should be used outdoor The appliance is not to be used by persons including children with reduced physical sensory or mental capabili...
Page 4: ...ecommended Provide clearance for wires tree limbs and other possible hazards The product must be stored away or disassembled completely during severe windy conditions The product must be used with the...
Page 5: ...during each use Make sure the anchors are securely in place and the product is fully inflated before allowing children to play IMPORTANT Save this manual for future reference 4 Adult supervision is r...
Page 6: ...Parts call the Customer Helpline 44 0330 0904 420 D A B C E F Blower Bouncy Castle Small Ground Anchors for blower Steel Ground Anchors for product Storage Case Repair Kits 5...
Page 7: ...Inflation Anchoring Step 1 Remove the product from the storage case Step 2 Unfold the product 6...
Page 8: ...Inflation Anchoring Step 3 Tie the connector tube of the product to the blower Step 4 Fasten the rope to the short air outlet as shown 7...
Page 9: ...e ground with the anchors provided Step 6 Switch blower power on The product should inflate in approximately 2 minutes Check for punctures if the product does not inflate properly IMPORTANT Blower sho...
Page 10: ...OFF ON Deflation Stroage Step 1 Turn off the blower and unplug it from the outlet Step 2 Remove the anchors from the ground drawstring from the intake tube and allow the product to fully deflate 9...
Page 11: ...the product Product must be completely dry before putting away for storage Starting at one end roll to force air out If air remains inside gently press it to deflate the air Step 4 Place into the stor...
Page 12: ...cture or leak Deflate the product and gently clean the damaged area with a damp cloth Allow area to dry thoroughly Remove the adhesive backing from the repair patch and place it over the damaged area...
Page 13: ...ecome void if any defects or damages are associated with the use of unautho rized replacement parts All replacement parts must be obtained from Sportspower authorized agents All decisions made by Spor...
Page 14: ...particular purpose is limited in its scope and duration to the terms set forth herein Some states do not allow limitations on how long an implied warranty lasts Accord ingly the above limitation may...