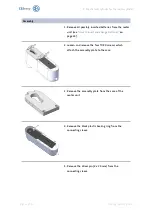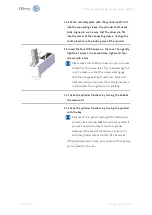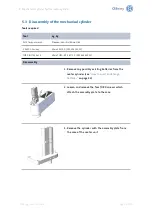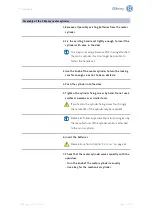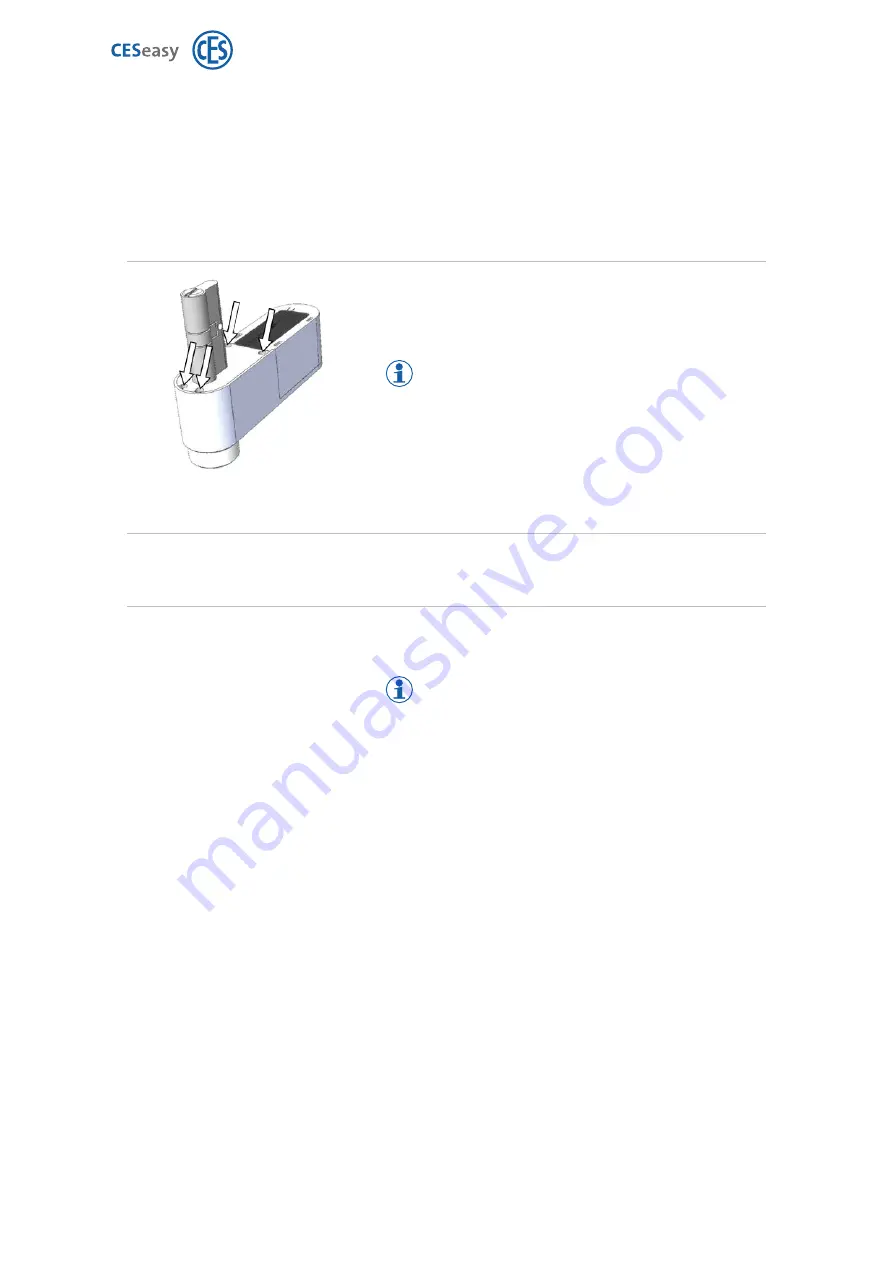
11. Put the assembly plate with the cylinder shaft first
into the connecting sleeve. The cylinder shaft needs
to be aligned in such a way that the driver pin fits
into the recess of the connecting sleeve. To align the
shaft, please turn the locking cam of the cylinder.
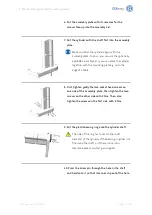
12. Insert the four TORX screws in the case. Then gently
tighten all screws. In a second step, tighten all four
screws with 1 Nm.
Please make sure that the screws do not cut a new
thread into the screw holes. This could damage the
case. To make sure that the screws will engage
with the already existing thread, turn them anti-
clockwise until you can hear them falling into place
in the thread. Then tighten them carefully.
13. Check the cylinder functions by turning the knob of
the motor unit.
14. Check the cylinder functions by turning the cylinder
with the key.
Because of the special coupling of the mechanical
cylinder, the knob does
not
turn with the cylinder if
you use a mechanical key to turn the cylinder.
However, if the knob of the motor unit does turn
with the cylinder, please contact the CES service.
If the cylinder works correctly, you can mount the CESeasy
motor cylinder to the door.
Page 14 of 53
CESeasy motor cylinder
5 Mechanical cylinder for the motor cylinder

