Section 17: Mounting the canopy
17.1
17.2
17.3
17.4
Carefully cut out the windshield area from the canopy (17.1) with a sharp hobby knife. Trial
fit the canopy and mark the location of the front lower mount (17.2), drill the two required
holes and attach to the inside of the canopy with the screws and washers provided. Mount
the front of the canopy (17.3) and mark the location of the top rear mounts. Drill the 1/4 “
holes and insert the grommets (17.4). Cut out the windshield along the marked lines (17.5)
and install onto the canopy with the six small screws supplied. Cut out the decals for the
canopy from the decal sheet and attach to the canopy (17.6) Then mount the canopy on
the helicopter.
17.5
17.6
Mark location
Section 16: Antenna routing
Thread the small clear tube into the guides (located on the right
bottom side of the struts) on the side opposite the muffler. Insert
the receiver antenna into the tube and secure to the rear area of
the tail boom or one of the boom support struts. It is recommend-
ed that you use a small rubber band to do so.
The completed model
Your helicopter is assembled, your engine, servos, gyro and
receiver installations are complete. Now you will have to refer to
your engine manual for starting and running instructions, your
gyro manual for set-up instructions and your radio manual for the
transmitter set-up instructions.
11
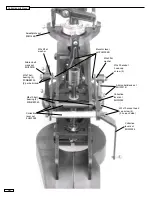
Rubber grommets
found in upper side
frame set bag.
Canopy hook
found with upper
side frame set bag


