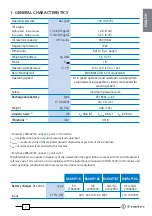
9
ENGLISH
16
17
14
18
15
13
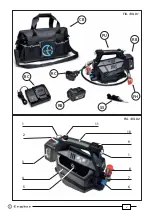
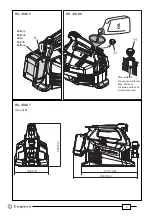
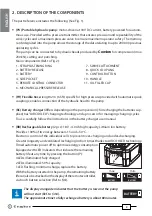
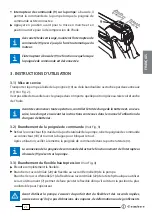
To replace the battery, press the release button (2) (Ref. to Fig. 5) and push the battery downward
to unlock it.
Insert a charged battery from the bottom by sliding it into the guides until it locks.
(CB) Canvas bag:
made from sturdy fabric, allows users to store the pump and accessories.
(SS) Shoulder Strap:
allows users to easily transport and comfortably carry the pump during
all work phases; to be connected to the rings (1).
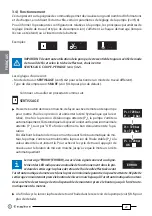
(
RC) Remote controller
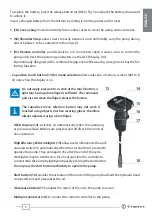
: provided with a 2 m connection cable, it allows users to control the
pump and check the operating parameters via the OLED display (14).
Ergonomically designed with a comfortable grip even while wearing work gloves it has the fol-
lowing
functions.
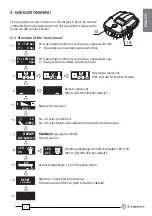
- Capacitive touch button (13) for menu selection
allows selection of various screens (Ref. to
§
4
) only when the display is on.
Do not apply pressure to or stab at the touch button, a
light touch using a bare fi nger is suffi
cient. The command
pulse is sent when the fi nger releases the button.
The capacitive menu selection button may not work if
touched using objects or when wearing gloves, therefore
always operate it using a bare fi nger.
-
OLED display (14):
switches on automatically when the operating
or pressure release buttons are pressed, and off after 60 seconds of
non-operation.
-
High efficiency LED worklights (15):
allow users to illuminate the work
area and switch on automatically when the start button is pressed to
operate the pump. They extinguish 25s after the end of the cycle.
Worklights may be switched on for 25s at any time the controller is
connected to the pump by lightly and quickly pressing the start button.
Do not press the start button suffi
ciently to operate the pump.
- Start button (16):
enables the actuation of the motor of the pump that feeds the hydraulic head
connected to it and pressurises the oil.
-
Oil release button (17)
: enables the return of the oil to the pump reservoir.
-
Multipin connector (18):
to connect the remote controller to the pump.


