background image

IMPORTANT SAFETY INSTRUCTIONS

CAUTION: CAUTION: TO AVOID THE RISK OF 

ELECTRIC SHOCK. DO NOT REMOVE COVER 

(OR BACK).

NO USER- SERVICEABLE PARTS INSIDE.

REFER SERVICING TO QUALIFIED SERVICE 

PERSONNEL.

1)  Read the  instructions.

2)  Keep the instructions.

3)  Consider all warnings.

4)  Follow all instructions.

5)  Do not use this apparatus near water.

6)  Clean only with dry cloth.

7)  Do not block any ventilation openings, 


install in accordance with the instructions.

8)  Do not install near any heat sources such as 


radiations, heat registers, stoves, or other 


apparatus (including amplifiers) that produce 

 heat.

9)  Do not damage the safety purpose of the 


polarized plug. If the provided plug does not 


fit into your outlet, consult an electrician for 

 replacement.

10)  Protect the power cord from being walked on 


or pinched. Particularly at plugs, convenience 


receptacles, and the point where they exit 


from the apparatus.

11)  Only use attachments/accessories specified by 


the manufacturer.

12)  Unplug this apparatus during lightning storms 


or not made use of for long period of time.

13)  Contact for maintenance with qualified service 


personnel. Maintenance is required when the 


apparatus has been damaged in any way, such 


as power-supply cord or plug is damaged, 


liquid has been spilled or objects have fallen 


into the apparatus, the apparatus has been 


exposed to rain or moisture, does not operate 


normally, or has been dropped.

14)  Main plug is used as to disconnect the device, 


it shall still remain electrified.

15)  The ventilation openings should not be 


covered with items, such as newspapers, 


table-cloth, curtains, etc.

16)  Avoid direct heat sources, such as lighted 


candles, should be placed on the apparatus.

17)  The procedure of disposing batteries should 


be exercised in an environmental friendly 

 method.

18)  The use of apparatus in moderate climate.

19)  The apparatus shall not be exposed to dripping 


or splashing and that no objects filled with 


liquids, such as vases, shall be placed on the 

apparatus.

.

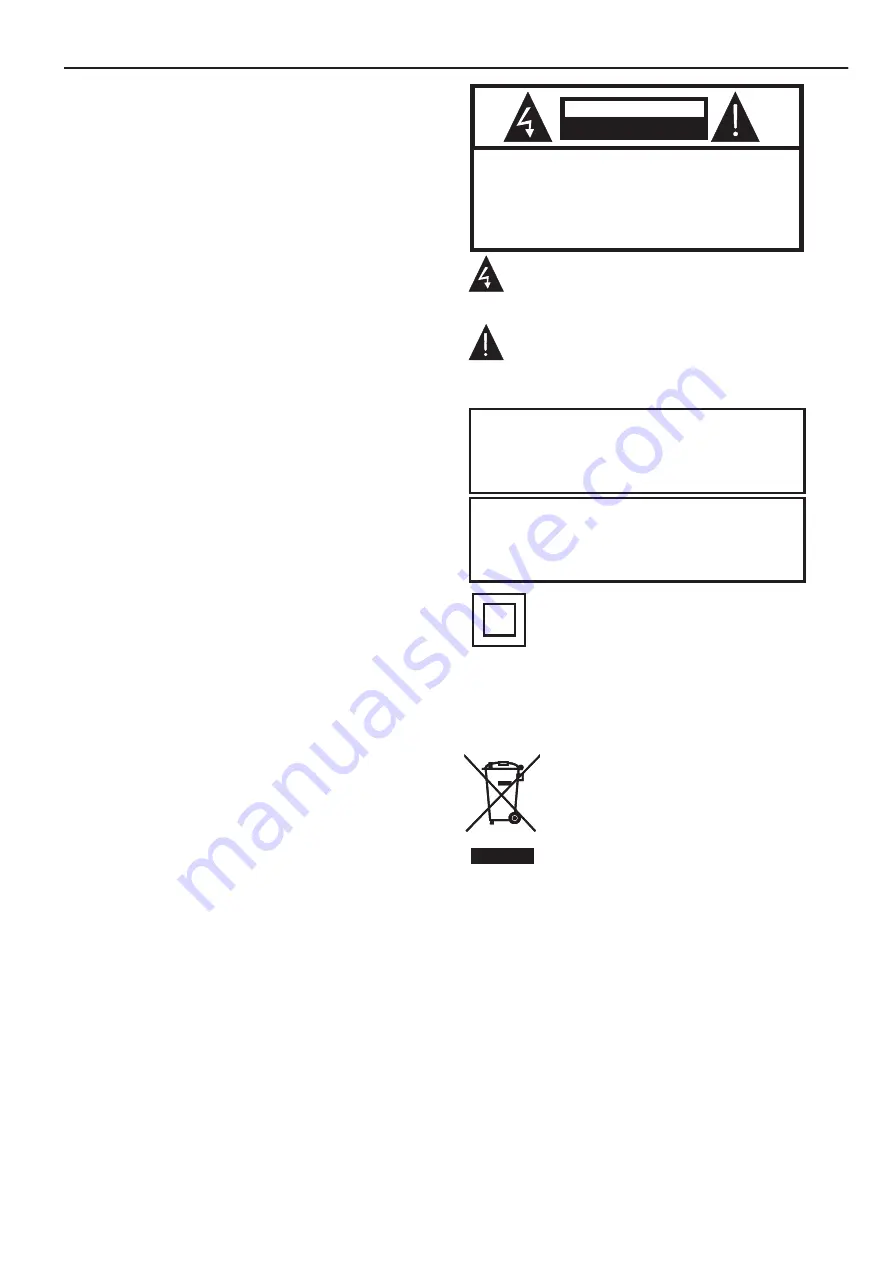
CAUTION

RISK OF ELECTRIC SHOCK 

DO NOT OPEN

This symbol is intended to alert the user to avoid 

the risk of electric shock, do not disassemble this 

equipment by anyone except a qualified service 

personnel.

This symbol is intended to alert the user to the 

presence of important operating and maintenance 

instructions in the literature accompanying the 

equipment.

WARNING:

To reduce the risk of fire or electric shock, do not 

expose this apparatus to rain or moisture.

WARNING:

The batteries shall not be exposed to excessive heat 

such as sunshine, fire or the like.

This symbol indicates that this product incorporates 

double insulation between hazardous mains voltage 

and user accessible parts. Maintenance shall only be 

with identical replacement parts.

This marking indicates that this product should not 

be disposed with other household wastes throughout 

the EU. To prevent potential harm to the environment 

or human health from waste disposal, recycle it 

responsibly. The sustainable reuse of material resources. 

To return your used device, please use the return and 

collection systems or contact the retailer where the 

product was purchased. 

Summary of Contents for c4320g

Page 1: ...USER MANUAL ...

Page 2: ...PRECAUTIONS AND REMINDERS IMPORTANT SAFETY INSTRUCTIONS BUTTON CONTROL AND PERIPHERAL CONNECTION OPERATING INSTRUCTIONS SPECIFICATIONS TROUBLESHOOTING TABLE OF CONTENTS ...

Page 3: ...still remain electrified 15 The ventilation openings should not be covered with items such as newspapers table cloth curtains etc 16 Avoid direct heat sources such as lighted candles should be placed on the apparatus 17 The procedure of disposing batteries should be exercised in an environmental friendly method 18 The use of apparatus in moderate climate 19 The apparatus shall not be exposed to dr...

Page 4: ... the television cabinet slots or openings Never spill any kind of liquid on the television receiver When the product is not used for an extended period of time it is advisable to disconnect the AC power cord from the AC outlet Do not block the ventilation holes in the back cover Ventilation is essential to prevent failure of electrical components Avoid exposing the main unit to direct sunlight and...

Page 5: ...n In the non menu page you can adjust the TV channel under the program addition and subtraction Under the menu page you can move the cursor up and down Under the menu page function equivalent to the OK key OK OK 1 RJ45 2 OPTICAL out terminal 3 HDMI1 ARC input terminal 4 HDMI2 input terminal 5 HDMI3 input terminal 6 Audio Video input terminal 7 Earphone terminal 8 LNB IN 9 RF antenna 10 USB 1 2 Con...

Page 6: ...record Live TV mode forward Press to pause in multimedia mode Timeshift mode Pause Press to stop multimedia playback REC Timeshift mode stop SOURCE Press to open the input source list NETFLIX YouTube Press to open the NETFLIX Press to open the YouTube Press to open the prime video FreeviewPlay Press to open the Freeview Play TV unplug the power cord Press to open the google assistant or start a vo...

Page 7: ...be added changed or deleted Apps Icon to be redirected for all the listed applications On screen Menu with convenience Inputs Icon to select an input source Network Interent Settings For more detailed explanation regarding the settings please check the next page HOME SCREEN After initial setup press EXIT to exit the initial setup and enter the HOME screen NAVIGATING THE ON SCREEN MENU This TV incl...

Page 8: ...our TV will switch to your selected programme You can select any day to view 7 days before or after the current day using the Schedule option 1 While viewing the Guide press the RED button 2 Press the buttons to scroll to your desired day 3 Press the button to select the time then press the OK button The guide will now display the programmes for your chosen day and time While viewing the Guide pre...

Page 9: ...e the FIND option where you can type in the name or number of the channel you re looking for 1 While viewing the Channel List press the YELLOW button The SELECT MORE menu will be displayed 2 Highlight SELECT TYPE and press the OK button A list of channel types will be displayed Highlight the type of channel that you are looking for and press OK You ll now be shown a list of channels to choose from...

Page 10: ...button 2 Press the button to scroll down to the RECORD menu then press button to highlight TIME SHIFT MODE Then Press OK 3 Press OK to activate TIME SHIFT MODE Your USB storage device will need to be setup for time shifting 1 Press the PAUSE button on your remote control and the DISK SETUP screen will appear 2 Highlight AUTO and press OK Your TV will now check and setup your USB device Once done p...

Page 11: ... in a Schedule list select the SCHEDULE LIST from the RECORD menu Then select the recording you would like to edit you ll now be able to change any of the setting If you need to delete any of the Scheduled recordings in the list select the SCHEDULE LIST from the RECORD menu Then select the recording you would like to delete you ll now be able to select Delete All of your recording are stored in RE...

Page 12: ...s menu DATE TIME DEVICE PREFERENCES ABOUT Manually adjusting date time settings will automaticall change the Automatic date time to OFF NOTE Automatic date time Press button to select the option then press OK button to enter the sub menu Optional Use network provided time Off TIMER Power On Timer Type Press button to select the option then press OK button to choose ON OFF ONCE Power On Timer Press...

Page 13: ...tton to select the option Press to decrease the parameter Press to increase the parameter Gamma Press button to select the option then press OK button to enter the sub menu Options Dark middle Bright Color Temperature Press button to select the option then press OK button to enter the sub menu Picture format Press button to select the option then press OK button to enter the sub menu Options Autom...

Page 14: ...F Delay Press button to select the option Press to decrease the parameter Press to increase the parameter Auto Volume Control Press button to select the option then press OK button to choose ON OFF Downmix Mode Press button to select the option then press OK button to enter the sub menu Optional Stereo Surround Reset to Default Reset all settings to the factory defaults STORAGE Internal shared sto...

Page 15: ...rs When to Start Press to select the option then press OK to enter the sub menu Optional 5 15 30 minutes 1 2 hours Put device to sleep Press to select the option then press OK to enter the sub menu Optional 30 minutes 1 3 6 12 hours Never Start now Press to select the option then press OK to enter screen saver SCREEN SAVER Location status Press to select the option then press OK to enter the sub m...

Page 16: ...s the connection fails Wait 30 seconds and then press the HOME and LEFT buttons at the bottom of the remote control for 5 seconds to repeat the previous steps 5 Press BACK or EXIT button return to the previous menu 1 In the HOME interface select the icon in the APPcolumn to add the application and click OK Press up and down to select the DigitalMediaPlay er application and click OK to add it to th...

Page 17: ......
Reviews: