34 • Astronomy Basics
The Polar Axis Finder
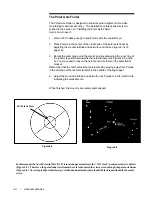
The Polar Axis Finder is designed to minimize polar alignment time while
maintaining maximum accuracy. The installation of this accessory is de-
scribed in the section on “Installing the Polar Axis Finder.”
Here’s how to use it:
1.
Wait until it is dark enough to see Polaris with the unaided eye.
2.
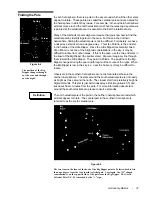
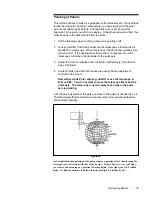
Place Polaris in the center of the crosshairs of the polar axis finder by
adjusting the mounts latitude and azimuth controls (see figure 2-14 on
page 16).
3.
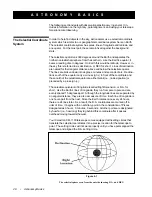
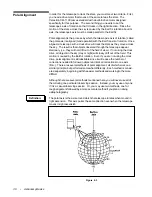
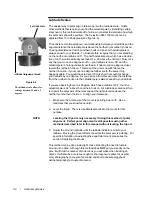
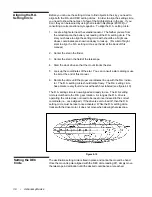
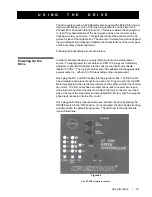
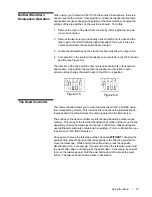
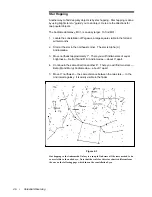
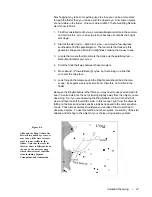
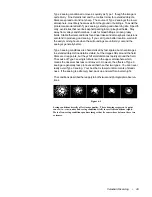
Rotate the polar scope until the small circle (located along the inner ring of
the reticle) is positioned towards the celestial pole (see Figures 4-8 and 4-
9). You may need to loosen the nylon tension screws on the polar finder
bracket.
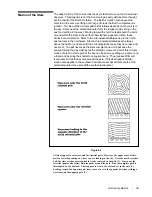
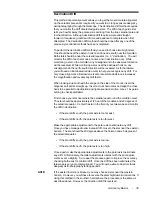
Remember that the north celestial pole is located by moving away from Polaris
in the direction of the last star (Alkaid) in the handle of the Big Dipper .
4.
Adjust the mount in altitude and azimuth until Polaris is in the small circle
indicating the celestial pole.
When finished, the mount is accurately polar aligned.
Figure 4-8
In this example the North Celestial Pole (NCP) is located approximately in the "11 O'clock" position relative to Polaris
(Figure 4-9). Therefore, the polar finder reticle must be rotated to match the view as seen through the polar axis finder
(Figure 4-8). Now, simply adjust the telescope's latitude and azimuth controls until Polaris is positioned in the small
circle.
Figure 4-9
Put Polaris Here

