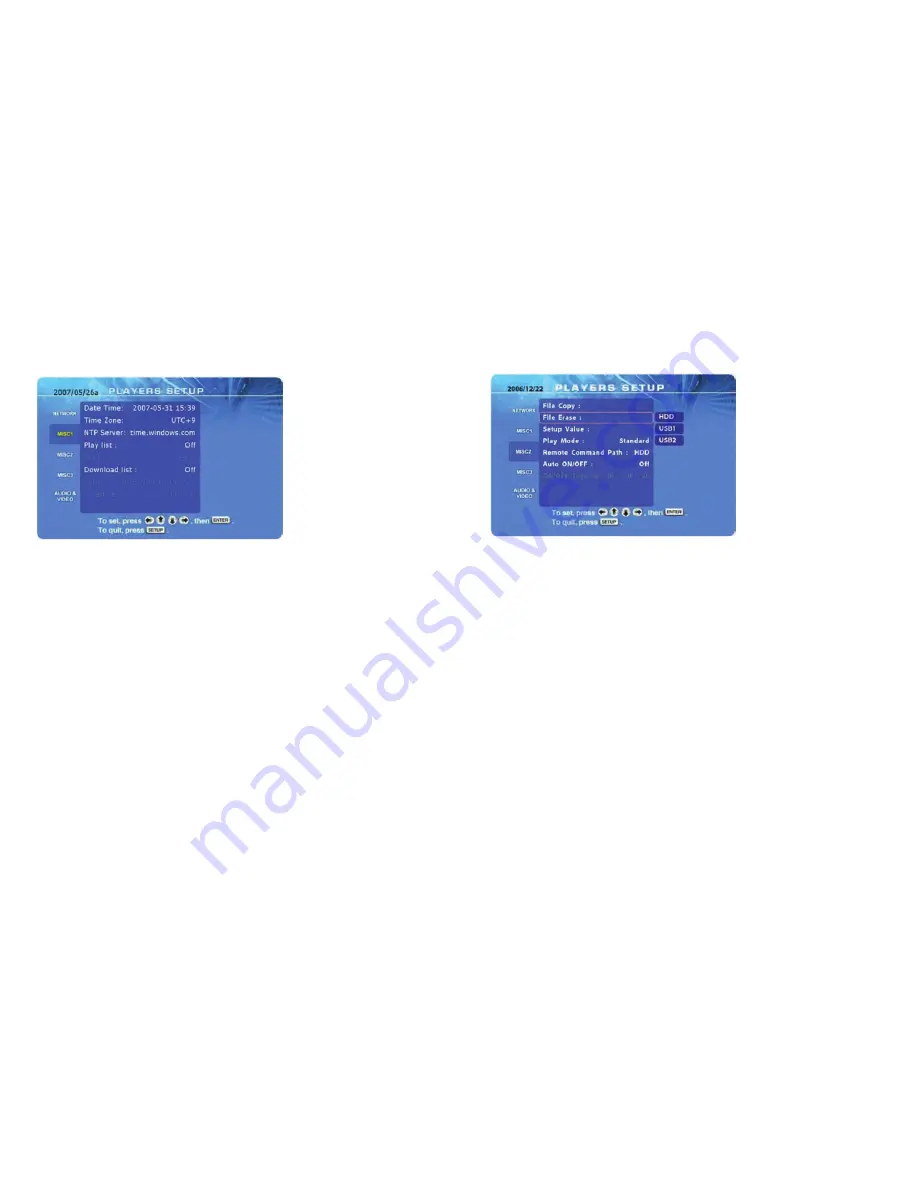
Misc1 Category
In this category, you can set the time using an NTP server via the internet.
Once the time is set, you can configure the playlist, download function and
schedule for these functions.
Use the arrow keys on your remote control for navigation and the ENTER button
to configure the settings.
[Date Time] Displays current date and time. If the time or date is not correct,
make sure you have selected the correct time zone, choose another NTP
server from list and ensure that your internet connection is working. After
changing the NTP server, reboot your device.
[Time Zone] Select the time zone of your country. If you do not know the time
offset, refer to your PC clock. Double click on the time in the taskbar and go to
Time Zone. Select your country from the list and you will see the corresponding
time offset.
[NTP Server] Select one of the NTP servers from the list or enter the IP address
manually to synchronise the time via the internet. Turn it OFF if you don’t need
this function.
[Play List] To enable this function, select one of the playlist modes from the list.
Once it is enabled, you can set the path to your playlist. Reboot the unit and
make sure the corresponding playlist is stored in the right location to start using
the playlist mode.
Single - Playlist example: play.lst
Date - Playlist example: 20070101.lst (year, month, day)
Time - Playlist example: _0900_1200.lst (time)
Date/Time - Playlist example: 20070101_0900_1200.lst (year, month, day, time)
[Download List] To enable this function, select either Foreground or
Background. Foreground will display the download progress, whereas
Background will hide it. Use Skip to skip files that already exist on the HD-300ZX.
Once it is enabled, you can set the path to your download list on a remote
server and enter a time for the download to start. To use this function, you
need an internal drive or CF card, as well as a connection to the internet.
File Erase
1. Press the SETUP button and go to File Erase in the MISC2 category.
2. Select the drive and press ENTER to start the process.
3. It will erase all files on the selected drive and once finished, it will
return to the main screen
Note: To copy only single files to the local HDD or erase them, use the
SELECT button to copy the file or the CLEAR button on your remote
control to erase it.


