LCD330 Instruction Book
8
Video Testing
Video testing allows you to view the camera’s image during
installation making it easier to position and confi gure the
camera correctly. It can also be used to check the video signal
at the camera end of the installation when fault fi nding.
Although primarily used for camera testing, other video
sources such a distributors, quads and DVRs can be
connected to the test monitor for testing video output.
What Information Is Displayed?
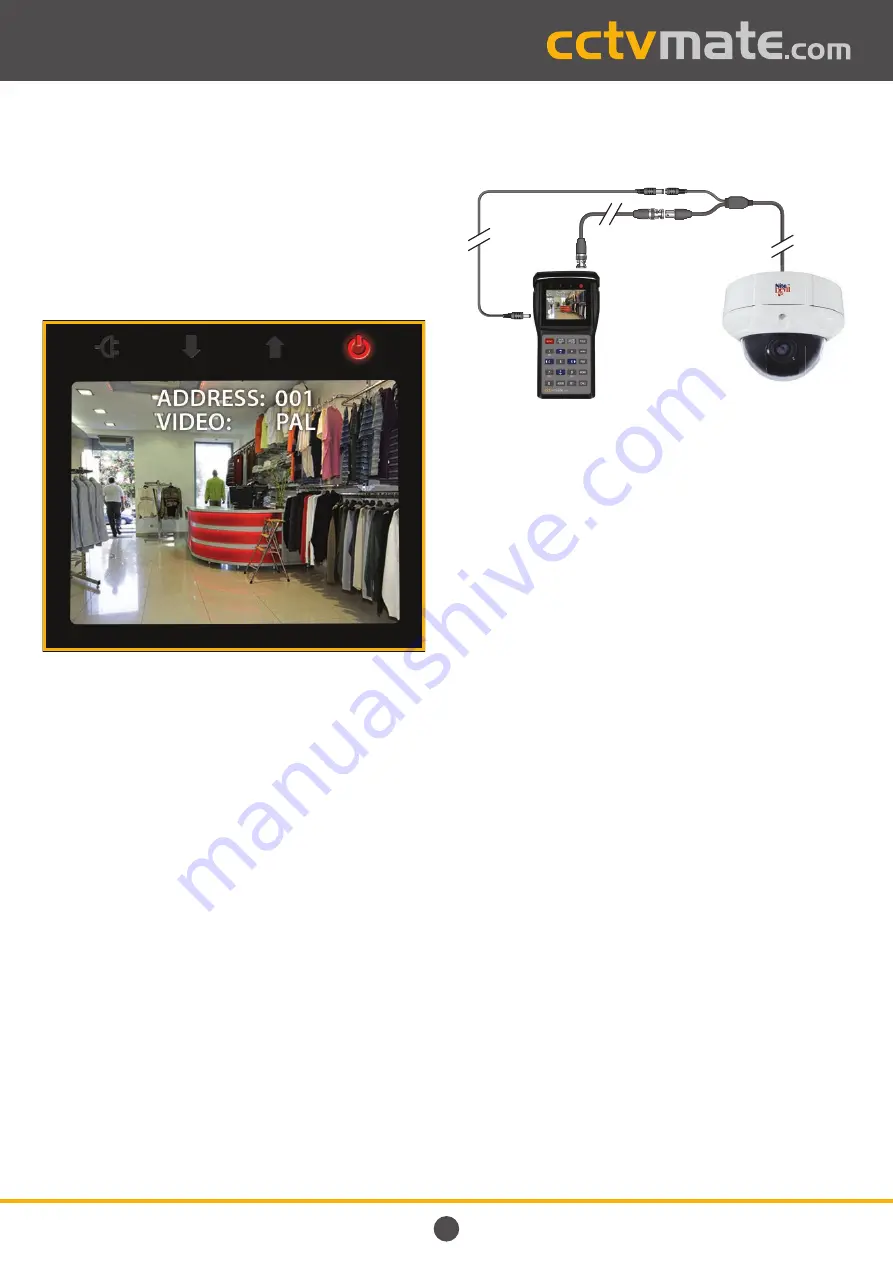
As well as the camera’s image, the camera’s address (only
used for PTZ testing) and video format are also displayed. If
no video signal is received the screen will appear black and
the video will read ‘
NULL
’.
Connecting Cameras To The LCD330
To view a camera’s image on the test monitor use the short
BNC lead provided to connect the camera’s video output to
the LCD330’s video input.
12V DC cameras which draw
600mA or less
can be powered
by the LCD330 with the 2.1mm power cable supplied. For
more information on powering cameras with the LCD330 see
page 15
.
The locations of the LCD330’s connections are highlighted on
page 4
. All of the accessories supplied with the test monitor
are displayed on
page 5
.
Connection Example
Using The Video Test Function
1.
At the main menu press
‘2
’ to enter ‘
VIDEO AND PTZ TEST
’.
2.
To hide the camera’s address and video format press the
‘
MENU
’ button.
3.
The screen brightness can be adjusted using the ‘
BR+
’
and ‘
BR-
’ buttons.
4.
To return to the main menu press and hold the ‘
MENU
’
button for 1 second. The device will beep twice and
display the main menu.
12V DC Power Cable Supplied
(Optional, Max 600mA)
DC 12V
Output
Video
In
BNC To
BNC Lead
Supplied
Camera Video
Output
12V DC 2.1mm
Socket


