86
Digital Recording Systems
Digital Recording Systems
4
5
6
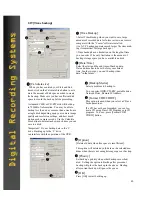
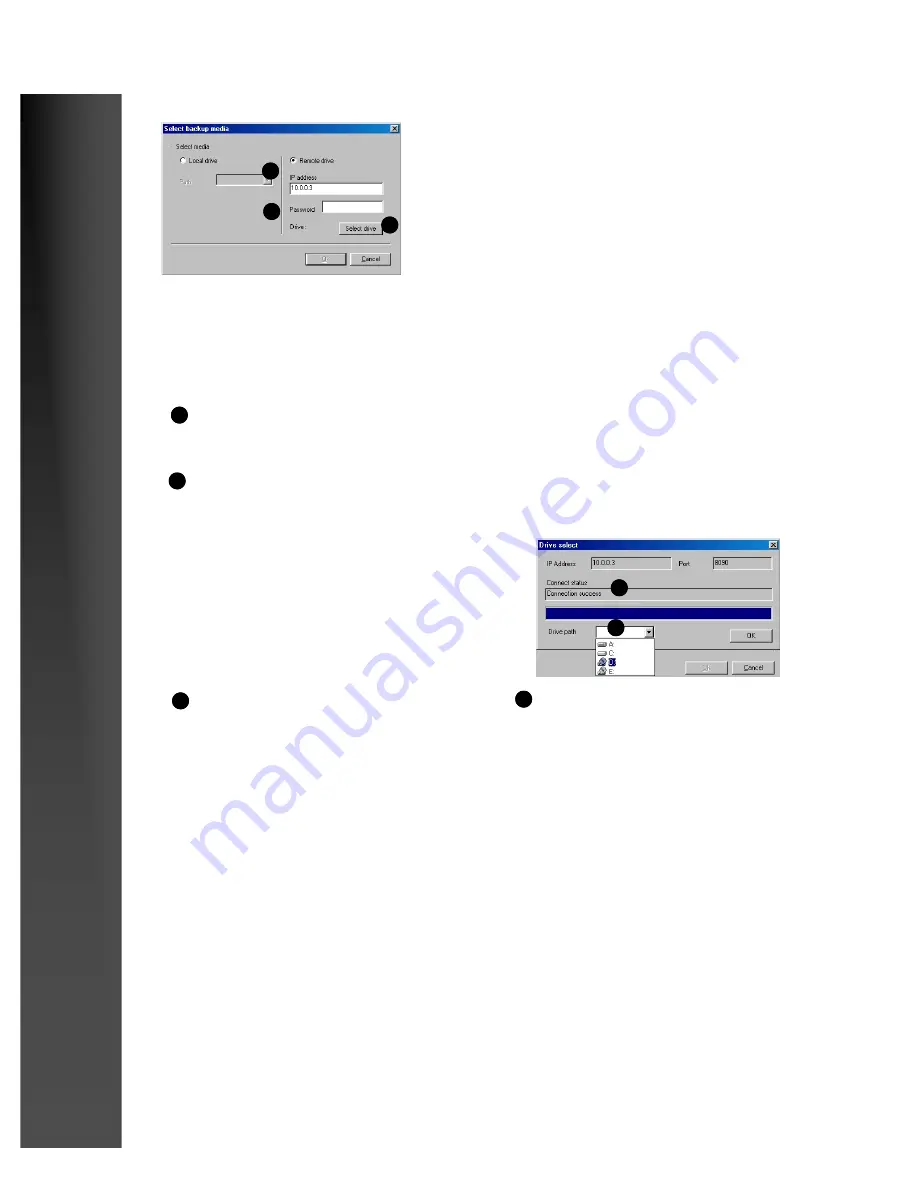
[Remote Drive]
When you choose the ‘Time Backup’ option
you may select a remote, or network drive
to backup to.
The remote computer must have the
‘DigiNet Center’ software installed and the
‘K-Remote Backup Server’ running.
Note:
A network drive mapped through “Windows” networking will appear in the
‘Local’ drive path as an installed drive. The ‘Remote Drive’ path can connect to any
computer via the LAN (Local Area Network) or the WAN (Wide Area Network) includ-
ing the Internet if the backup computer has a Network, DSL, or Cable Modem connec-
tion with a fixed, or ‘Static’ IP address.
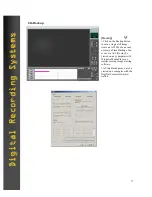
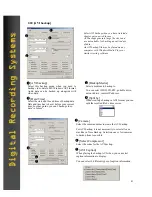
[IP Address]
Enter the ‘Internet Protocol’ address of the remote computer you wish to backup your data to. (The
remote computer must have the K-Remote Backup Server software running or the connection will fail.)
4
[Password]
Enter the password (if any) that you have set up in the K-Remote Backup Server software.
5
6
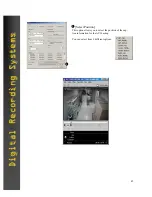
[Connection Status]
The Drive Select panel will open to show
your connection status. If the connection was
successful, the ‘Connect Status’ box will
show ‘Connection success’. If the IP address
is not correct, or the K-Remote Backup
Server is not running on the remote computer,
the ‘Connect Status’ box will read,
‘Connection Fail’.
6
[Drive Select]
When you have entered the IP address
and password of the remote computer,
click on the ‘Select Drive’ button to
connect.
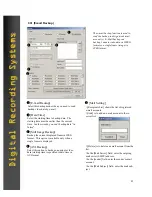
[Remote Drive Path]
When you successfully connect to the remote
K-Network Backup Server, you will be able
to select a backup drive from the drop down
list. Click on the drive to select it.
The drive will appear in the ‘Drive Path’ win-
dow.
7
7


