Cayin CS-100CD Quick Start Manual Download Page 11

11

number after “P” expresses track total number.

2) After entering all of the track numbers, press the “PROG” button, your selections will be

memorized automatically.

3) Press the

/

button on the front panel or press the

/

button on the remote control

unit, the memorized program will play.

To stop program play, Press the “ / ” button during program playback.

1 During programming, press the “0” button on the Remote Control Unit can cancel all the

memorized program.

13

Scan (Remote only)

Press “SCAN” button, the display will show

SCAN

, the unit will play ten seconds of every track

from No.1 track.

Press the

/

button on the Remote Control Unit to cancel the scan function.

14

Time (Remote only)

Changes the models of time displayed. The first model is the amount of elapsed time played in the

current track. The second model is how much time is left on the current track. The third mode counts

the time remaining on the entire CD. Simply press the TIME button to switch between these models.

3. Select USB audio

1

Connect the USB port to the USB port of the computer with the USB cable which must be

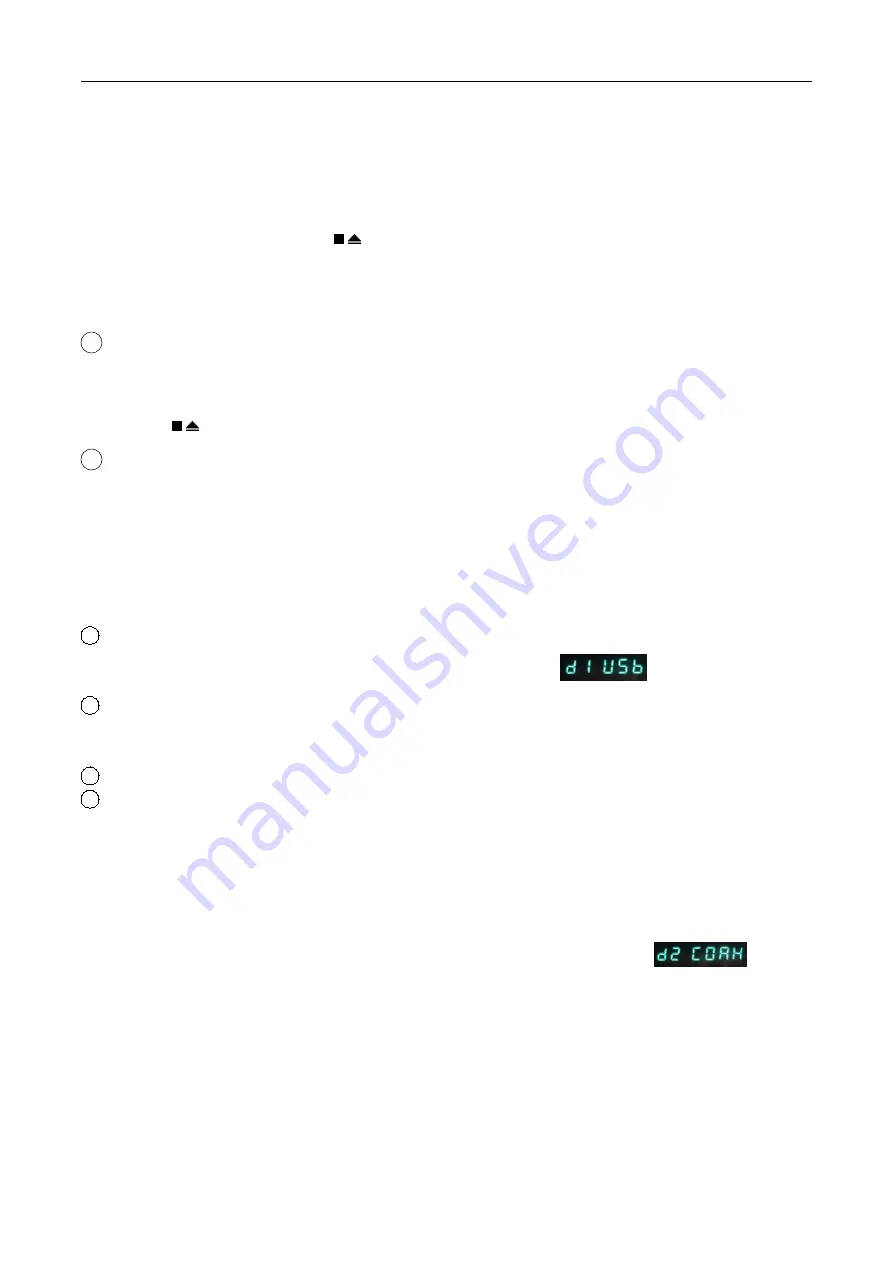
according to the USB2.0 specification. the display will shows

.

2

In no disc state, press the

/

button on the front panel or press the “SOURCE” button on

the remote control unit to select USB, the display will show “USB”, USB input indicator will

turn on.

3

Select the USB audio device of the computer as CS-100CD Output, and keep it in working state.

4

Press the

”or“

button on the front panel or press the

”or“

button on the remote control

unit can show the sample frequency. The sample frequency should be 44.1-192kHz.

4.Coaxial input

1) Connect coaxial input terminal to the device which has coaxial output terminal, like CD Players,

with the coaxial cable.

2)Press the

/

button on the front panel or press the

“SOURCE”

button on the remote control

unit to enter the coaxial input interface. At the moment, the display will shows

.

3)Press the

”or“

button on the front panel or press the

”or“

button on the remote control

unit can show the sample frequency. The sample frequency should be 44.1-192kHz.

5. Optical input

1) Connect optical input terminal to the device which has optical output terminal, like CD Players,

with the optical cable.

2) Press the

/

button on the front panel or press the

“SOURCE”

button on the remote control

Summary of Contents for CS-100CD

Page 1: ...the output circuit Deploy dedicated high quality Op Amp for Low pass Filter circuit and I V converter circuit Deploy four pieces of 6922EH vacuum tubes and audio grade capacitors for audio output Sepa...

Page 2: ...e 2 Digital Output Optical output 16 24 bit 44 1 192kHz According to the IEC958 standard Coaxial output 0 5V 75 16 24 bit 44 1 192kHz According to the IEC958 standard AES EBU output 110 16 24 bit 44 1...

Page 3: ...REAR PANEL 1 Analog unbalance output Right channel 2 Analog unbalance output Left channel 3 Analog balance output Right channel 4 Analog balance output Left channel 5 Digital output AES EBU 6 Digital...

Page 4: ...r amplifier with audio cable 3 Connect to DAC Connect the COAXIAL output to the COAXIAL input of the DAC with a standard 75 ohm coaxial digital cable Or you can connect the OPTICAL output to the OPTIC...

Page 5: ...TE CONTROL UNIT 1 Stop Open Close button 2 Standby button 3 0 1 2 9 Number button 4 Play Pause button 5 Search reverse button 6 Search forward button 7 Skip previous button 8 Skip next button 9 TIME T...

Page 6: ...tteries or different brands of batteries Remove batteries when this unit is not in use for a long period of time We suggest you to use good quality and high energy batteries INSTALLING DRIVER SOFTWARE...

Page 7: ...7 4 Follow the steps of the installation interface to continue As below 5 Click Next to install USB Audio 2 0 Class driver...

Page 8: ...front panel or press the button on the remote control unit the standby indicator will out and the unit will enter the working state Press button on the front panel or press the button on the remote co...

Page 9: ...the player is in PUSE mode the disk motor is still working Since leaving the player in this condition can shorten the lifetime of the motor do not leave the player in PAUSE mode for a long period of...

Page 10: ...o repeat the entire disc the display will show REPEAT 3 Press the REPEAT button a third time to cancel the repeat function 9 Section repeat Remote only This function allows you to repeat a specified s...

Page 11: ...r with the USB cable which must be according to the USB2 0 specification the display will shows 2 In no disc state press the button on the front panel or press the SOURCE button on the remote control...

Page 12: ...unit for a long time 7 Be careful not to drop the unit or subject to other strong shocks In a room exposed to sunlight for a long period time Near a strong light source or a heater Where there is stea...

Page 13: ...h voltage may cause man made electric shock The unit has important operation and maintain instruction TROUBLESHOOTING If you have checked everything and the unit is still not working please contact yo...

Page 14: ...the SPDIF cable well No SPDIF signal input Check if there are any SPDIF signal output from the SPDIF output device Can t lock the coaxial signal Coaxial cable is not connected well Connect the coaxial...

Reviews: