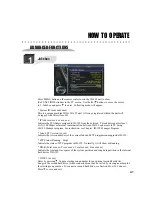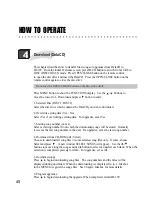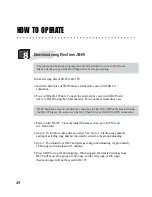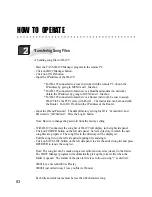
Press MENU button to show the FUNCTIONS display. Use the / buttons to
move the cursor to 4. Download and press button to enter.
1. Selected Disc (DISC1 / DISC2)
Select the disc drive which contains the DataCD you wish to download.
2. Overwrite exiting data (Yes / No)
Select Yes if overwriting existing data. For upgrades, set at Yes.
3. Starting song number (xxxxx)
Select a starting number from which the downloaded songs will be stored. Normally
it is set as the last song number in the unit. For upgrades, set as the last song number.
4. Download from CD-ROM (All / Select)
Choose to download all song files or some selected song files only. If some, choose
Select and press . A new window SELECT SONGS will appear. Use the /
buttons to move along the songs and use button to select or unselect each track. When the
selection is completed, press to return. For upgrades, set as All.
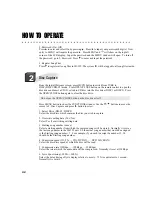
5. Download songs
Press to begin downloading song files. The song numbers and the titles will be
displayed during download. When the downloading is completed, Go to 1. Jukebox
in the MENU to register the songs files. See Chapter: Jukebox for more details.
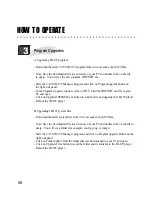
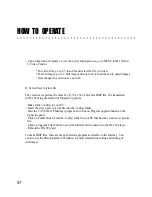
6. Program upgrades
Press to begin downloading the upgrade. When completed, restart JB-199.
Download (DataCD)
4
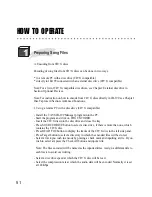
This chapter describes how to transfer files (songs or upgrades) from DataCD to
JB-199. From the initial Welcome screen, press JB/CD button to switch from JUKE to
DISC (DISC1/DISC2) mode. Press OPEN/CLOSE button on the remote control
to open the disc drive and insert the DataCD. Press the OPEN/CLOSE button on the
remote control again to close the disc drive.
HOW TO OPERATE
Do not use the OPEN/CLOSE button on the disc drive itself.
45
Summary of Contents for JB-199 Premier
Page 91: ...CAVS USA INC ...


