EN-CAHDD2B-D
6
! Only blank or unallocated disks can be used to setup a RAID 0 array!
Power the dock off. Both disks should still be in the dock from your JBOD test.
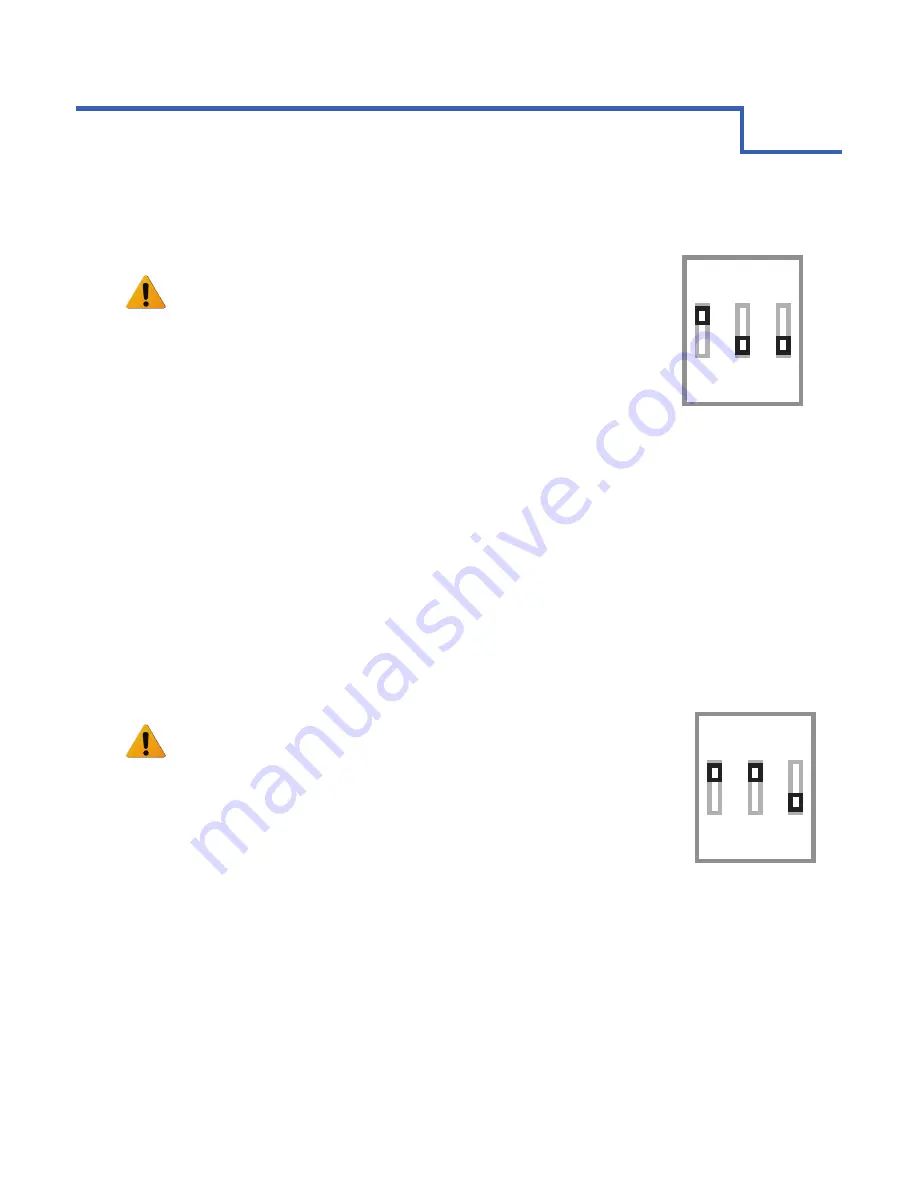
Set the switches to RAID 0. See the picture on the right.
Power-on the dock.
Check for 1 unallocated disk in your disk management utility with a size close to that of your combined RAID 0
drives. Ex.: if you use 2 x 1TB drives, look for a single 1.8 TB unallocated drive. Now you are ready to partition
and format that disk. As you do so, the data will automatically be spread accross each disk in equal parts. This
makes for a very large, very fast array!
See the Initialization section for specific formatting and partitioning instructions for your operating system.
A)
B)
C)
D)
E)
2
STEP 2: RAID 0 MODE
RAID 0 installation is very easy. Just make sure that each disk is functioning in JBOD mode first. The two disks should
be the same make and model number. If each disk appears as a separate blank or “Unallocated” volume within your
disk management utility, they should be ready to create an array.
1 2 3
! Only blank or unallocated disks can be used to setup a Spanning (BIG) array!
Power the dock off. Both disks should still be in the dock from your JBOD test.
Set the switches to BIG. See the picture to the right.
Power-on the dock.
Check for 1 unallocated disk in your disk management utility with a size close to that of your combined drives. Ex.:
if you use 2 x 1TB drives, look for a single 1.8 TB unallocated drive. Now you are ready to partition and format
that disk. As you do so, the data will automatically be spread accross both disks, seamlessly.
See the Initialization Section for specific formatting and partitioning instructions for your operating system.
A)
B)
C)
D)
E)
2
STEP 2: SPANNING (BIG) MODE
Setting up a Spanning array is very simple. Just make sure that each disk is functioning in JBOD mode first. If each
disk appears as a separate blank or “Unallocated” volume within your disk management utility, they should be ready to
create an array.
1 2 3
2
CHAPTER
INSTALLATION GUIDE


