+1-800-661-8443
Third Edition, Nov 2016
ACS V4.2
Page
|
43
Section F. Can Seamer
Section F.
Can Seamer
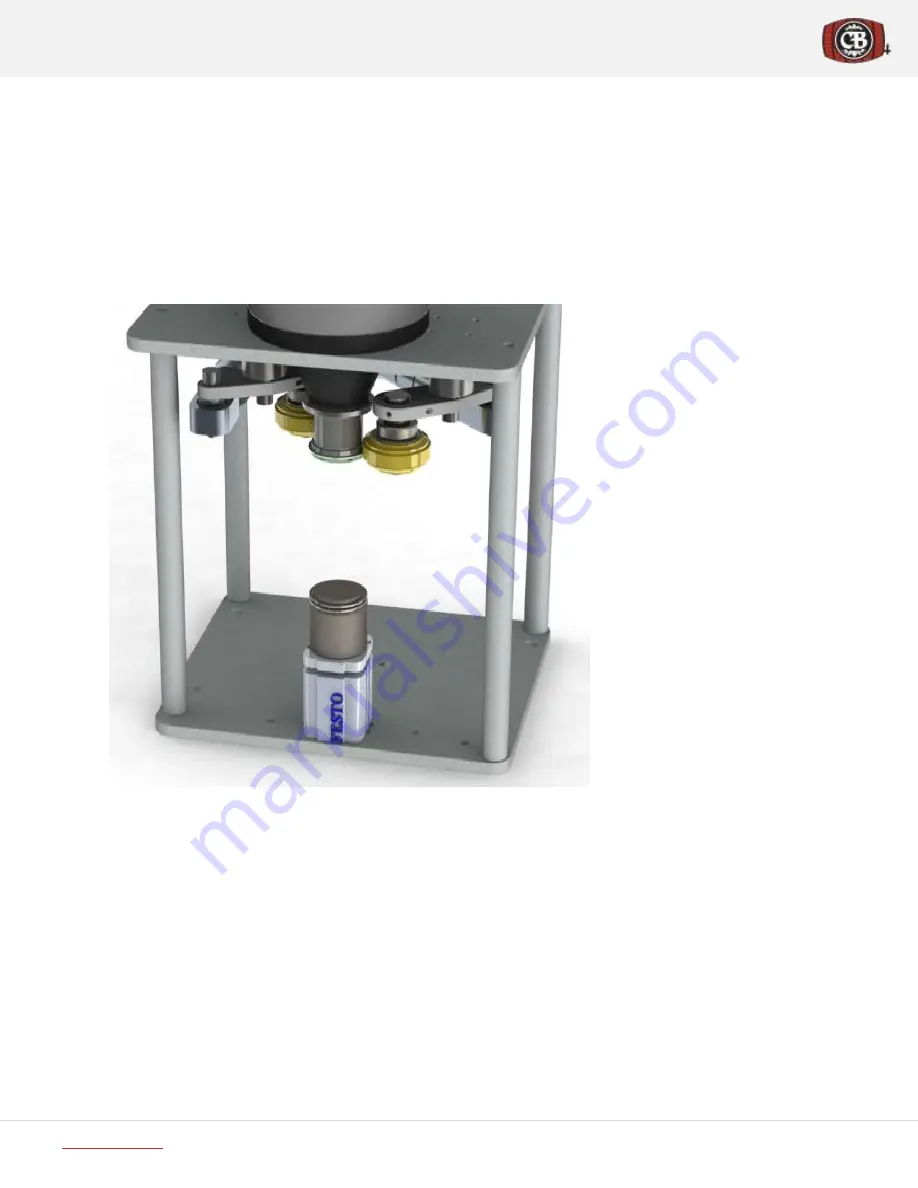
The process of double seaming an aluminum can is broken down into the following steps:
1.
Once the can is placed on the lift table, the lift table then raises the can onto the chuck which will force the lid
down into position on the can body and spin the can.
2.
Once spinning, both dies will be pushed into contact with the can one after the other to create the seam.
3.
The first seam roll (“First Op” or First Operation) curls the cover around and underneath the can body ‘flange’.
4.
The second seam roll (“Second Op” or Second Operation) compresses the seam creating a tight seal.
5.
Once both seaming operations are complete, the lift table will drop, bringing the can back down.
Figure 38 Can seaming station
F.1
Seamer Adjustment & Troubleshooting
Good seams start with:
The proper base plate pressure – see F.1.3 Can Table Height on Page 46.
The proper first operation seam roll thickness (generally 0.076” ± 0.002”).
o
This dimension is for standard Ball 12 and 16oz, 355 and 473 ml. If you are using any other can format, size or
manufacturer, please refer to manufacturer for proper specifications.
If this dimension is not in range, the cover and body hooks will be out of spec so always adjust this dimension first.
The following Figure 39 identifies all the locations required to adjust and fine tuning the seaming process.
1
2
3
4
1. Die #1
2. Chuck
3. Die #2
4. Lift Table


