background image

E-3

Safety Precautions

E

nglis

h

Safety Precautions

Be sure to read these “Safety Precautions” before trying to use this product.

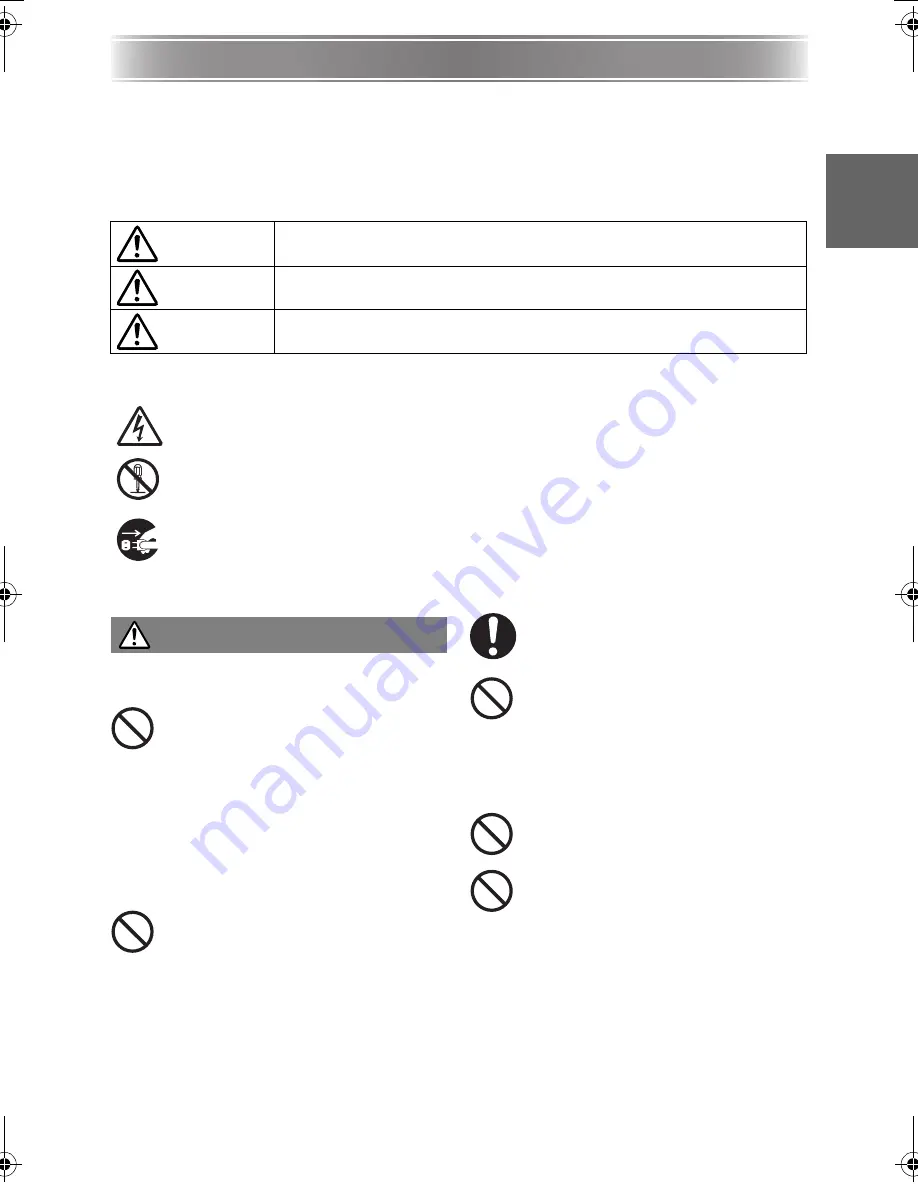
About safety symbols

Various symbols are used in this manual and on the product itself to ensure safe use, and to 
protect you and others against the risk of injury and against material damage. The meaning of 
each of the symbols is explained below.

Icon Examples

Precautions During Use

Smoke, odor, heat, noise, and 
other abnormalities

Should you ever notice smoke, strange 
odor, or heat being emitted by the 
product, or any other abnormality, 
immediately stop using the product. 
Continued use creates the risk of fire 
and electric shock. Immediately 
perform the following steps.

1.

Unplug the AC Adaptor.

2.

Contact your original dealer or authorized 
CASIO service center.

Malfunction

Never try to use the product while it 
is malfunctioning. Continued use 
creates the risk of fire and electric 
shock. Immediately perform the 
following steps.

1.

Turn off power.

2.

Unplug the AC Adaptor.

3.

Contact your original dealer or authorized 
CASIO service center.

AC adaptor

Misuse of the AC adaptor creates the 
risk of fire and electric shock. Make 
sure that you always observe the 
following precautions.
• Use only the AC adaptor that is 

specified for the product.

• Never try to use the supplied AC 

adaptor to power any other type of 
device.

• Make sure that you use a power 

source with the same voltage as that 
specified for the AC adaptor.

• Do not overload a power outlet.

Misuse of the power cord creates the 
risk of personal injury, fire and electric 
shock. Make sure that you always 
observe the following precautions.
• Never place heavy objects on top of 

the power cord, and do not expose 
it to heat.

• Never try to modify the power cord 

in any way, and do not subject it to 
excessive bending.

• Never twist or pull on the power 

cord.

Danger

This symbol indicates information that, if ignored or applied incorrectly, 
creates the risk of death or serious personal injury.

Warning

This symbol indicates information that, if ignored or applied incorrectly, 
could possibly create the risk of death or serious personal injury.

Caution

This symbol indicates information that, if ignored or applied incorrectly, 
could possibly create the risk of personal injury or material damage.

A triangle indicates a situation against which you need to exercise caution. The 
example shown here indicates you should take precaution against electric shock.

A circle with a line through it indicates information about an action that you should 
not perform. The specific action is indicated by the figure inside the circle. The 
example shown here means disassembly is prohibited.

A black circle indicates information about an action that you must perform. The 
specific action is indicated by the figure inside the circle. The example shown here 
indicates you must unplug the power cord from the power outlet.

Warning

YP100_Guide_E.book  3 

ページ


2006年8月8日 火曜日 午後3時16分

Summary of Contents for YP-100 - 1

Page 1: ...e the User s Guide on the bundled CD ROM Contents Safety Precautions E 3 Operating Precautions E 6 Unpacking E 6 Introduction E 7 What you can do with the YP 100 E 7 About this manual E 10 General Gui...

Page 2: ...orbidden You are allowed to use this manual for your own personal use Any other use is forbidden without the permission of CASIO COMPUTER CO LTD CASIO COMPUTER CO LTD shall not be held liable for any...

Page 3: ...e Make sure that you use a power source with the same voltage as that specified for the AC adaptor Do not overload a power outlet Misuse of the power cord creates the risk of personal injury fire and...

Page 4: ...lug the AC Adaptor 3 Contact your original dealer or authorized CASIO service center Disposal by burning Never try to dispose of the product by burning it Doing so can cause an explosion which creates...

Page 5: ...that you always observe the following precautions Never try to take a battery apart and do not allow it to become shorted Never expose a battery to heat or throw it into fire Never try to charge the b...

Page 6: ...se or any other container of water on top of the product Never leave a dead battery inside the remote controller for a long time A dead battery can leak which leads to malfunction of and damage to the...

Page 7: ...rom the connected device Using a USB Memory Device with the YP 100 You can connect a commercially available USB memory device to the USB port of the YP 100 and project images and movies stored on the...

Page 8: ...from the projector connected to the YP 100 You can have up to four computers connected to the YP 100 over a wireless LAN at the same time Use the remote controller that comes with the YP 100 to select...

Page 9: ...YP 100 and project the images of documents placed on the document stage of the YC 400 z For information about basic YC 400 operations see Using the YP 100 with a YC 400 Document Camera on page E 19 of...

Page 10: ...cumentation Detailed explanations about how to use the YP 100 can be found in the User s Guide PDF file on the CD ROM that comes with the YP 100 Your computer will need to have Adobe Reader installed...

Page 11: ...l LINE OUT terminal Power key Hold key POWER indicator HOLD indicator RGB OUT terminal Remote control signal receiver both sides USB port MENU key FUNC key key key key Cursor keys S S S S T T T T W W...

Page 12: ...press to the right as you pull the battery holder out of the remote controller by pulling on slot 2 with your index finger nail Preparing the Remote Controller Replacing the Remote Controller Battery...

Page 13: ...devices connected to the YP 100 is output from the YP 100 s LINE OUT terminal There is no need to connect the YP 100 s LINE OUT terminal to external equipment if you do not want to output recorded au...

Page 14: ...matically z This will cause the YP 100 s POWER indicator to light green Also the YP 100 logo screen will be projected by the projector if there is nothing connected to the YP 100 s USB port z If this...

Page 15: ...files created with Microsoft PowerPoint to image jpg files and store them on a USB memory device z Project the contents of the screen of a computer connected to the YP 100 over a wireless LAN For mor...

Page 16: ...image files to the USB memory device z In this example we will create a folder named YP 100 in the root directory of a USB memory device and copy the image files to the folder Perform any one of the...

Page 17: ...000 1 Insert the USB memory device into your computer s USB port 2 Double click the My Computer icon and then double click Removable Disk X z This will display the USB memory device contents in Window...

Page 18: ...f the files contained on the USB Memory Device will appear in the projection area 5 Use the remote controller s cursor keys to move the highlighting to the YP 100 folder and then press the ENTER key z...

Page 19: ...14 to turn on the YP 100 z This will cause the YP 100 s POWER indicator to light green The YP 100 logo screen also will be projected by the connected projector 3 Connect the document camera to the YP...

Page 20: ...of the document stage along with a dialog box for adjusting the document camera position z If the document camera is positioned correctly position adjustment will end automatically and the dialog box...

Page 21: ...the top of the page should face towards the camera stand z Initially the monitor image will be projected and so the image will appear a bit fuzzy z When the document camera senses that the document on...

Page 22: ...me YP 100 USB Port USB TYPE A Audio Out Terminal Stereo mini jack 1 RGB Out Terminal RGB mini D Sub 15 pin 1 Operating Temperature 5 to 35 C 41 to 95 F Operating Humidity 20 to 80 non condensation Pow...

Reviews: