12
E
Getting Started
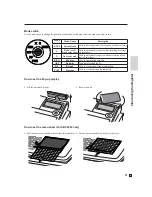
Be sure to check the sticker (rating plate) on the side of the cash
register to make sure that its voltage matches that of the power sup-
ply in your area.
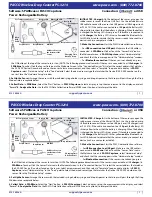
2. Plug the cash register into a wall outlet.
3. Insert the mode key marked “PGM” into the mode switch.
4. Turn the mode switch to the “PGM” position.
5. Sign on clerk.
1. Signing clerk 1 on as a temporary clerk.
1
o
X
REG
OFF
RF
PGM
Z
X2/Z2
P01
~00
RPT
AMOUNT
T1
T2
T3
T4
TOTAL CHANGE
R-OFF
OP
PGM
X
REG
OFF
RF
PGM
M
6. Set the date.
1. Enter current date in year - month - day order, and press the <X/DATE TIME>
Example: 18 June 2010
2
100618
X
2. Press <C> key.
Example:
C


