11
D.
Adding Item to an existing Pulldown Group
Please Note: When we originally setup your terminal we programmed it in a logical fashion to assist
with your programming. The first 50 items correspond to menu 1 of your terminal. The second 50
correspond to the 2
nd
menu etc. You will find the items for a pulldown group further down your
PLU list from 750, with a heading that is has a leading asterix. For example, if you have a pulldown
called Tap Other, further down your PLU list is 750 *Tap Other. Listed below this are all the items
that will pop-up under the Tap Other key. We strongly recommend that you continue to follow this
logic, as it will make reprogramming much simpler.
When adding a new item to an existing pulldown group find the rest of the items in the pulldown
group and add the new item to the first free PLU under these items. Remember this PLU’s number
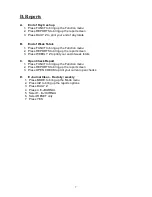
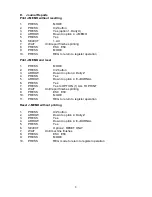
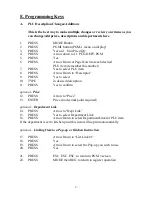
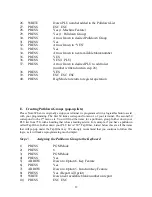
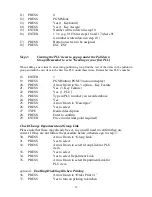
1.
PRESS
PGM button
2.
ENTER
3
3.
PRESS
PGM button (PGM-3 menu on display)
4.
PRESS
Arrow Down to No. 3 option – Key Feature
5.
PRESS
Yes (3. Key Feature)
6.
PRESS
Yes (1. PLU)
7.
PRESS
Type in PLU number you recorded above
8.
PRESS
Yes
9.
PRESS
Arrow Down to “Descriptor”
10.
PRESS
Yes to select
13
TYPE
Desired description
14.
PRESS
Enter to confirm
15.
ENTER
Price (no decimal point required)
16.
PRESS
Arrow Down to “Group Link”
17.
PRESS
Yes to select
18.
PRESS
Arrow Down to select Group Link for PLU
item
19.
PRESS
Yes to select
20.
PRESS
Yes to select Department Link
21.
PRESS
Arrow Down to select Department Link for
PLU item
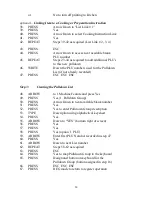
optional –
Enabling/Disabling Kitchen Printing
22.
PRESS
Arrow Down to “Order Print # 1”
23.
PRESS
Yes to turn on printing to kitchen
or
No to turn off printing to kitchen
optional –
Linking Item to a Cooking or Preparation Instruction
22.
PRESS
Arrow Down to “List Link # 1”
23.
PRESS
Yes
24.
PRESS
Arrow Down to select Cooking Instruction Link
25.
PRESS
Yes
26.
REPEAT
Steps 21-24 as required (List Link # 2, 3, 4)


