— 13 —
MCPZ-KYA1
*SCREW
⋅
9
MCPZ-KYB2
*SCREW
⋅
11
MCPZ-KYA3
*SCREW
⋅
9
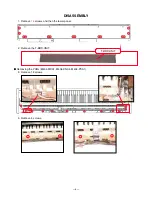
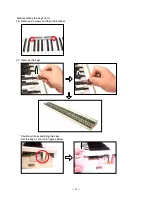
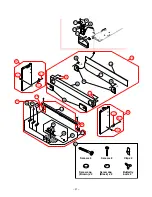
28. Remove 8 rubber keys.
* One of the keys has the different length from others.
* Caution while assembling the rubber keys.
Push the rubber keys with the tool like the tweezers, so the projections of the rubber keys matches with
the holes of the lower case.
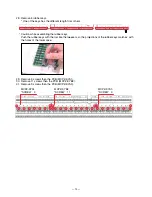
29. Remove 9 screws then the PCB (MCPZ-KYA1).
30. Remove 11 screws then the PCB (MCPZ-KYB2).
31. Remove 9 screws then the PCB (MCPZ-KYA3).
Summary of Contents for Privia PX-700
Page 1: ...ELECTRONIC KEYBOARD PX 700 SEP 2005 PX 700 Ver 9 Jan 2010 INDEX...
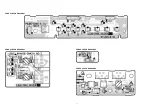
Page 6: ...4 PRINTED CIRCUIT BOARDS MAIN PCB M404 MDA1 Bottom view Top view SUB PCB M404 PSA1...
Page 7: ...5 CONSOLE PCB M406 CNA1 CONSOLE PCB M406 CNA2 CONSOLE PCB M406 CNA3 CONSOLE PCB M406 CNA4...
Page 19: ...17 SUB PCB M404 PSA1 NOTE The portions marked as UNUSED are not used on this model...
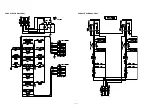
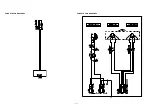
Page 20: ...18 CONSOLE PCB M406 CNA1 CONSOLE PCB M406 CNA2...
Page 21: ...19 CONSOLE PCB M406 CNA3 CONSOLE PCB M406 CNA4...


