14
EN
Connecting the Printer to a Computer
Be sure to install the printer software on your computer before connecting
the printer to it.
Important!
1.
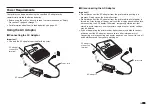
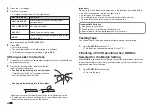
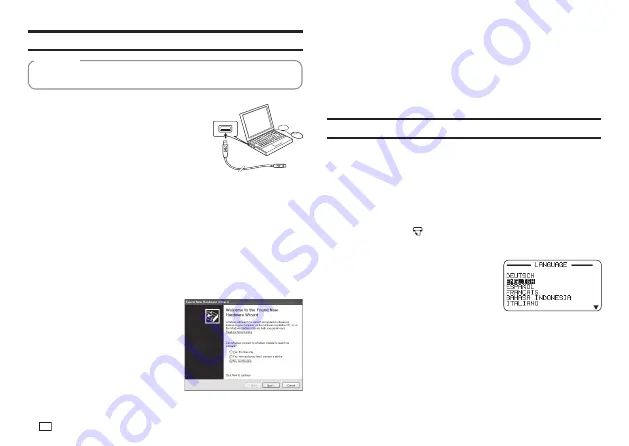
Start up Windows and then connect a USB
cable* to a USB port on the computer.
*
Use a commercially available cable
(A-microB type) that complies with USB
standards.
2.
Connect the USB cable to the printer USB port.
Important!
When connecting for the fi rst time, remove the sticker from the printer's USB
port.
3.
On the printer, press
ON
.
4.
On the printer, press
PC LINK
.
•
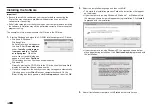
This will display a USB driver install wizard on your computer. A
USB driver is required for proper data communication between your
computer and printer. Follow the instructions that appear on your
computer screen to install.
•
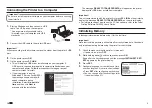
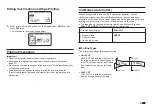
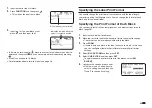
If your computer is running
Windows XP Service Pack3 (SP3),
the message shown nearby will
appear sometime during
installation. Select
No, not this
time
and then click
Next
to
proceed with the installation.
The
message
READY TO TRANSFER DATA
will appear on the printer
display after USB driver installation is complete.
Important!
To print computer data with the printer, fi rst press
PC LINK
on the printer to
display the message
READY TO TRANSFER DATA
on the printer display.
•
For information about how to use the PC Link software, refer to the Label
Printing Software FA-3000 User's Guide.
Initializing Memory
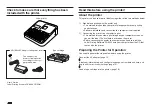
Initialize printer memory before using it for the fi rst time.
Important!
Note that initializing memory will delete all currently stored data. You should
only initialize memory before using the printer for the fi rst time.
1.
Check to make sure that the printer is turned off.
•
If power is on, press
OFF
.
2.
While holding down
and the space key, press
ON
.
Keep all of the keys depressed until the message
INITIALIZE? SET/
ESC
appears on the printer display.
3.
Press
SET
.
4.
Confi gure language, current date and time,
and then length unit (cm or inches) settings.
•
Press
SET
after confi guring each setting.
•
You can change all of these settings later,
if you want (page 51).
B
Summary of Contents for KL-G2
Page 1: ...User s Guide KL G2 EN RJA532734 001V02 Supported Tape Widths 6 mm 9 mm 12 mm 18 mm 24 mm ...
Page 2: ...Important Be sure to keep all user documentation handy for future reference ...
Page 60: ...58 EN 7 8 9 10 11 12 13 14 15 16 17 18 19 20 WORK 1 2 3 4 5 6 7 8 9 10 ATTENTION 1 2 3 4 5 6 ...
Page 63: ...APP 1 Appendix Accented Characters A C D E G H I J K L N O R S T U Y Z ...
Page 64: ...APP 2 a c d e g h i j k l n o r s t u y z ...
Page 65: ...APP 3 GREEK RUSSIAN SUPER SUB Symbols SYMBOL DINGBAT NUMBER ...
Page 66: ...APP 4 Illustrations ILLUST 1 ILLUST 2 ...
Page 67: ...APP 5 Frames ...
Page 68: ...APP 6 ...


