○○○○○○○○○○○○○○○○○○○○○○○○○○○○○○○○○○○○○○○○○○○○○○○○○○○○○○○○○○○○○○○○○○○○○○○○○○○○○○○○○○○○○○○○○○○○○○○○○○○○○○○○○
○○○○○○○○○○○○○○○○
○○○○○○○○○○○○○○○○○○○○○○○○○○○○○○○○○○○○○○○○○○○○○○○○○○○○○○○○○○○○○○○○○○○○○○○○○○○○○○○○○○○○○○○○○○○○○○○○○○○○○○○○○
○○○○○○○○○○○○○○○○
User Documentation
The CW-L300 comes with the four types of user documentation described below.
■
Printed Documentation
1
CW-L300 Startup Guide
2
CW-L300 User’s Guide
■
PDF File Documentation (CD-ROM)
3
DISC TITLE PRINTER Application User’s Guide
4
FA-B30 Basic Label Printing Software User’s Guide
The following table shows which documentation you need to check for each type of
printing operation.
•
All of the remaining procedures of this manual assume that the CW-L300 is
connected to your computer. See the Startup Guide for information about using the
CW-L300 in a standalone configuration.
About the Bundled CD-ROM
Handling Precautions
•
When handling the disc, avoid getting finger smudges, dirt, scratches, etc. on either
of its surfaces.
•
Should the disc become dirty, use an eyeglass cleaning cloth or some other soft
cloth to wipe it lightly from the center of the disc outwards towards its edge. Never
use phonograph record cleaner or any other cleaning agent.
•
Never write on either of the disc’s surfaces with a pen or pencil, or affix a sticker to
the disc surfaces.
•
Use of a disc that is cracked or deformed, or a disc that has adhesive on it is
dangerous. Never use such a disc.
Storage Precautions
•
Avoid storing discs in areas subjected to high temperature, high humidity, or direct
sunlight.
•
When you are not using a disc, store it in its original case or in a commercially
available CD case.
•
Avoid storing a disc so its label comes in direct contact with the surface of a vinyl
case, bag, etc.
Warning!
Never play a CD-ROM disc on any device that is not specifically designed to play
back CD-ROM discs. Audio output at a high volume setting creates the risk of damaged
hearing and damage to audio speakers.
Minimum System Requirements
OS:
Microsoft® Windows® XP, 2000 Professional, Me, 98SE, or 98
(English/French/German/Italian/Spanish Version)
Computer:
IBM PC/AT with the following specifications.
•
Windows XP, 2000 Professional, Me, 98SE, or 98 pre-installed
•
Pentium®II 266MHz or higher CPU or CPU recommended for running the OS you
are using.
•
USB port
Memory:
64MB minimum (128MB minimum recommended)
Hard disk:
At least 40MB available for installation of these applications, at least
60MB available for running the applications.
Display:
Color display (256 colors minimum, Full-Color recommended), compatible
with Windows XP, 2000 Professional, Me, 98SE, or 98, and capable of
being connected to your computer.
Resolution: 800 x 600 or higher
Pointing device:
Mouse or other equivalent device compatible with Windows XP,
2000 Professional, Me, 98SE, or 98
Keyboard
CD drive
•
The applications may not run correctly on certain system hardware and software
configurations.
•
Operation under Windows 3.1, 95, and NT®, on a Macintosh®, and under Mac®
OS is not supported.
•
Operation of the applications are not guaranteed on a computer upgraded to XP,
2000 Professional, Me, 98SE, or 98.
Installing the Software
This document explains how to install the bundled software on a computer running
the English version of Windows XP. For details about basic Windows operations, see
the user documentation or help for your computer.
Precautions when Installing and Uninstalling
•
You need to be logged in to your computer with as an administrator (Windows XP)
or with administer privileges (Windows 2000) in order to install or uninstall the
software.
Software and User Documentation
Printing Software
DISC TITLE PRINTER Application
FA-B30 Basic Label Printing Software
User Documentation (PDF Files)
DISC TITLE PRINTER Application User’s Guide
FA-B30 Basic Label Printing Software User’s Guide
Adobe Reader
To Install Software
Important!
•
Be sure to install the software before you connect the printer to your computer.
Connecting before you install the software can result in improper operation.
•
Make sure you quit all other anti-virus and other applications running on your
computer before starting installation. Installing while other applications are running
can result in incorrect installation. You can restart the applications after installation
is complete.
•
If you leave an anti-virus application running, it may display error and warning
message during the installation procedure. If this happens, perform the following
steps.
1.
After installation is complete, uninstall the software you just installed.
2.
Exit the anti-virus application and any other applications currently running on
your computer.
3.
Re-install the software.
4.
After installation is complete, re-start the applications you exited in step 2.
■
To install the printing software
The examples in this manual show installation from a CD-ROM drive named drive D:.
1.
Start up Windows, and place the
DISC TITLE PRINTER LABEL-BIZ
SOFTWARE
CD-ROM into your computer’s CD-ROM drive.
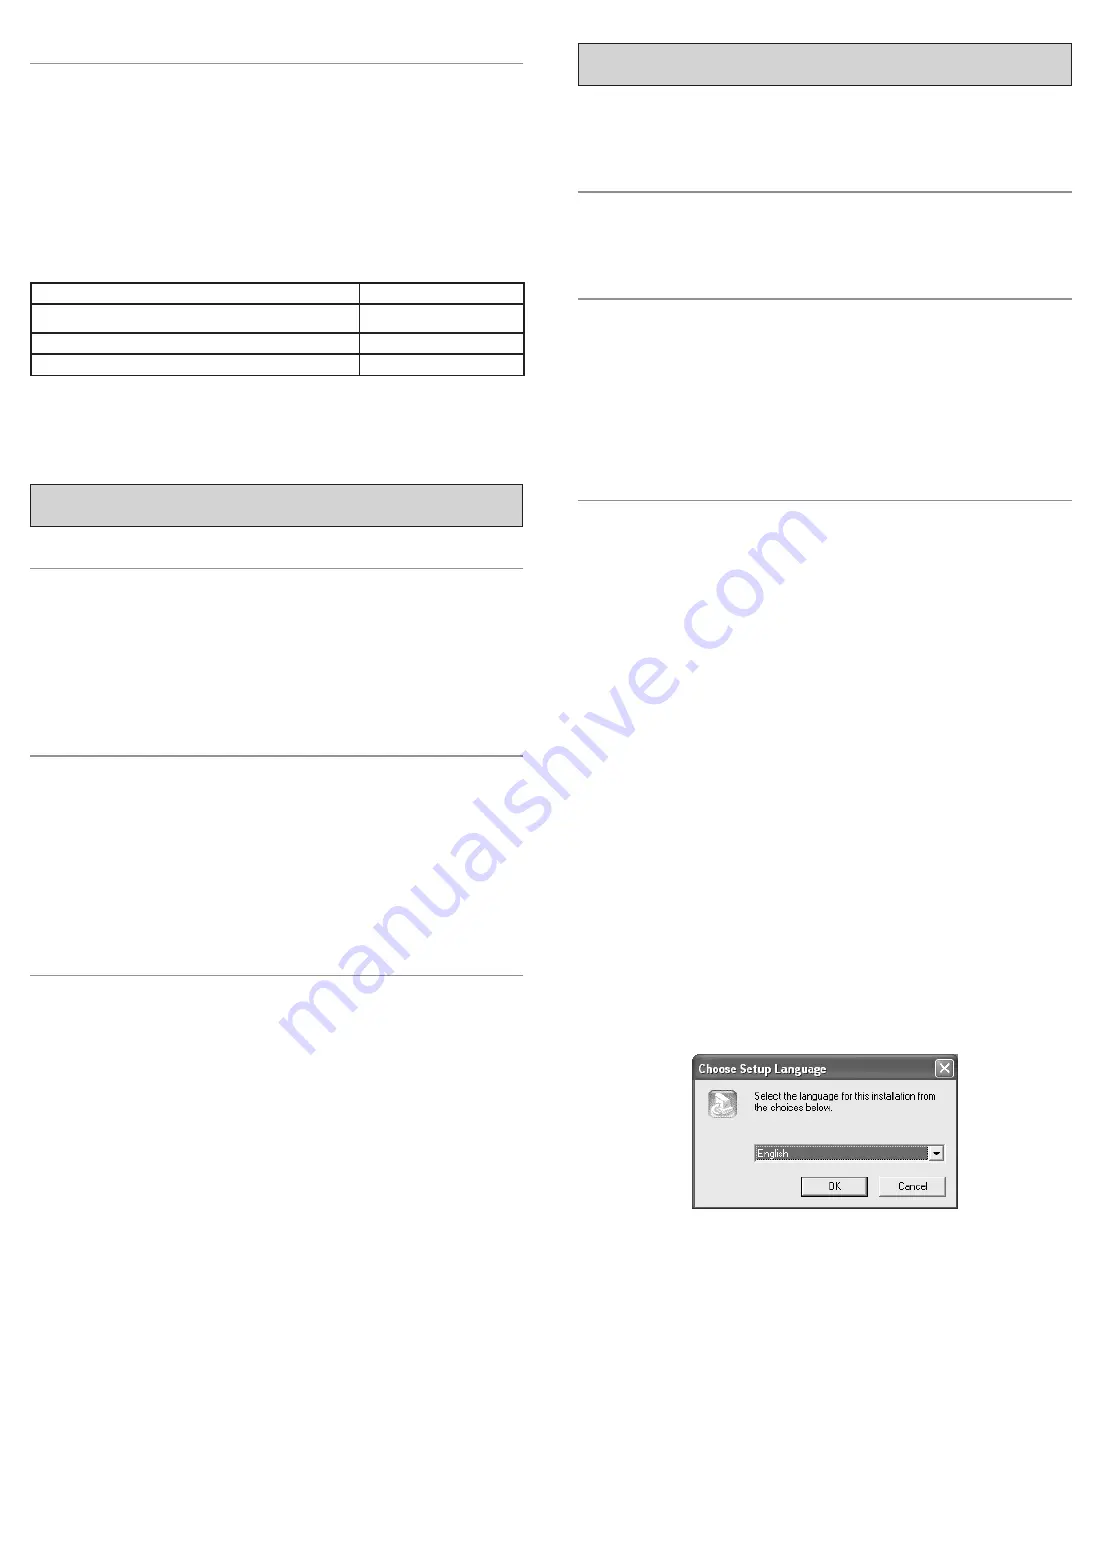
The installer should start up automatically, and display the screen shown below.
If the installer does not start up automatically
1
On the Windows
Start
menu, click
Run
.
2
Type
D: \Setup.exe
. Be use to change the “D” to the actual name of your computer’s
CD drive. See the user documentation that comes with your computer for
information about the name of its CD drive.
3
Click
OK
.
This starts the installer on the CD-ROM.
•
If you want to cancel installation, click the
Cancel
button on each of the installer
screens.
•
If you want to install the DISC TITLE PRINTER Application only, click
Cancel
for
installation of the FA-B30 software.
•
If you want to install the FA-B30 software only, click
Cancel
for installation of the
DISC TITLE PRINTER Application. This will start installation of the FA-B30 software.
When you want to do this:
See this user documentation:
•
Print a tape label or disc label without connecting to a computer
1
,
2
•
Print a disc case label
•
Connect to a computer and print a disc label
1
,
2
,
3
•
Connect to a computer and print a tape label
1
,
2
,
4


