English
Recording and Playback
EN-25
Playing Back Data Recorded on a USB
Flash Drive
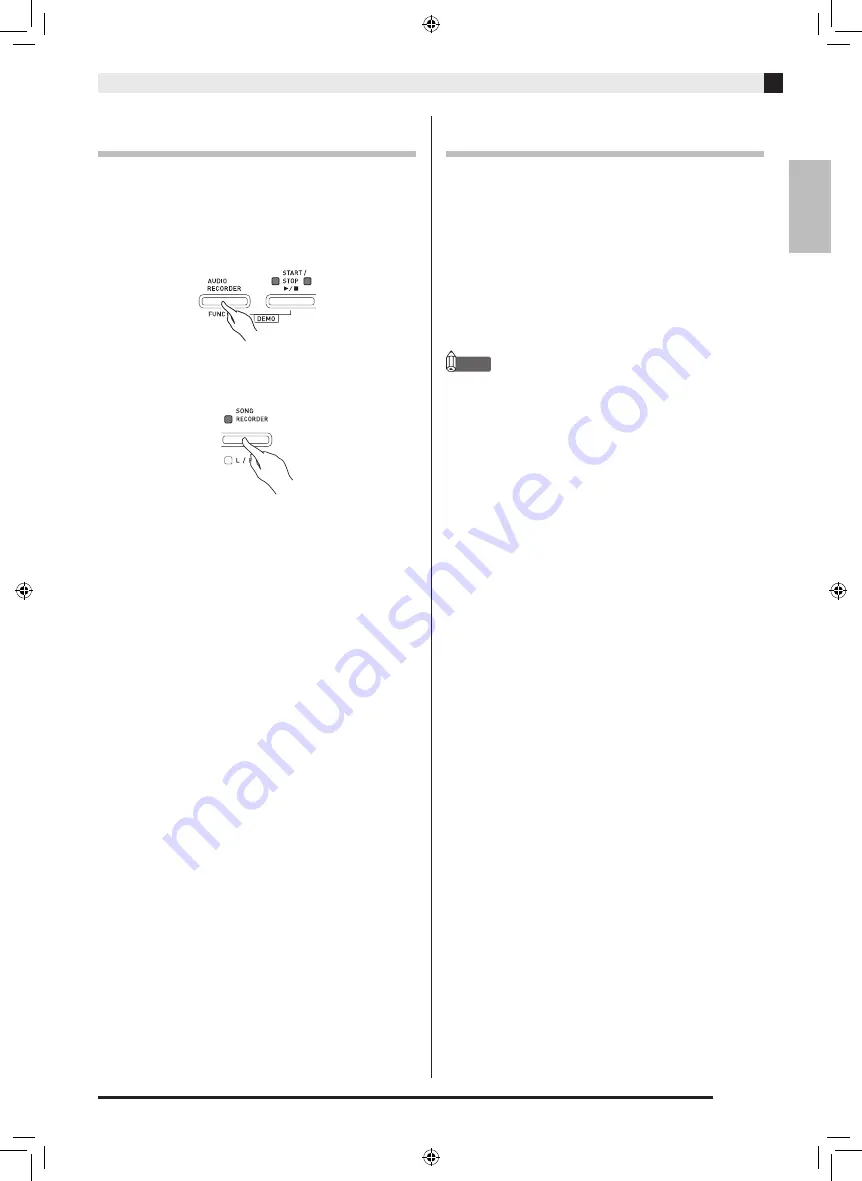
1.
Press the
AUDIO RECORDER
button. Note
that you should press the button and
immediately release it. Do not hold it down.
•
This causes the two START/STOP
a
button
indicator lamps to light.
2.
Press the
SONG RECORDER
button so its
lamp is lit.
3.
While holding down the
AUDIO RECORDER
button, press the
START/STOP
a
button.
•
This starts playback of the last song you recorded.
To select a file and play it
Hold down the FUNCTION button as you use the
MUSIC LIBRARY SELECT keyboard keys to select the
song you want.
•
Press the minus (–) keyboard key to scroll back
through songs in reverse chronological order.
•
Press the plus (+) keyboard to key scrolls forward.
•
You also can use the number keyboard keys
(0 through 9) to inputting a file number (1 to 99) and
directly select a file (TAKE01.WAV, TAKE02.WAV,
etc.). The keyboard will beep if there is no file on the
USB flash drive that corresponds to the number you
input.
4.
To stop playback of the song, press the
START/STOP
a
button.
Adjusting the Audio Recorder Volume
Level
You can use the procedure below to adjust the volume
level of audio data recorded to a USB flash drive.
1.
While holding down the
FUNCTION
button,
use the Audio Recorder Volume keyboard
keys to adjust the volume level.
•
For details about using the keyboard keys for
settings, see “Keyboard Keys Used for Configuring
Settings” (page EN-29).
•
Each press of the + (increase) or – (decrease)
keyboard key changes the volume value by 1.
NOTE
•
To return to the initial default setting, press the +
and – keyboard keys at the same time.
AP460-ES-1A.indd 27
2014/07/04 17:12:59


