


Quick Installation Guide V2.1.1
__________________________________________________________________________________________
PLEASE
READ
THIS
QUICK
GUIDE
BEFORE
OPERATING
YOUR
DVR
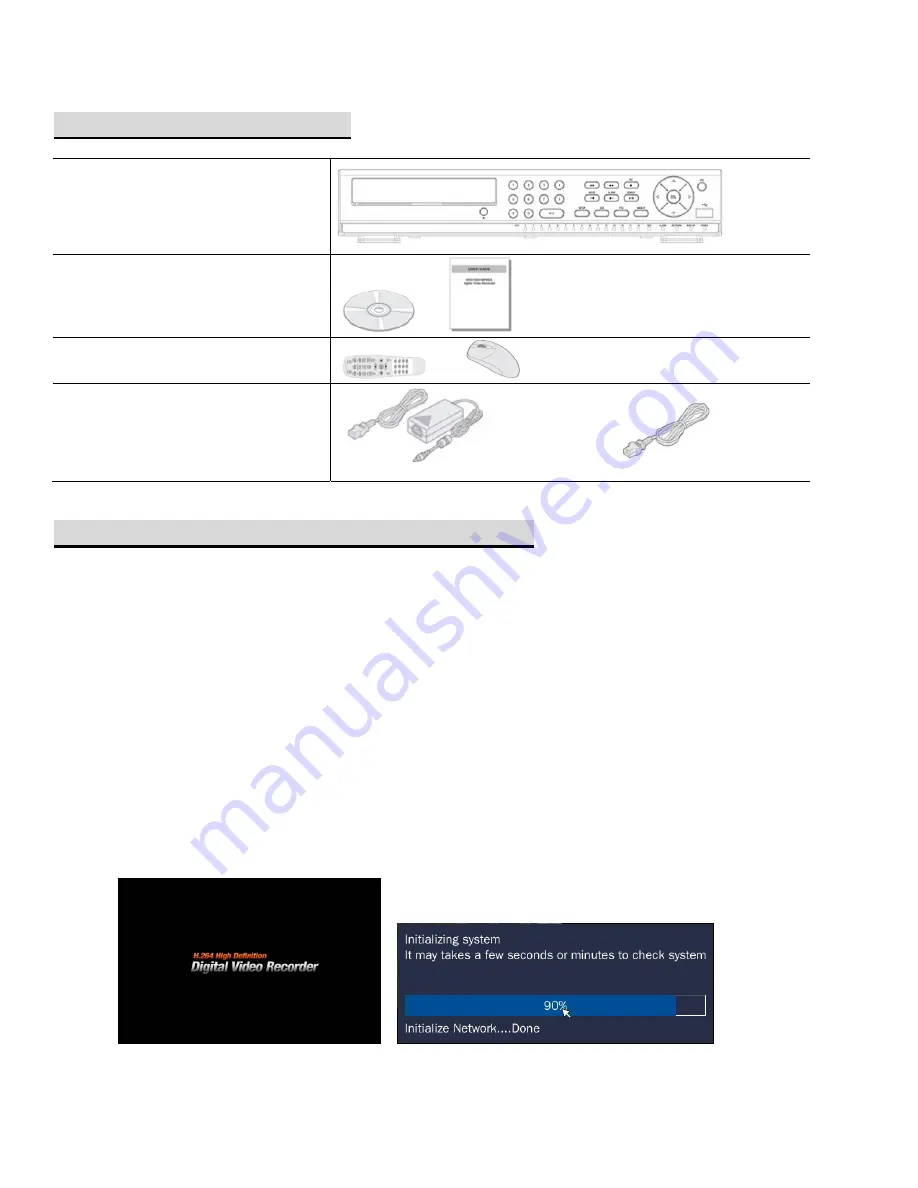
PRODUCT COMPONENTS
DVR
Client DVD & Quick Guide
(Includes Detailed User Manual)
/
Remote Control & Mouse
/
Power Supply &
AC Power Cord
[HR4, HR8, HR16]
[HDR4, HDR8, HDR16
]
INITIAL SYSTEM BOOTUP PREPARATION
Turning on the DVR
Connect the camera BNC cables.
Connect network and monitor cables.
Plug the USB mouse to the USB port on the DVR.
Connect a microphone and speaker if applicable.
Connect the power cable to the DVR from an 110V wall outlet.
After initialization, enter the correct date and time.
Adjust the video output resolution to the optimal resolution setting of your monitor.
Video output resolution can be changed from Setup > Display > Video Output.
Default video output resolution is set at 1024x768 with exception to HDR4, HDR8, and HDR16
which have a default video output resolution set to 1280x720.
IMPORTANT: Set monitor to highest possible video output resolution to prevent overscan.


