background image


17 

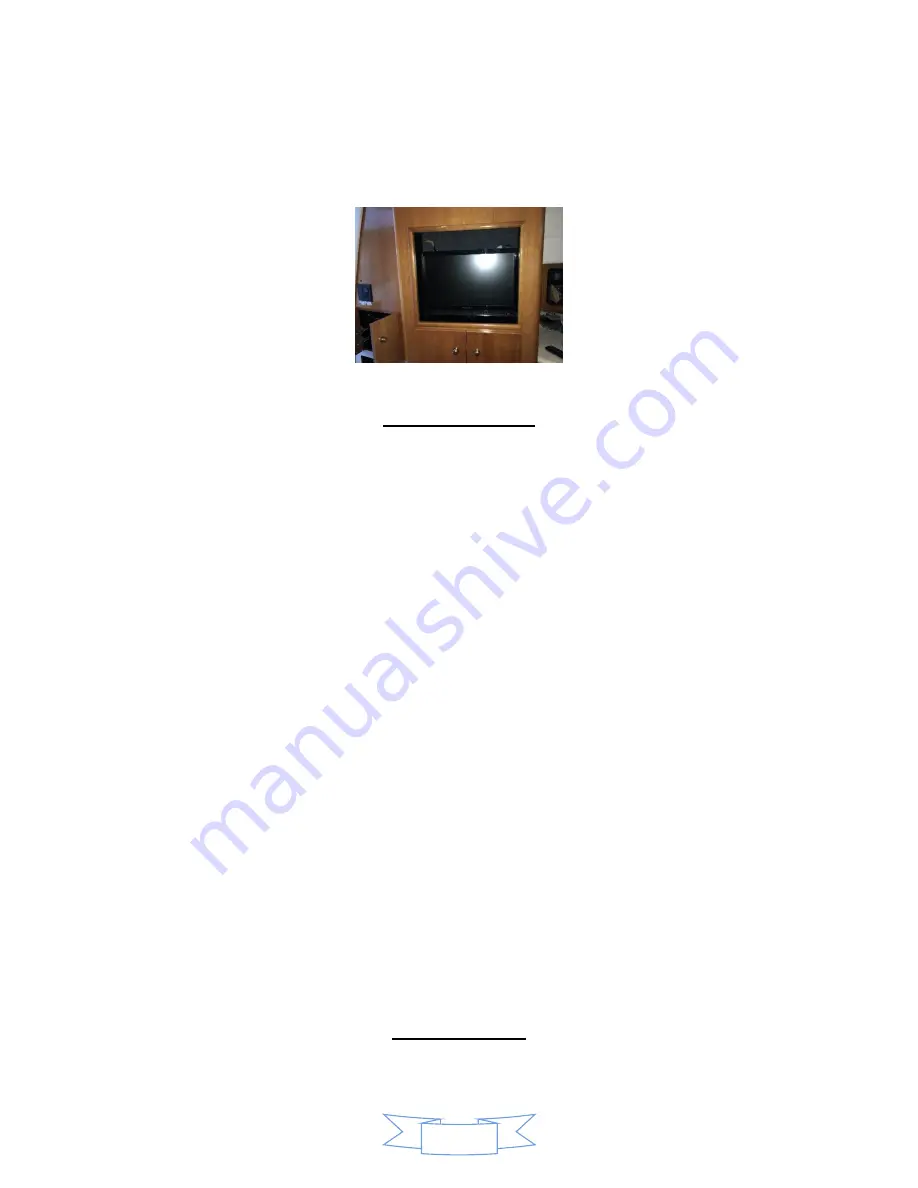
TV and DVD player are located port side in the salon. The TV is also equipped with Amazon Fire 
streaming device. 


ANCHORING 

          The primary WORKING ANCHOR is a plow type. It is attached to 200ft chain and that passes through 

the deck from the ANCHOR LOCKER.  The locker can be accessed through the forward deck hatch.  
Release the anchor keeper. 


The WINDLASS POWER SWITCH is located on the panel at the helm.  At the bow, unclip the retaining 
cable.   Tap gently on the ‘down’ foot control to provide a small amount of slack in the chain.  Tip the 
anchor just over center and gently begin lowering the anchor.  If necessary, guide the anchor over the 
anchor roller to prevent binding on the pulpit.   Be careful of pinch points. 
 
Let out sufficient ANCHOR RODE before setting the anchor.  Colored markers are placed to gauge 
depths— 
red every 10’—Yellow every 25’.   This is a gauge of the amount of rode.  If the anchorage is crowded 
put down at least a 3 to 1 scope (60 feet for 20 feet of water), back the anchor in with a short burst from 
the engine.  Then let out additional scope dependent upon conditions.   Install anchor chain bridle from 
bow cleats to chain, slack a loop in the windlass side of the chain. 
 
Before raising the anchor, ALWAYS start the engines as the windlass uses large amounts of power.  Turn 
‘on’ the WINDLASS SWITCH and take up slack to remove pressure on chain bridle.   Remove the bridle 
from the chain.   As the boat moves toward the anchor, press the ‘up’ control to take up slack line.  Give 
the windlass short rests as you are pulling it up.   If necessary, idle the boat forward with the engines by 
placing briefly in gear to put slack in chain.  


Place yourself in position to guide the anchor onto the roller.  

As the anchor rises, be careful not to allow it to swing against the hull. Wash it down before it goes into 
anchor locker. 
 
Reconnect the keeper between the anchor and windlass.  Close the plastic covers on the FOOT PEDAL 
CONTROLS. 


BARBECUE 


Summary of Contents for 410 Sport Sedan

Page 1: ...r 410 Sport Sedan is one of the most attractive and versatile yachts in its class providing a comfortable spacious and well designed layout She is a great boat for exploring the San Juan Islands and b...

Page 2: ...ay Cruising Docking Fueling Boat Electrical A C Shore Systems Generator D C House Systems Batteries Sanitation Systems Marine Toilet Holding Tank Water Systems Fresh Water Tanks Fresh Water Pump Hot W...

Page 3: ...tches stow all loose items remove and stow BBQ Make sure all portholes are securely closed 8 Perform a safely briefing to include location of life jackets emergency flares first aid kit emergency tool...

Page 4: ...fleet captain at checkout if you have any questions about the markings on dipsticks Please use a paper towel or oil rag not the dish towels Check the general condition of the BELTS HOSES and FUEL LINE...

Page 5: ...and advance the throttle to 700 rpm Repeat starting process for port engine Observe the readings of the gauges The oil pressure will register above 55 PSI when the engine is cold The engine temperatur...

Page 6: ...ders and lines Always have someone assigned to watch for traffic and obstacles Cruising Check gauges Ensure each THROTTLE GEARSHIFT is in the NEUTRAL IDLE position Increase throttles to 1200 RPM To br...

Page 7: ...ndicator Also periodically have someone turn on the key to watch the fuel gauge or station a person by tank site glasses to watch fueling progress Place the DIESEL nozzle into the tank opening pump sl...

Page 8: ...ers are labeled by colored dots Green signifies usually on Yellow signifies As needed Note The is also an auxiliary breaker panel located in the engine room starboard aft position pictured here 110 Vo...

Page 9: ...ccurs turn off some items e g water heater and wait to turn on one of your systems until your use of electricity drops If your outlets fail to work check your GFIs to make sure that they have not been...

Page 10: ...kill the generator by switching generator switch to off until it dies House 12 volt System 5 battery banks support 12 volt DC power 1 port engine battery 2 starboard engine battery 3 house battery ban...

Page 11: ...14 4 volts depending upon state of charge of the battery bank When the battery bank is at rest that is not being charged the voltmeter can give a rough indication of the state of charge of the battery...

Page 12: ...proximately 75 gallons 37 5 per tank Be aware of the rate of waste production about 1 gallon per flush With an overfilled tank it is possible to break a hose clog a vent or burst the tank The result w...

Page 13: ...nitor breaker on the DC panel Waste water from the sinks and showers drains into a sump box and is then pumped overboard automatically Ensure the Sump Pump breaker is turned on To refill the tanks rem...

Page 14: ...for accumulation of hair in the shower and sink drains An additional FRESH WATER SHOWER is located off the swim step Ensure that the faucets and nozzle are completely off after use A pressured RAW WA...

Page 15: ...oor It can be turned down to the lowest position when anchored or moored or turned off when turning in for the night Minimizing openings helps a lot HEATING AC SYSTEM Built in Cabin Heat AC is equippe...

Page 16: ...lease make sure you adequately familiarize yourself with operating key features of this unit before getting underway ENTERTAINMENT SYSTEMS AM FM CD Stereo Receivers and Sound system The vessel is equi...

Page 17: ...mount of rode If the anchorage is crowded put down at least a 3 to 1 scope 60 feet for 20 feet of water back the anchor in with a short burst from the engine Then let out additional scope dependent up...

Page 18: ...opened propane bottle within the salon or engine compartment Chances are these will leak slightly once opened and propane gas could settle into low spaces Store these bottles in the cockpit cabinet E...

Page 19: ...Dinghy Operation Before getting underway familiarize yourself with outboard motor operation controls such as location of the electric start button Emergency stop switch gearshift lever and throttle c...

Page 20: ...pot After 15 20 minutes retrieve the crab pot quickly Be certain of water depth before lowering crab pots make certain the buoy line is long enough for the depth Keep the male crabs of proper size us...

Page 21: ...ne raw water intakes In engine room aft of engines Normally open Generator raw water intake In engine room aft centerline Normally open Waste tank discharges In engine room forward of engines Normally...

Reviews: