CIMAN009 – Issue 1
Headrest Adjustment
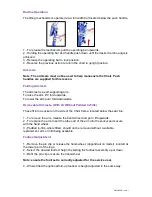
1 - Release the finger screws at the top of the backrest and insert the headrest
down-tubes.
2 - Select the desired headrest height by sliding the headrest assembly up or down.
3 - Secure the finger screws.
4 - The headrest mesh is secured and adjusted with hook and loop fastenings.
Note: ensure the headrest is correctly adjusted for the service user.
Seat Removal, Cleaning, Adjustment and Re-fitting
The Chair is available with a choice of seat configurations and has been provided
with the seat type and style agreed during the initial assessment.
•
Gap Fronted / Horseshoe.
•
Toilet / Aperture seat.
•
Full seat – no aperture used for showering only.
•
Flexi-seat – two part split seat. (Moulded adult only).
ADULT CHAIR
Gap, Toilet and Full Seat
Gap front, Toilet and Full Seats are fitted on a moulded plastic base and can be
easily removed for cleaning or replacement.
The seat is secured by 4 black plastic tabs on the bottom of the seat, do not try to
remove the seat without first releasing the tabs - this seat is not a snap/clip on
seat.
To Remove The seat
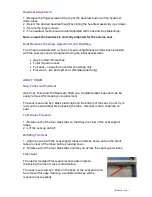
1 - Rotate each of the four black tabs so that they are clear of the seat support
tubes.
2 - Lift the seat up and off.
Refitting The Seat
1 - Align the seat with the seat support tubes and press down, ensure the black
tabs are clear of the tubes before pressing down.
2 - Rotate each of the four black tabs until they lie across the seat support tubes.
Flexi-Seat
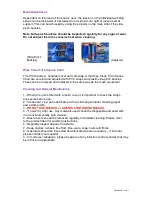
The rubber moulded Flexi-seat prevents water ingress,
minimising the risk of cross contamination.
The seat is secured by 4 bolts on the base of the seat and it can
be removed for easy cleaning, a suitable Allen key will be
required (not supplied).


