


9
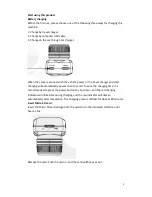
Power on and power off
Power on: Press the power button to power on, and the blue indicator light will
illuminate, then press the POWER button to start/stop record, and the blue indicator
will flick when the camera is recording.
Power off: Press the power button for three seconds to power off the camera, and
the blue light will go off.
Attention: The product will show a
prompt and automatically shut
down when the power level
becomes too low.
Basic operation of the product
Press the MODE button to switch between video / playback / photo modes.
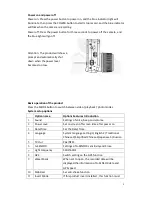
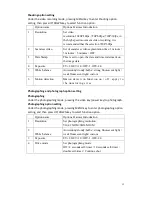
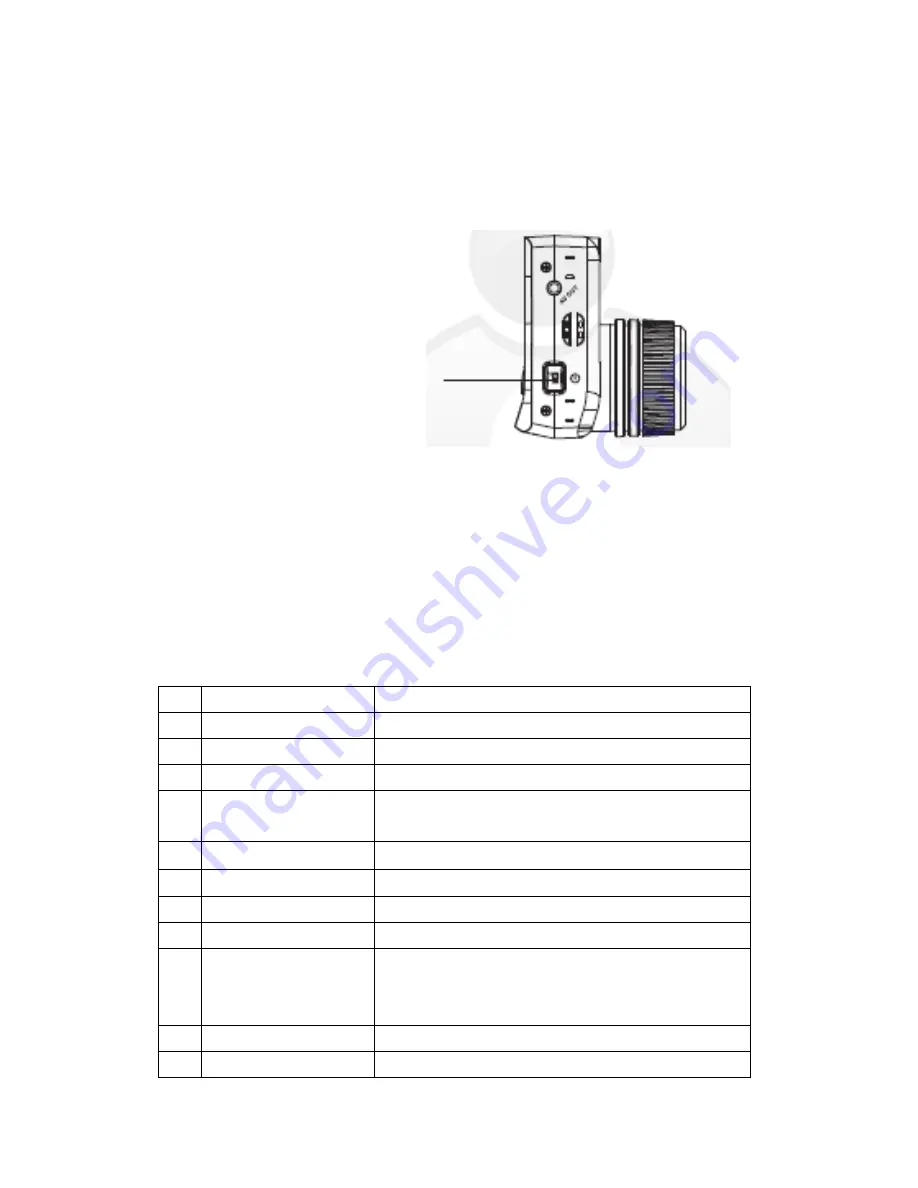
System setup options
Option name
Options Features Introduction
1
Sound
Settings of voice, beep and volume
2
Power save
Set on screen off-‐screen time after power on
3
Date/Time
Set the Date/Time
4.
Language
System language setting:1) English 2) Traditional
Chinese 3)Simplified Chinese 4)Japanese 5) Russian
5
TV Out
PAL/NTSC
6
G-‐SENSOR
Settings of G-‐SENSOR sensitivity and Close
7
Light Frequency
50HZ/60HZ
8
GPS
Switch setting on the GPS function
9
Water Mark
When set to open, the recorded data will be
displayed the information of G-‐SENSOR data and
GPS speed.
10
Stabilizer
Set anti-‐shake function
11
Invert Mode
If this product invert installed , this function must
Summary of Contents for CDV-800
Page 1: ...1...