Preparation
9
E
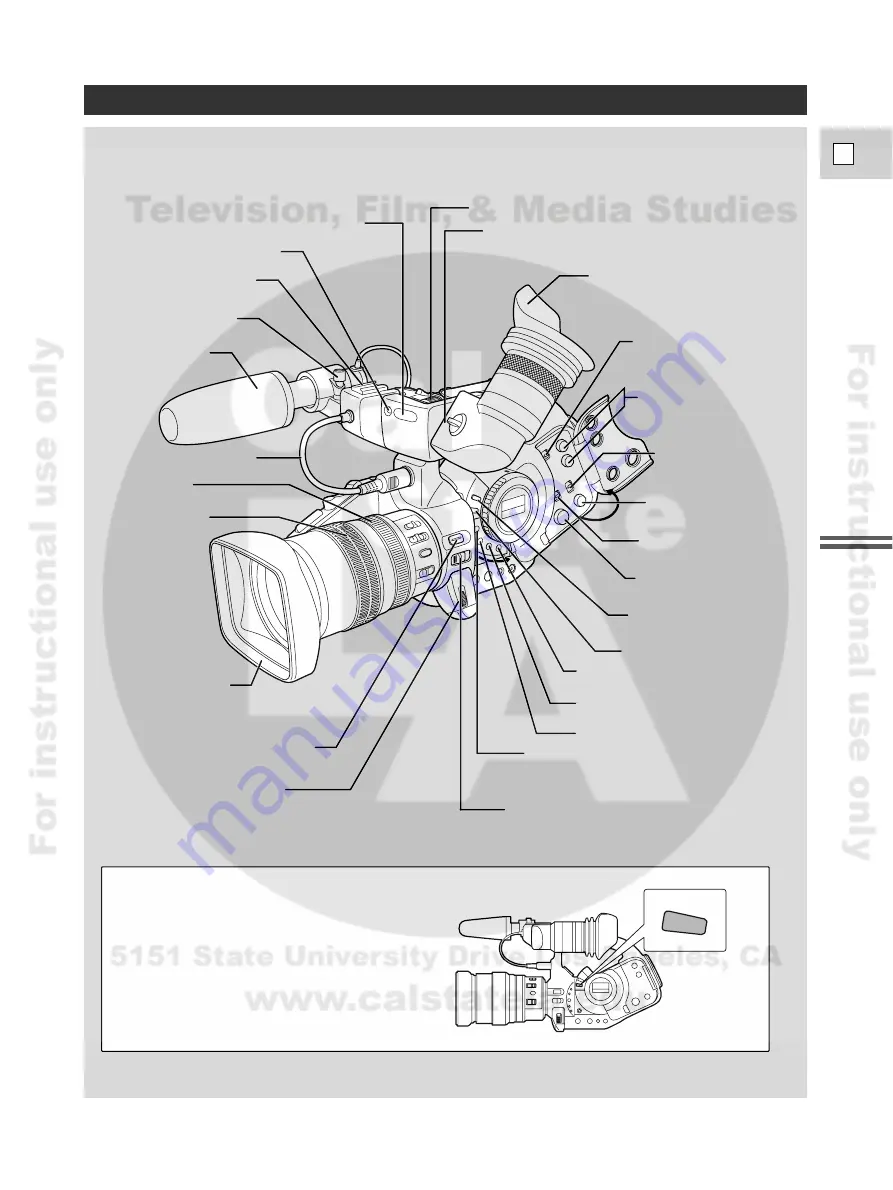
Finding Your Way Around the XL1S
LIGHT
Remote sensor (p. 30)
Tally lamp (p. 30)
Accessory shoe (p. 60)
Stereo microphone
(p. 18)
Viewfinder cable (p. 13)
Zooming ring
(p. 38)
Focusing ring (p. 66)
Lens hood (p. 15 )
EXP. LOCK button (p. 67)
IRIS/SELECT dial (p. 25, 32)
EYE POINT SELECT switch (p. 17)
Viewfinder unit locking screw (p. 16)
Eye cup (p. 16)
REC LEVEL switch
(AUDIO 2) (p. 53)
L/R dials (AUDIO 2) (p. 53)
INPUT SELECT switch
(AUDIO 1) (p. 51)
BALANCE dial (AUDIO 1)
(p. 51)
REC LEVEL switch
(AUDIO 1) (p. 51)
LEVEL dial (AUDIO 1)
(p. 51)
AUDIO MONITOR button
(p. 51, 54)
LIGHT button (p.9 )
LENS RELEASE switch (p. 14)
CUSTOM key 1 (p. 55)
USER PRESET (ON/OFF)
button (p. 70 )
USER PRESET (SELECT)
button (p. 70 )
CUSTOM key 2 (p. 55)
Microphone attachment
screw (p. 18)
Light Button
Push the LIGHT button to illuminate the main and
audio panels for approximately 10 seconds. If you
press and hold the button for at least 3 seconds,
the panels remain illuminated until you press the
button once more to turn the backlight off.


