background image

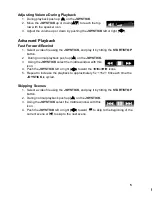
Adjusting Volume During Playback


1.  During playback push up 

(

)

 on the 

JOYSTICK

2.  Move the 

JOYSTICK 

up or down 

(



to reach the top 

row with the speaker icon. 

3.  Adjust the volume up or down by pushing the 

JOYSTICK

 left or right 

(



)

 
Advanced Playback 

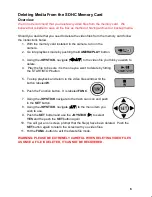
Fast Forward/Rewind 

1.  Select a video file using the 

JOYSTICK

,


and play it by hitting the 

START/STOP


button. 

2.   During normal playback push up 

(

)

 on the 

JOYSTICK.


3.   Using the 

JOYSTICK

 select the middle window with this 

icon.   

4.  Push the 

JOYSTICK

 left or right 

(



toward the 



 or 



 icons. 

5.  Repeat to increase the playback to approximately 5x 

15x

 60x each time the 

JOYSTICK

 is cycled. 


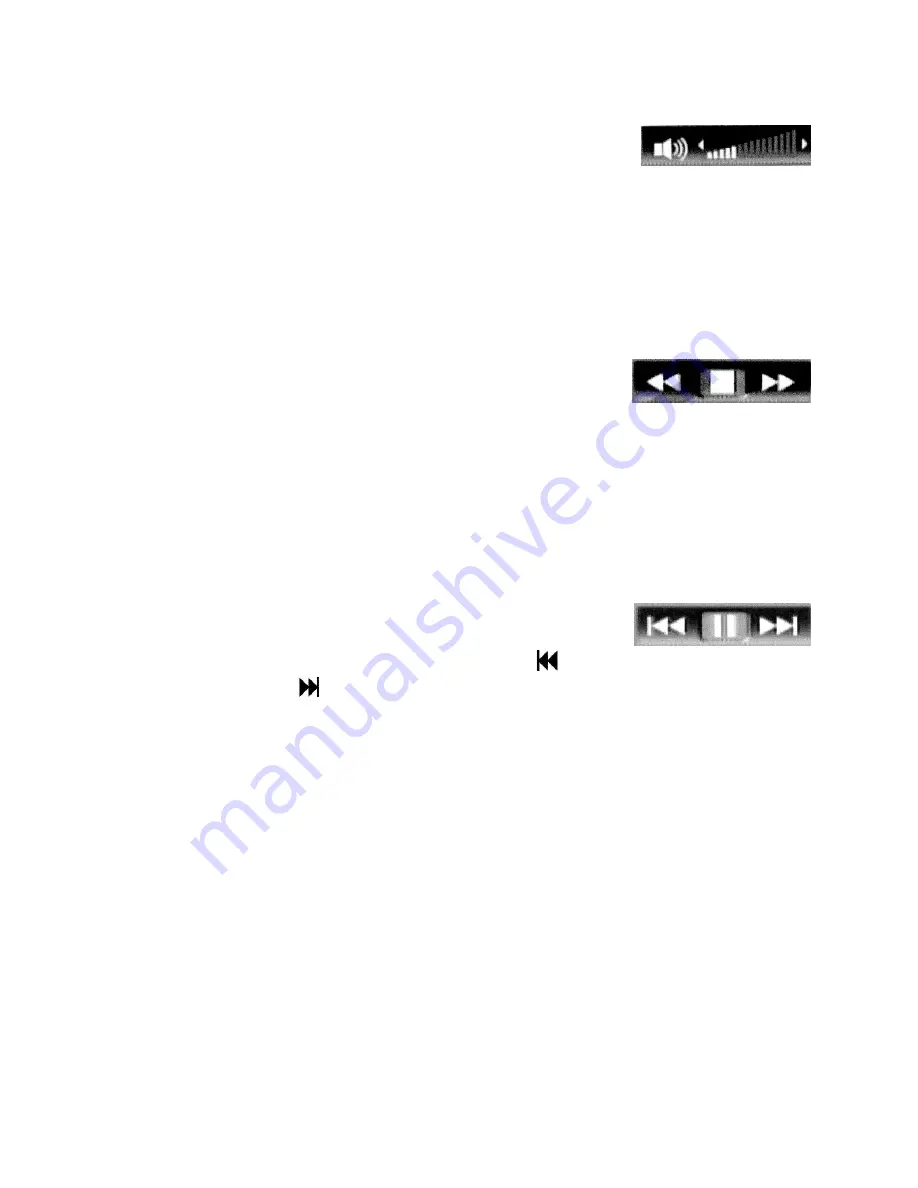
Skipping Scenes


1.  Select a video file using the 

JOYSTICK

,


and play it by hitting the 

START/STOP


button.  

2.  During normal playback push up 

(

)

 on the 

JOYSTICK.


3.  Using the 

JOYSTICK

 select the middle window with this 

icon. 

4.  Push the 

JOYSTICK

 left or right 

(



toward  

 to skip to the beginning of the 

current scene or 

 to skip to the next scene. 

Canon VIXIA HF200 Quick Start Guide 


Overview 

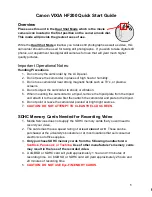
This camcorder should not be used for taking still photographs.  If you wish to take 
digital still photos, our department has digital still cameras for loan that will yield much 
higher quality pictures.  


Please use this unit in the Video Only Mode which is the movie 
camera icon located in the center position on the camera mode 
dial. 


Important Operational Notes:


Handling Precautions


1.  Do not carry the camcorder by the LCD panel. 
2.  Do not leave the camcorder in places of high heat or humidity. 
3. 

Do not use camcorder near strong magnetic fields such as TV’s, or plasma 
screens. 

4.  Do not subject the camcorder to shock or vibration. 
5.  When mounting the camcorder to a tripod, remove the tripod plate from the tripod 

and attach it to the camera first then attach the camcorder and plate to the tripod. 

6.  Do not point or leave the camcorder pointed at bright light sources. 
7.  Do not attempt to clean the LCD screen. 


SDHC Memory Cards Needed for Recording Video 

1.  Media Services does not supply the SDHC memory cards that you will need to 

record your video.   

2.  The cards must have a speed rating of at least 

class 4 or 6

.  These can be 

purchased at the university’s bookstore or at most locations that sell consumer 
electronics or office supplies. 

3. 

Only purchase SDHC memory cards from the following manufacturers: 

SanDisk, Panasonic or Toshiba

.


Use of other manufacturer’s memory cards 

may result in the loss of the recorded video.


4.  A 4GB SD or SDHC card will yield approximately 1 hour and 10 minutes of 

recording time.  An 8 GB SD or SDHC card will yield approximately 2 hours and 
20 minutes of recording time. 

5.  CAUTION: DO NOT USE Wi-Fi MEMORY CARDS. 

Summary of Contents for VIXIA HF200

Page 1: ...unting the camcorder to a tripod remove the tripod plate from the tripod and attach it to the camera first then attach the camcorder and plate to the tripod 6 Do not point or leave the camcorder pointed at bright light sources 7 CAUTION DO NOT ATTEMPT TO CLEAN THE LCD SCREEN SDHC Memory Cards Needed for Recording Video 1 Media Services does not supply the SDHC memory cards that you will need to re...

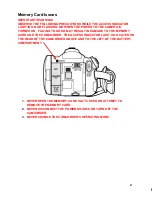
Page 2: ...NG TO DO SO MAY RESULT IN DAMAGE TO THE MEMORY CARD AND THE CAMCORDER THE ACCESS INDICATOR LIGHT IS LOCATED ON THE REAR OF THE CAMCORDER ABOVE AND TO THE LEFT OF THE BATTERY COMPARTMENT 1 NEVER OPEN THE MEMORY CARD SLOT COVER OR ATTEMPT TO REMOVE THE MEMORY CARD 2 NEVER DISCONNECT THE POWER SOURCE OR TURN OFF THE CAMCORDER 3 NEVER CHANGE THE CAMCORDER S OPERATING MODE 2 C ...

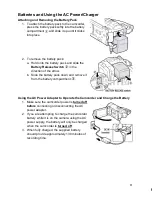
Page 3: ... of the arrow b Slide the battery pack down and remove it from the battery compartment Using the AC Power Adapter to Operate the Camcorder and Charge the Battery 1 Make sure the camcorder power is turned off before connecting or disconnecting the AC power adapter 2 If you are attempting to charge the camcorder battery while it is on the camera using the AC power supply the battery will only be cha...

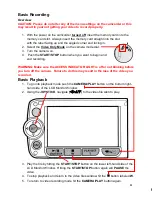
Page 4: ... begin and end recording WARNING Make sure the ACCESS INDICATOR LIGHT is off or not blinking before you turn off the camera Failure to do this may result in the loss of the video you recorded Basic Playback 1 To go into playback mode push the CAMERA PLAY button on the bottom right hand side of the LCD Monitor Window 2 Using the JOYSTICK navigate to the video file wish to play 3 Play the file by hi...

Page 5: ...k push up on the JOYSTICK 3 Using the JOYSTICK select the middle window with this icon 4 Push the JOYSTICK left or right toward the or icons 5 Repeat to increase the playback to approximately 5x 15x 60x each time the JOYSTICK is cycled Skipping Scenes 1 Select a video file using the JOYSTICK and play it by hitting the START STOP button 2 During normal playback push up on the JOYSTICK 3 Using the J...

Page 6: ...e to be sure it is the one you want to delete by hitting the START STOP button 5 To stop playback and return to the video files window hit the button labeled W 6 Push the Function button It is labeled FUNC 7 Using the JOYSTICK navigate to the trash can icon and push in the SET button 8 Using the JOYSTICK navigate to the menu item you wish to use 9 Push the SET button and use the JOYSTICK to select...

Reviews: