Additional Information
163
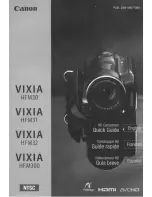
Playing Movies (during playback)
F
d
Playback control buttons (
0
57)
F
f
External audio input (
0
79)
F
g
Eye-Fi wireless communication
(
0
144)
F
h
Scene number
F
j
Data code (
0
116, 153)
F
k
Volume and background music
balance controls (
0
57, 78)
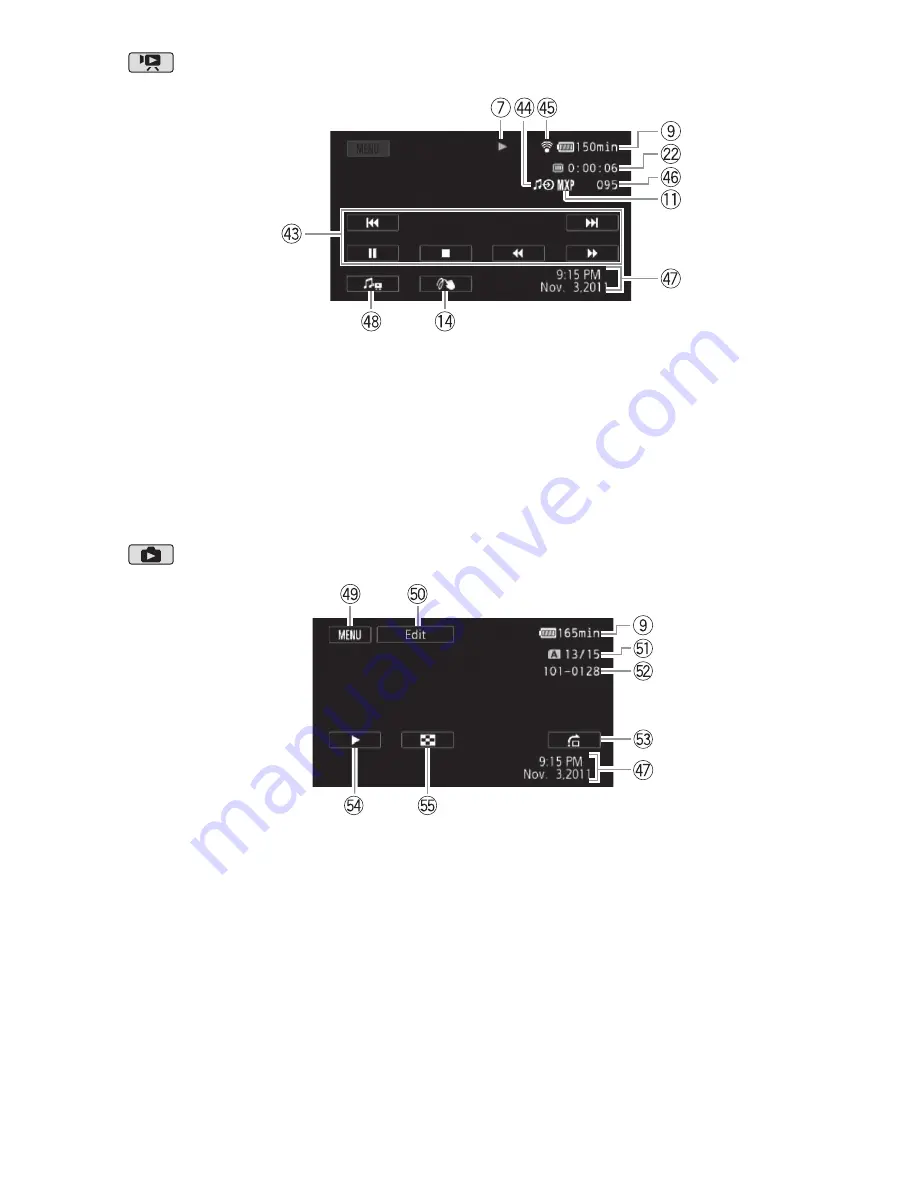
Viewing Photos
F
l
Control button [MENU]: Open the
setup menus (
0
149)
G
q
Control button [Edit]: Open the Edit
panel (
0
149)
G
a
Current photo / Total number of
photos
G
s
Photo number (
0
155)
G
d
Control button [
g
]: Photo jump
(
0
122)
G
f
Control button [
A
]: Slideshow
(
0
124)
G
g
Control button [
Q
]: Return to the
[Photos] index screen (
0
121)
Summary of Contents for VIXIA HF M40
Page 1: ...canon VIXIA HFM40 VIXIA HFM41 VIXIA HFM400 ...
Page 50: ......
Page 51: ...PUB DIE 0387 000 HD Camcorder Instruction Manual Y ...
Page 61: ...11 ...
Page 88: ...38 Preparations 4 Touch a to close the menu ...
Page 255: ......
Page 259: ......
Page 260: ......
Page 261: ...canon VIXIA HFM40 I HFM411 HFM400 ...