108
1
2
3
4
5
6
7
8
9
10
Cover
Before Use
Common Camera
Operations
Advanced Guide
Camera Basics
Auto Mode /
Hybrid Auto Mode
Other Shooting
Modes
Tv, Av, M, C1,
and C2 Mode
Playback Mode
Wi-Fi Functions
Setting Menu
Accessories
Appendix
Index
Basic Guide
P Mode
Still Images
Viewing Individual Images in a Group
Grouped images (either from continuous shooting (
) in [
G
], [
M
],
[
B
], or [
D
) or individual still images saved
as source data in [ ] mode (
)) are generally displayed together,
but they can also be viewed individually.
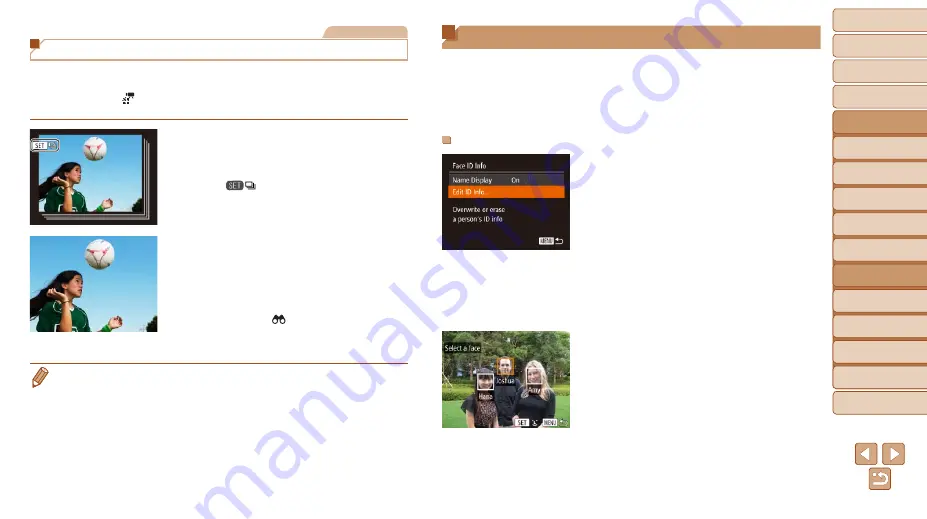
1
Choose a grouped image.
z
z
Press the <
q
><
r
> buttons or turn the
<
7
> dial to choose an image labeled
with [
], and then press the <
m
>
button.
2
View images in the group
individually.
z
z
Pressing the <
q
><
r
> buttons or turning
the <
7
> dial will display only images in
the group.
z
z
Pressing the < > button will display
[Display all images]. Press <
m
> to
cancel group playback.
•
During group playback (step 2), you can browse through images quickly
“Navigating through Images in an Index” (
). By choosing [All Images in Group] for
), “Erasing Multiple Images at Once” (
“Adding Images to the Print List (DPOF)” (
), all images in the group can be manipulated at once.
•
To ungroup images so that they are displayed only as single still images,
press the <
n
> button, choose [Group Images] on the [
1
] tab, and then
choose [Off] (
). However, grouped images cannot be ungrouped during
individual playback.
Editing Face ID Information
If you notice that a name is incorrect during playback, you can change it or
erase it.
However, you cannot add names for people who are not detected by Face
ID (names are not displayed), and for people whose names have been
erased.
Changing Names
1
Access the setting screen.
z
z
Press the <
n
> button and choose
[Face ID Info] on the [
1
z
z
Press the <
o
><
p
> buttons or turn the
<
7
> dial to choose [Edit ID Info], and
then press the <
m
> button.
2
Choose an image.
z
z
Following the procedure in “Checking
choose an image and press the <
m
>
button.
z
z
An orange frame is displayed around the
selected face. When multiple names are
displayed in an image, press the <
q
><
r
>
buttons or turn the <
7
> dial to choose
the name to change, and then press the
<
m
> button.


