


ENGLISH
3
D
A
C
B
1
D
A
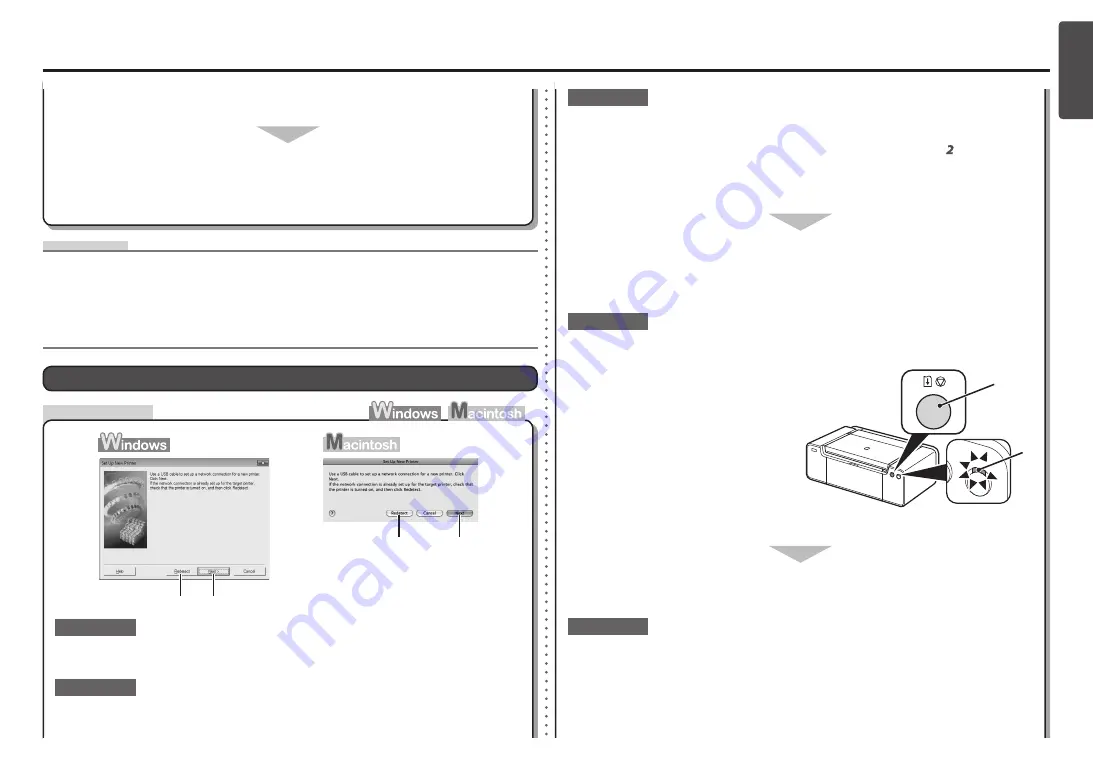
Set Up New Printer
Screen is Displayed
DHCP function
•
A function to automatically assign required information (IP address, etc.) to computers, printers or other
devices connected to the network.
IP address
•
A numerical identification assigned to each computer or network device connected to a network.
When the
Disconnect Cable
screen appears, remove the USB cable, then click
Next
.
The wired connection setup of the printer is now complete. Click
Complete
or
OK
.
Proceed with the setup by following the procedures from "Information" (Windows) or "Registration
(Macintosh)" (Macintosh) in the printed manual:
Getting Started
.
•
Glossary
Check
Turn off the network device (router, etc.), turn it back on, then click
Redetect
(A).
Make sure that you follow "Connection Checklist" on page 7, then click
Redetect
(A).
Check 2
Check 1
Activate the DHCP function of the network device, then click
Redetect
(A).
Make sure that the DHCP function of the network device (router, etc.) is active.
Check 3
To specify the IP address, set up a wired connection using a USB cable. Go to in "Specifying
the Printer's IP Address" on page 5.
For details on how to check settings of the network device, refer to the manual supplied with the
network device or contact its manufacturer.
•
•
For details on how to change settings of the network device, refer to the manual supplied with the
network device or contact its manufacturer.
•
Check 4
Is the printer connected to a network?
To check if the printer is connected to a
network, print the
Network Configuration
Page
, then make sure that
Link Status
is set
to
Active
. To print the
Network Configuration
Page
, hold down the
RESUME/CANCEL
button (B) on the printer until the
POWER
lamp (C) flashes 6 times, then release the
RESUME/CANCEL
button after the sixth
flash.
•
If the printer is not connected to a network, perform setup again by following the
procedures from "Set Up a Wired Connection" in the printed manual:
Getting Started
.
If the printer is not detected, set up a wired connection using a USB cable. Perform the
following procedure.
Click
Next
(D).
Check 5


