


2
(B)
(A)
(E)
(C) (D)
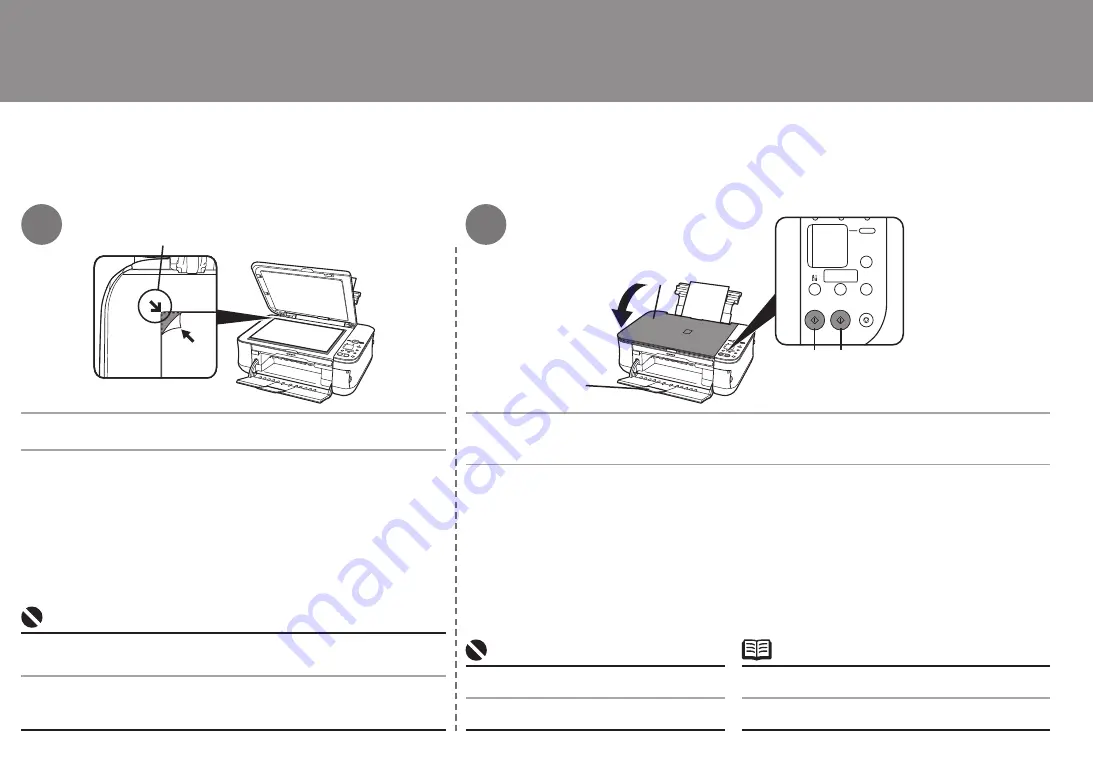
3
4
Coloque el documento boca abajo y alinéelo con la Marca de alineación
(B).
Comenzará la copia.
Cierre la Cubierta de documentos (A) y, a continuación, pulse el botón
Negro
(C) para imprimir
en blanco y negro o el
botón
Color
(D) para imprimir a color.
Asegúrese de que está desplegada la extensión de bandeja de
salida (E).
•
No abra la cubierta de documentos hasta que finalice
la copia.
•
Intente copiar
No coloque ningún objeto que pese más de 4,4 lb / 2,0 kg en el cristal de la platina.
No presione el original ni coloque un peso encima superior a 4,4 lb / 2,0 kg.
Si lo hiciera, podría provocar que el escáner no funcionara correctamente o que se
rompiera el cristal de la platina.
•
•
Do not place any objects weighing more than 4.4 lb / 2.0 kg on the Platen Glass.
Do not press or put weight on the original with pressure exceeding 4.4 lb / 2.0 kg.
Doing so may cause the scanner to malfunction or the Platen Glass to break.
•
•
Place the document face-down and align it with the Alignment Mark (B).
Close the Document Cover (A), then press the
Black
button (C) for black & white copying, or the
Color
button (D) for color copying.
Copying will start.
Make sure that the Output Tray Extension (E) is extended.
•
Do not open the Document Cover until copying is
complete.
•
Try Copying


