


2B996-016JA
21
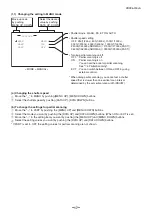
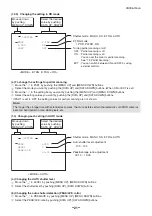
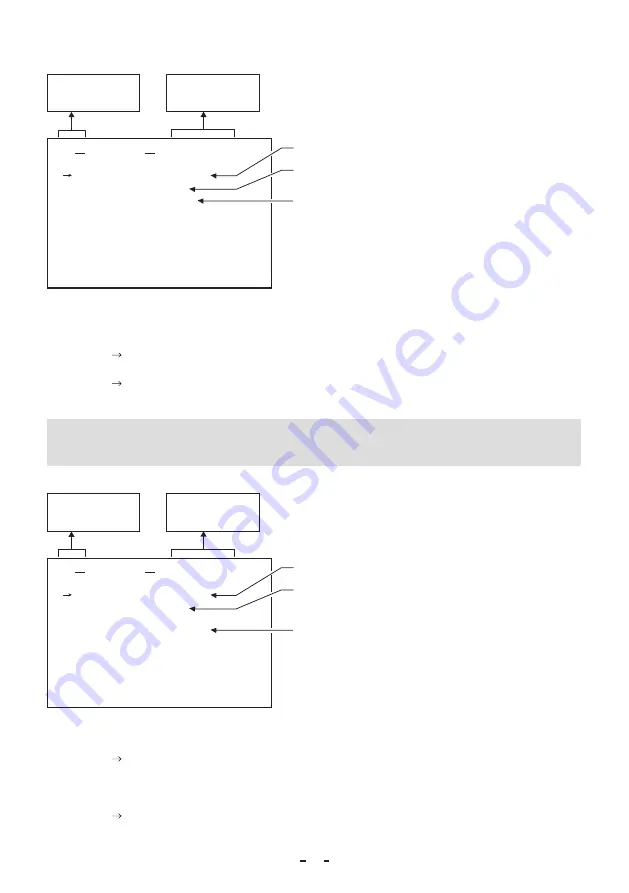
(1�3�3) Changing the setting in RR mode
MODE
E.TRG
E.TRG
RR
PART
OFF
SHUTTER
<MODE = E.TRG E.TRG = RR>
• E.TRG mode
1P SR, PW SR, RR
• Shutter mode MANU, SS, E.TRG, AUTO
Move up down
by pushing
MENU UP, DOWN
Select the desired
value by pushing
DATA UP, DOWN
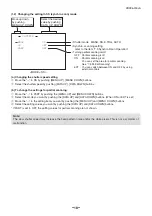
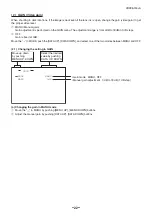
• Turning partial scanning on/off
OFF : Partial scanning is off
ON : Partial scanning is on
You can set the area for partial scanning.
See "7.5 Partial Scanning".
EXT : You can switch between ON and OFF by using
external controls.
(a) To change the settings for partial scanning
①
Move the “ ” to PART by pushing the [MENU UP] and [MENU DOWN] buttons.
②
Select the mode you want by pushing the [DATA UP] and [DATA DOWN] buttons. (When ON or EXT is set)
③
Move the “ ” to the setting item you want by pushing the [MENU UP] and [MENU DOWN] buttons.
④
Select the setting values you want by pushing the [DATA UP] and [DATA DOWN] buttons.
* If PART is set to OFF, the setting values for partial scanning are not shown.
Note:
The longer the storage time with extended exposures, the more visible certain characteristics of CMOS cameras
become: fixed pattern noise, white pixels, etc.
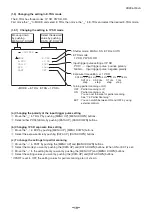
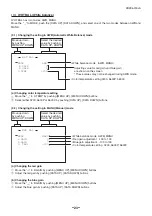
(1�4) Changing each setting in AUTO mode
• Peak/Average ratio adjustment
00:10 ~ 10:00
MODE
AUTO
LEVEL
0
PEAK/AVE.
05:05
SHUTTER
<MODE = AUTO>
• Auto shutter level adjustment
-100 ~ 100
• Shutter mode MANU, SS, E.TRG, AUTO
Move up down
by pushing
MENU UP, DOWN
Select the desired
value by pushing
DATA UP, DOWN
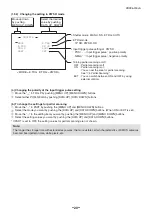
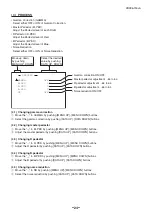
(a) Changing the AUTO shutter level
①
Move the “ ” to LEVEL by pushing [MENU UP], [MENU DOWN] buttons.
②
Select the shutter level by pushing [DATA UP], [DATA DOWN] buttons.
(b) Changing the auto shutter detection (PEAK/AVE� ratio)
①
Move the “ ” to PEAK/AVE. by pushing [MENU UP], [MENU DOWN] buttons.
②
Select the PEAK/AVE. ratio by pushing [DATA UP], [DATA DOWN] buttons.
Summary of Contents for JCT-TF5G
Page 39: ...2B996 016JA 39 ...


