background image

When setting up a USB connection, connect the USB cable during printer driver installation following the 
instructions displayed.

When the printer is connected to a network (via TCP/IP), the printer's IP address may be changed if you reinstall 
the printer. In this case, be sure to recon

fi

 gure the printer's IP address.

If you accidentally connect the USB cable 

fi

 rst, the printer driver may not be installed correctly.

9

1

2

The printer driver works over USB or network (TCP/IP) connections.

Supported connection methods

Installing the Printer Driver (Windows)

The basic instructions for installing the printer driver are as follows.

Installing the printer driver and user manual

For detailed instructions, see the  Setup Guide


 .

The driver installation procedure varies depending on the type of connection.

Windows 7, Windows Vista, Windows Server 2008, Windows Server 2003, Windows XP, and Windows 2000

Turn the computer on.

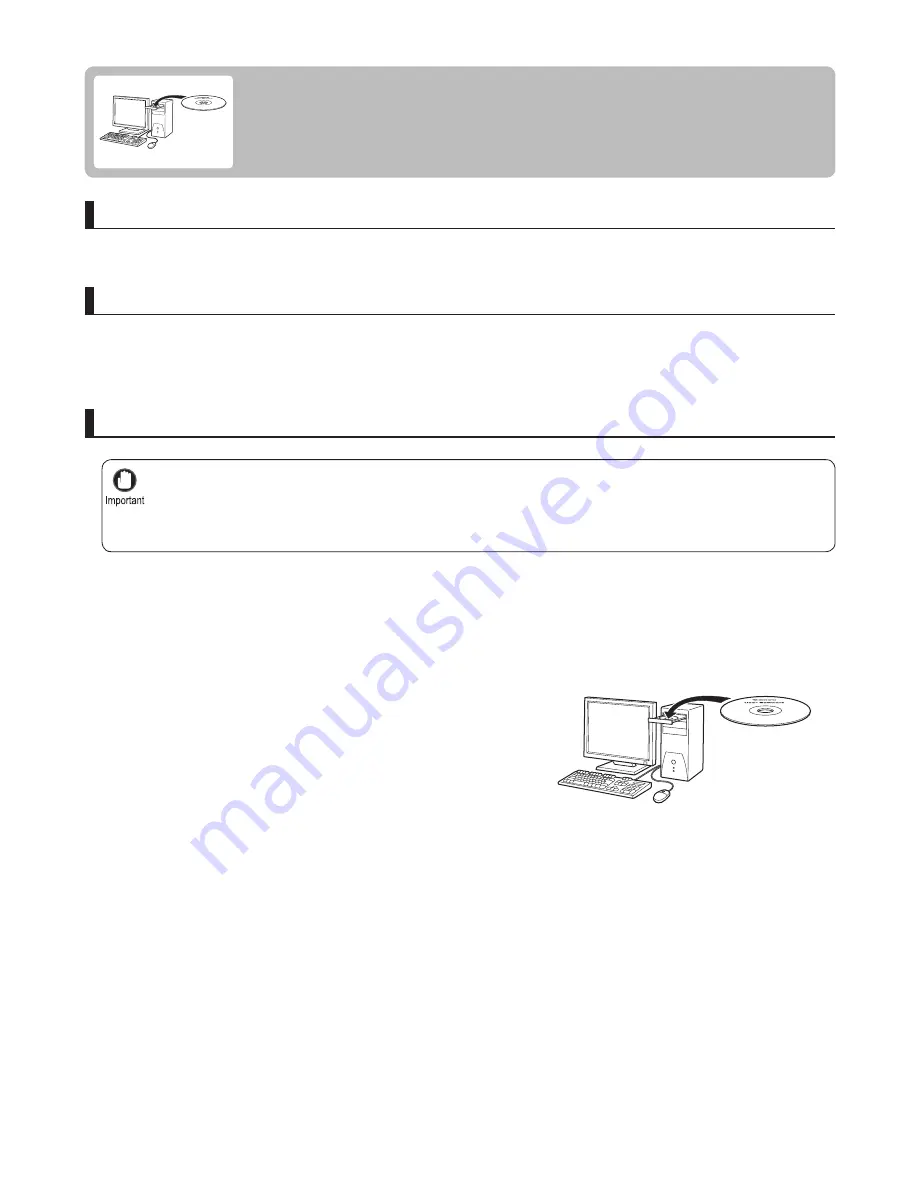
Insert the provided  User Software CD-ROM


  for the 

appropriate operating system in the CD-ROM drive.

Compatible operating systems 

Follow these steps to install the printer driver and  User Manual


 .

When setting up a TCP/IP (network) connection, after 
making sure the printer is on, connect the LAN cable to 
the Ethernet port on the back of the printer and to your 
network hub port.

Summary of Contents for imagePROGRAF iPF6350

Page 1: ...rinter Driver Windows 9 Installing the Printer Driver Mac OS X 11 Convenient Printer Driver Features 13 Troubleshooting 2 If Roll Paper Jams 18 If a Sheet Jams 21 If Paper is Soiled 23 If Printing is...

Page 2: ...cation Ink may leak and damage the printer if you do not prepare the printer correctly and it is tipped or stood on end in transit 1 2 3 1 To protect the internal parts in transit always follow these...

Page 3: ...t your Canon dealer for assistance Store the ink tanks you removed with the ink holes a facing up Otherwise ink may leak and cause stains 1 2 4 Once preparations are finished a message on the Display...

Page 4: ...ll the ink tanks and follow this procedure again Do not remove the Maintenance Cartridge during this process 2 3 1 3 Disconnect the power cord and interface cable Open the Top Cover Press the Power bu...

Page 5: ...nch the Belt together insert it between the Belt Stopper and affix the Belt Stopper to the Carriage Shaft Close the Top Cover Tape down printer covers to secure them in the reverse order of tape remov...

Page 6: ...oving the assembled Stand Attempting to move the stand when the casters are locked poses a risk of injury or damage to the location site 6 Reinstalling the Printer The basic workflow for reinstalling...

Page 7: ...the printer Connect the power cord Connect one end of the power cord to the Power Supply Connector on the back of the printer and plug the other end into the outlet Install the ink tanks Open the Ink...

Page 8: ...Roll Holder Loading Rolls on the Roll Holder Load the Roll Media in the printer Loading Rolls in the Printer Install the printer driver and manual Note that the driver installation procedure varies de...

Page 9: ...er Windows The basic instructions for installing the printer driver are as follows Installing the printer driver and user manual For detailed instructions see the Setup Guide The driver installation p...

Page 10: ...llow the instructions displayed to complete installation On the Finish window select Restart my computer now and click Restart Next install the User Manual Printer driver settings take effect after th...

Page 11: ...ide The printer driver works over USB or network Bonjour or IP connections Supported connection methods Installing the printer driver and user manual After confirming the printer is on connect the pri...

Page 12: ...M in the CD ROM drive and follow the instructions displayed to complete installation Installation of the printer driver is now finished Next register the printer to set up Click Next and follow the in...

Page 13: ...lay the Print dialog box Access the Main pane After you click OK when you print a job the imagePROGRAF Preview window will be displayed Check an image of the document as arranged on the paper in the p...

Page 14: ...er by specifying particular settings as suitable for your original When originals are printed in portrait orientation the original is rotated 90 degrees before printing if it fits within the roll widt...

Page 15: ...d around the original With borderless printing you can print documents without the margin so that the printed image covers the entire surface of the paper Windows Mac OS X Click the width of the loade...

Page 16: ...d in Page Size Make sure the width of the loaded roll is displayed in Roll Width Click Size Options and register the original size Select the Enlarged Reduced Printing check box After you click Fit Ro...

Page 17: ...it Paper Size Fit Roll Paper Width or Scaling Access the Page Setup sheet Click the width of the loaded roll in the Roll Paper Width list In the Page Size list click the size of the original as specif...

Page 18: ...er This allows processing not only RGB8bit image data but also RGB16bit image data Start Adobe Photoshop Open the image that you wish to print Start Digital Photo Professional The main features of Pri...

Page 19: ...9 11 l Large format printing 16 p Page rotation by 90 degrees paper conservation 14 Power Supply 7 Print Plug Ins 18 Print Preview 13 Printer driver features 13 Printer driver installation Mac OS X 11...

Page 20: ...Canon Plaza Lake Success NY 11042 U S A Canon Europe Ltd 3 The Square Stockley Park Uxbridge Middlesex UB11 1ET United Kingdom Canon China Co Ltd 15F Jinbao Building No 89 Jinbao Street Dongcheng Dis...

Reviews: