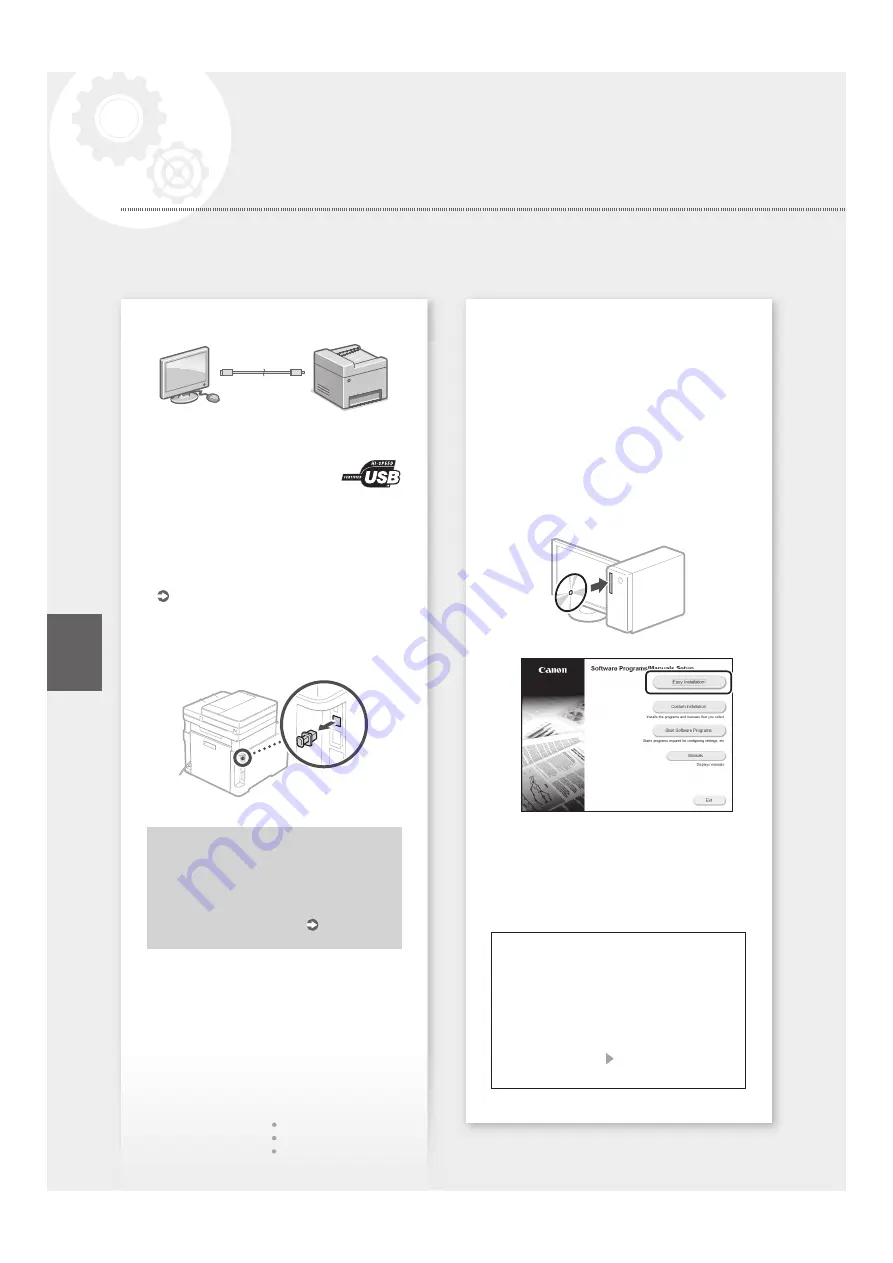
To connect via USB
• The machine does not come with a USB cable.
Please have one ready, if necessary.
• Make sure that the USB cable you
use has the following mark.
• Do not connect the USB cable before installing
the driver. If you did, disconnect the USB cable
from the computer, close the dialog box, and
then perform the following procedure from step 1.
1.
Install the driver and software.
P.6 "Installing the software"
• When a screen with instructions for connecting
the USB cable to the machine is displayed,
remove the cap that covers the USB port.
Now you are finished with the
configuration of the initial settings.
If your machine is provided with the fax
function, proceed to configuring
the fax settings. P.7
Installing the software
• The procedure described here is only applicable
when your computer runs on the Windows OS.
For more details on the software installation
procedure, see the driver's manual.
• For the installation when your computer runs on
the macOS, see the driver's manual.
• Your machine may not come with the driver for
the macOS, depending on the time of purchase.
New drivers are uploaded to the Canon website,
and you can download and use the latest one.
1.
2.
If the screen is not displayed properly, re-
insert the CD-ROM/DVD-ROM or search for
"D:\MInst.exe" on the Windows platform (This
description assumes that "D:" is the CD-ROM/
DVD-ROM drive name).
Using the scanner conveniently
Configuring the network settings with "Send
Function Setting Tool" allows you to directly
send scanned originals with e-mail or I-Fax
or store them in a shared folder or on the FTP
server.
In the screen displayed in step 2, select [Start
Software Programs] [Send Function Setting
Tool] to start the Send Function Setting Tool.
6
Configuring the Machine
Quick Setup
En
Summary of Contents for imageCLASS X MF1127C
Page 11: ...12 ...
Page 12: ...Quick Operation Fr En Utilisation rapide Quick Operation 13 ...
Page 23: ...24 En ...
Page 35: ...36 Fr ...


