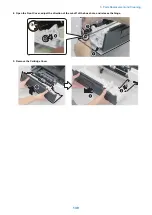
4. Put the cartridge on the sheet of paper placed on the work space.
5. Cover the Photosensitive Drum of the cartridge with 5 or more sheets of paper.
Removing the Right Cover Unit
■ Preparation
1.
“Removing the Rear Cover Unit” on page 127
2. Remove the cassette.
3.
“Removing the Cartridge” on page 127
■ Procedure
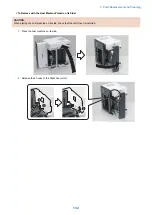
1. Remove the Right Cover.
2x
5. Parts Replacement and Cleaning
129
Summary of Contents for imageCLASS LBP325dn
Page 11: ...Safety Precautions Laser 2 Power Supply Lithium Battery 3 Toner Safety 3 Notes on works 4...
Page 15: ...Product Overview 1 Product Lineup 6 Features 7 Specifications 8 Parts Name 11...
Page 141: ...5 Remove the Right Cover Unit 5 Parts Replacement and Cleaning 131...
Page 187: ...Adjustment 6 Actions at Parts Replacement 178...
Page 204: ...Error Jam Alarm 8 Overview 195 Error Code 197 Jam code 205 Alarm Code 208...
Page 219: ...Service Mode 9 Overview 210 Service Mode 214...
Page 243: ...Installation 10 Installation of the host machine 234...


