


Supported Environment
95LW-00K
Operating Environment
AirPrint Operating Environment
Using AirPrint Application to Print Data(P. 137)
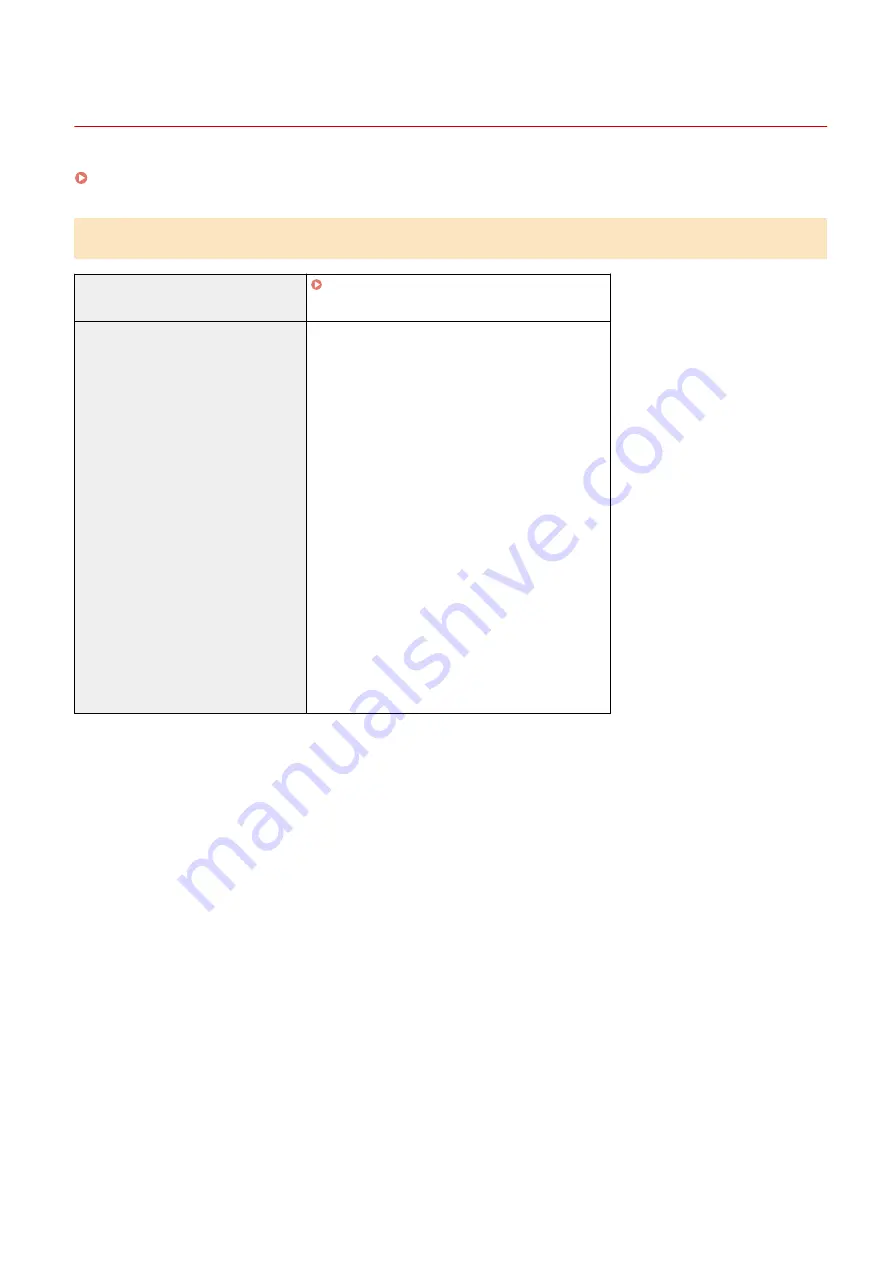
Remote UI Operating Environment
*1
Windows
Internet Explorer 11
Microsoft Edge
Google Chrome
macOS
Safari 11
Google Chrome
Android
Google Chrome
UC Browser
iOS
Safari 11
UC Browser
*1
You must set your Web browser to enable cookies and use JavaScript.
About the Machine
25
Summary of Contents for imageCLASS LBP121dn
Page 1: ...imageCLASS LBP122dw LBP121dn User s Guide USRMA 7917 00 2023 02 en Copyright CANON INC 2023 ...
Page 7: ...Notice 358 Trademarks and Copyrights 359 Third party Software 361 VI ...
Page 47: ... Shared Key Encryption for WPA WPA2 TKIP AES CCMP IEEE 802 1X Authentication Setting Up 40 ...
Page 65: ... The settings are applied Setting Up 58 ...
Page 100: ...Paper with logo in landscape orientation Basic Operations 93 ...
Page 105: ... The custom paper is registered Basic Operations 98 ...
Page 138: ...6 Log out from Remote UI Linking with Mobile Devices 131 ...
Page 159: ...8 Log out from Remote UI Security 152 ...
Page 207: ... Off On Settings Menu Items 200 ...
Page 250: ... Off On Settings Menu Items 243 ...
Page 284: ... When you select On the printing speed may decrease Troubleshooting 277 ...
Page 353: ...Manual Display Settings 95LW 08H Appendix 346 ...


