13
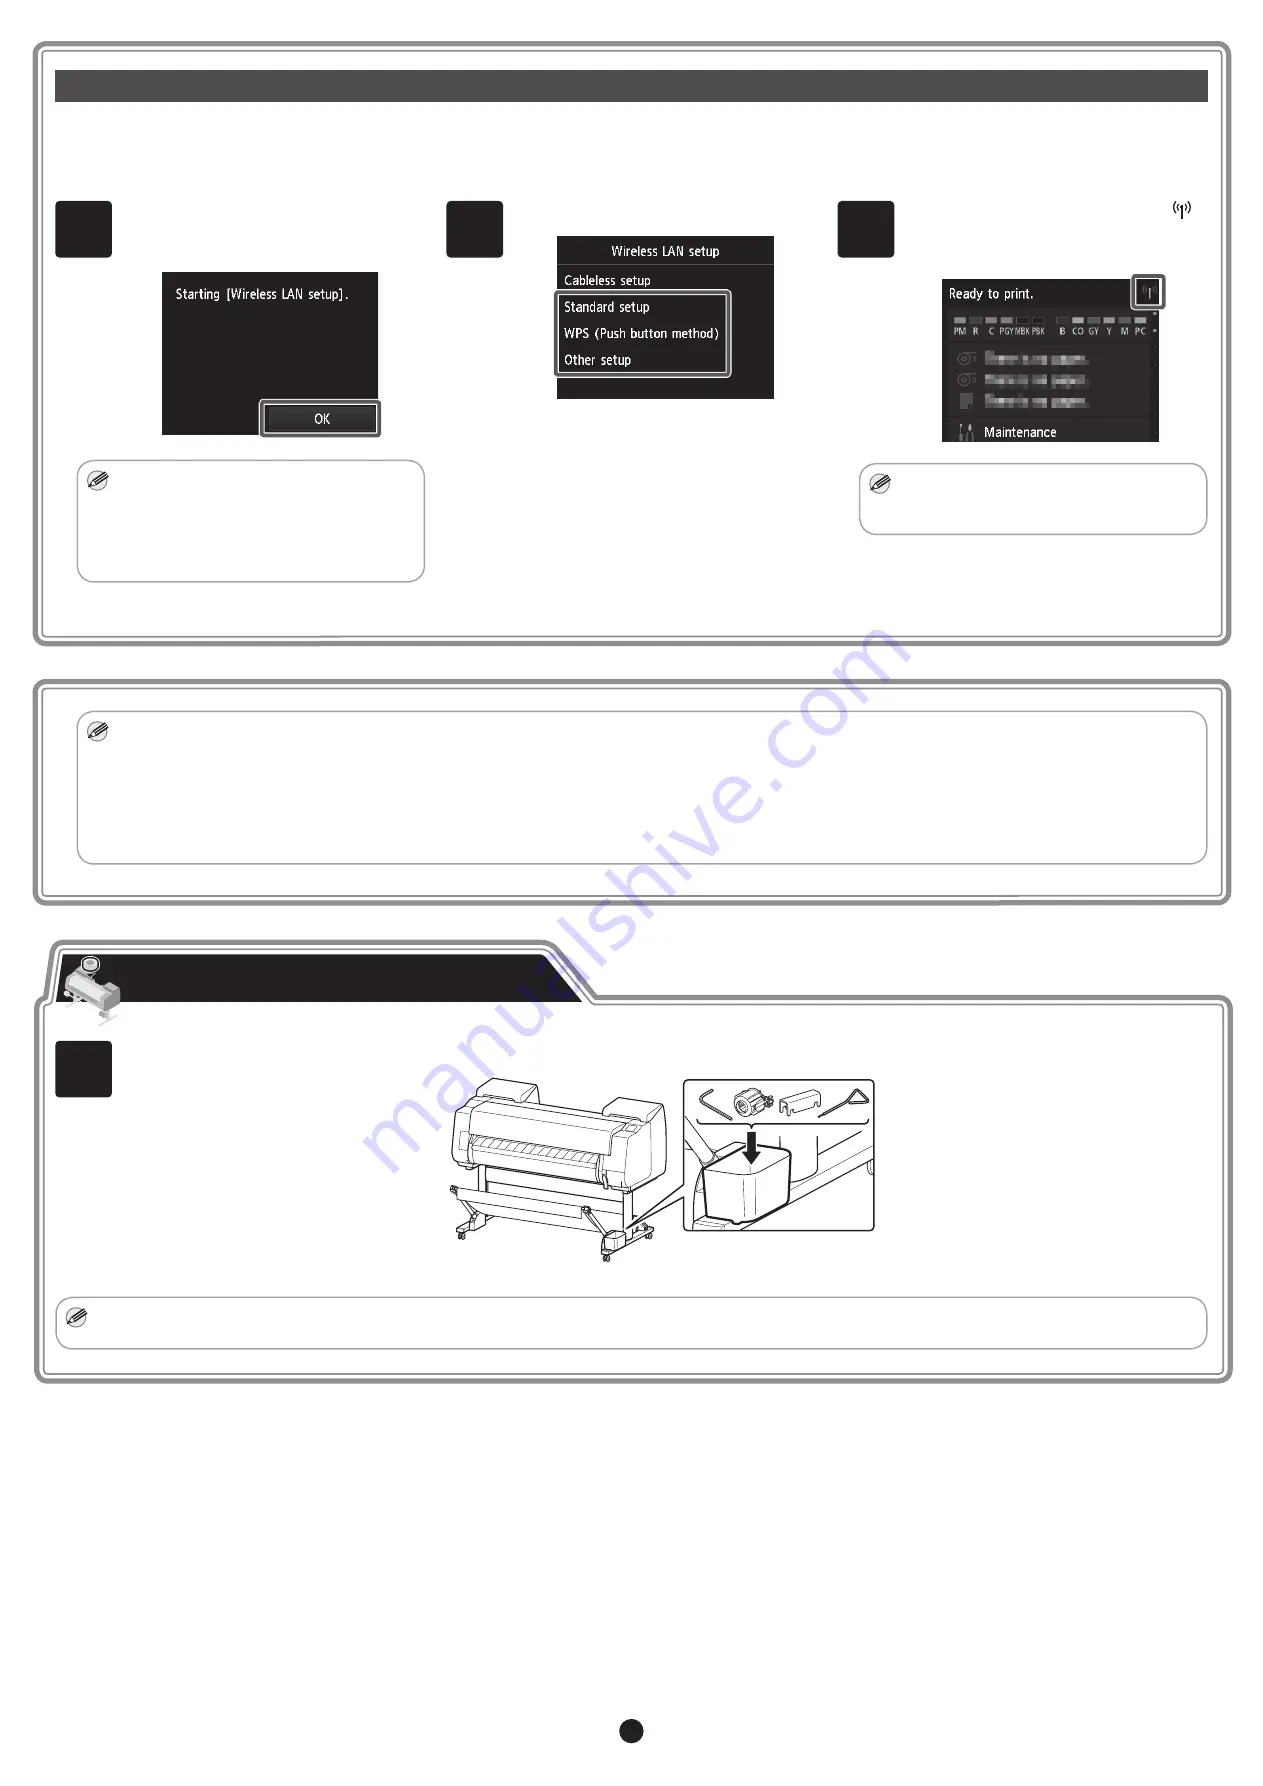
Configure Wireless LAN Settings on the Printer
1
Once the print head adjustment has
finished, check that the following screen
appears and tap
OK
.
Note
• If the following message appears, the
printer initial settings are not finished.
Wait until the above screen appears.
Checking the nozzle.
Filling the print head with ink...
Cleaning...
2
Select and tap the connection method.
Configure the wireless LAN settings by
following the instructions on the screen.
3
When the home screen appears and
appears, the wireless LAN settings are
complete.
Note
• Before using the printer, the software
needs to be installed on the computer
that is connected to the printer.
If you selected
Wireless LAN connection
->
Yes
->
No
in steps 4 to 5 on p.10 or steps 1 to 2 on p.11, configure the wireless LAN settings using the printer
touch screen.
1
Store accessories such as the 3-inch paper core attachment in the accessory pocket.
Note
• When the setup is completed, refer to the various manuals to use the printer. Refer to "The Manuals Supplied with This Printer" on p.2.
Store Accessories in the Pockets
Note
• Once you have finished setting up the printer and software, it is recommended that you execute color calibration. You can compensate for variations in color
tone due to differences between printers and variations due to aging by executing color calibration. Color calibration is executed using paper for adjustment
that supports color calibration. For details on other supported paper, refer to "List of Paper Information" in the Online Manual.
To execute color calibration, select
Maintenance
from the home screen ->
Color calibration
->
Auto adjust.
Executing color calibration takes about 10
minutes.
• If you are using color calibration, it is convenient to configure the function for notifying the execution time (Calibration guide setting). For details on this function,
refer to "Performing Color Calibration" in the Online Manual.


