


48
4.
•••••••••••••••••••••••••••••••••••••••••••••••••••••••••••••••••••••••••••••••••••••••••••••
Select the file you wish to transfer by placing a checkmark to
the
next to the thumbnail.
• Depending on the speed of your
Internet connection, it may take
time until the thumbnails appear.
• If you move the mouse pointer on
the thumbnail, the file information
appears.
• Thumbnails may not appear with
images not recorded with the
camcorder of your contact.
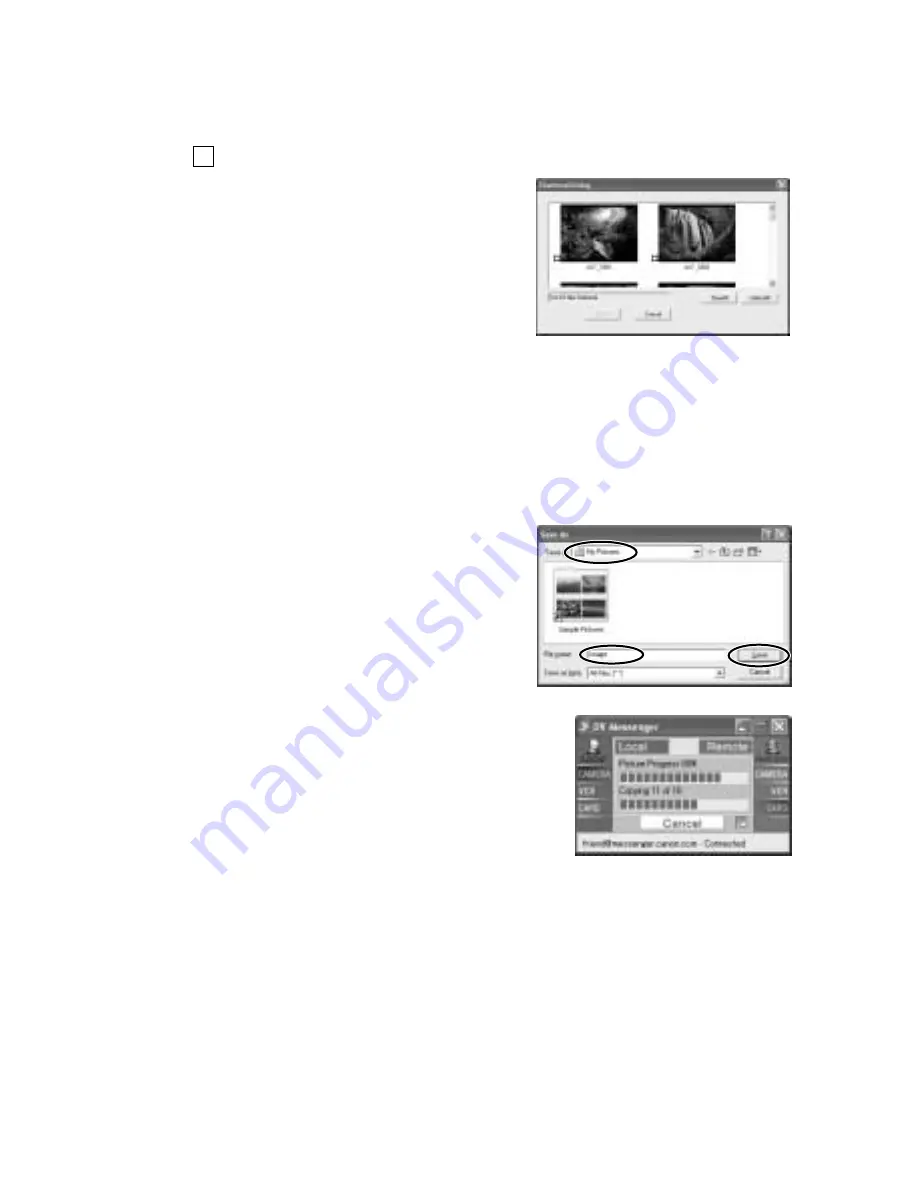
5.
•••••••••••••••••••••••••••••••••••••••••••••••••••••••••••••••••••••••••••••••••••••••••••••
When you have selected the files you wish to transfer, click
[Fetch].
6.
•••••••••••••••••••••••••••••••••••••••••••••••••••••••••••••••••••••••••••••••••••••••••••••
Select the destination folder, enter the file name and click
[Save].
• The selected file(s) will be trans-
ferred to your computer.
• The transferred file will be saved to
the selected folder. Numbers will be
assigned to the entered file name
(e.g. [image01.jpg]).
• The transfer status will be displayed on the
DVM panel. If you wish to cancel the trans-
fer, click [Cancel].
• When the file transfer is complete, the DVM
panel returns to the first status.
Operating the Camcorders With DV Messenger


