ArcSoft VideoImpression
Quick Start Guide
- 4 -
STEP 1 – MEDIA
This first step is where you select the “media” (still images, videos, and sound clips) that you
want to use to create your movie. All you need to do is choose the components you want and
add them to the Storyboard. When you save—or “produce”—your movie, all the components on
the Storyboard will be combined together into a single video file.
Let’s look at the Storyboard again:
The Storyboard
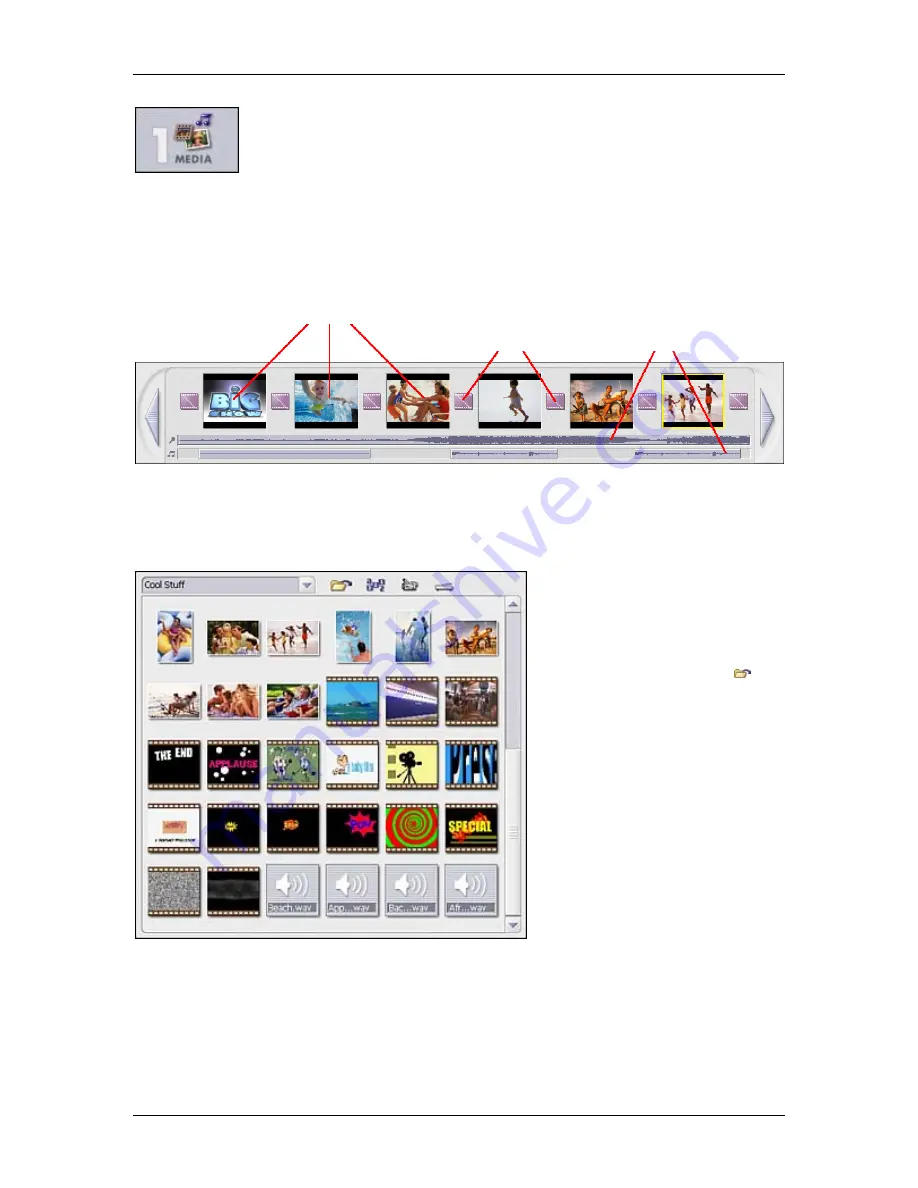
The large squares are reserved for still images and video clips. The two horizontal bars beneath
are reserved for audio tracks. The smaller squares between the still image/video clip
components are for “transitions.” You’ll learn more about transitions later.
The top-left area of the program
contains your albums. Use the pull-
down to choose the one you want.
To create a new album, choose
“<New Album>” from the pull-
down. Click the Add button ( ) to
browse your system for files to add
to it. You can create multiple
albums to keep track of different
types of photos (i.e., keep all your
vacation photos in one album,
separate from your miscellaneous
family photos, etc.).
You can differentiate the types of
files within an album by the way
they look. Images simply appear as
thumbnails. Video files appear as
filmstrips. Audio files have a default
speaker icon.
Video Clips & Still Images
Transitions Audio Tracks
Summary of Contents for Digital ELPH 300
Page 2: ......
Page 3: ......
Page 4: ......
Page 11: ...3 ...
Page 165: ...MEMO 157 ...
Page 170: ...Canon CDI E117 02B 0204CH80 2004 CANON INC PRINTED IN JAPAN ...
Page 172: ...Canon Direct Print User Guide Printing Using a Direct Camera Printer Connection ...
Page 207: ...Canon CDI M128 02B 0204CH200 2004 CANON INC PRINTED IN JAPAN ...
Page 216: ...Connect the camera to the computer Download images to the computer Print the images ...
Page 315: ...CDI E116 02B 0204CH247 5 Canon 2004 CANON INC PRINTED IN JAPAN ...
Page 316: ......
Page 333: ...660ft Version 2 Windows 98SEfMel2000JXP f jJ ...


