background image

43

Printing

After this step, follow the procedures in the section 

Printing with 

SELPHY CP series Printers 

(p. 9) to print your images.

However, please note that some menus and precautions 
differ, as listed below.

See pages 10 and 22. 
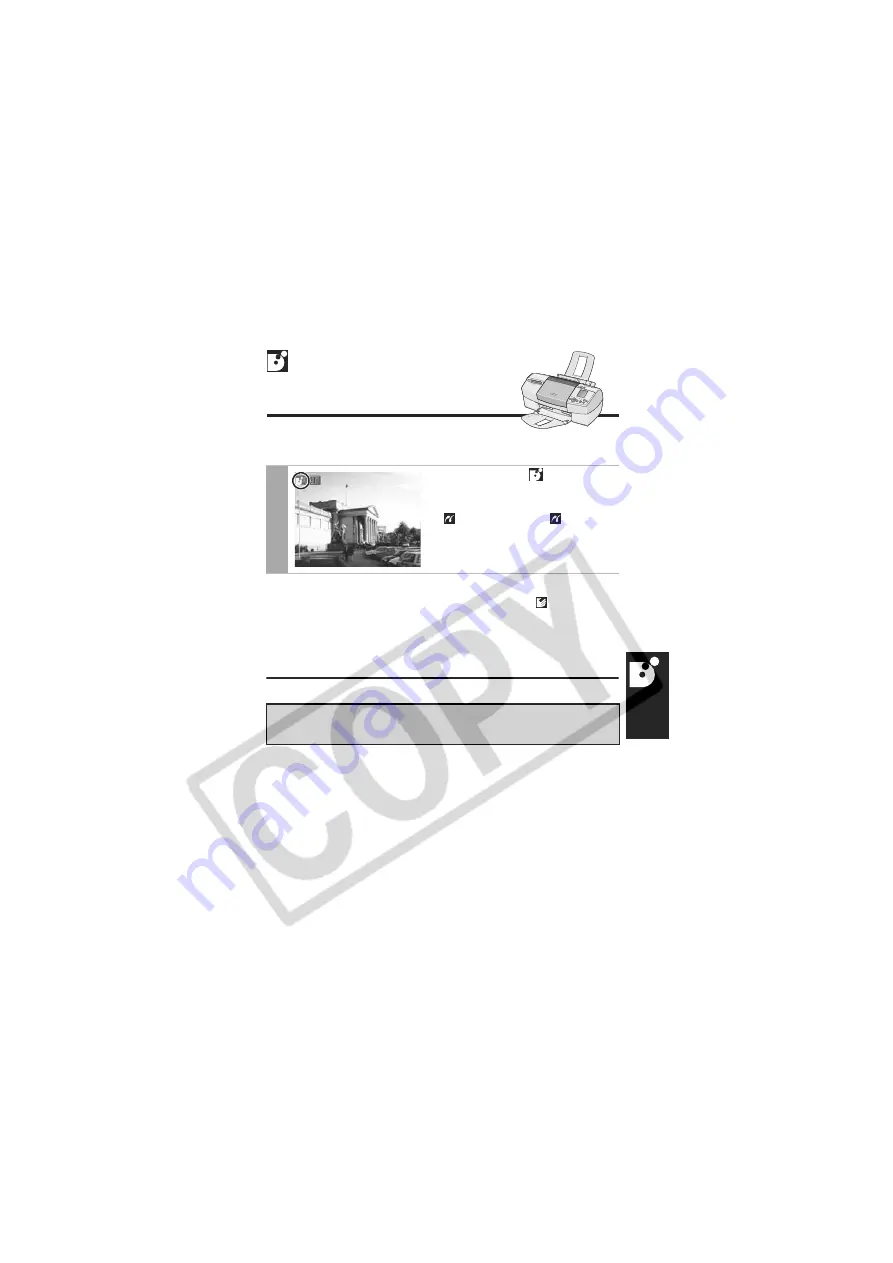
1

Make sure that 

 displays in 

the upper left corner of the 
LCD monitor.

If 

 displays, refer to 

Printing 

with PictBridge Compliant Bubble 
Jet Printers (PIXMA series/ 
SELPHY DS series) 

(p. 25).

• You cannot print movies or images recorded in the RAW 

format.

 Printing with 

Bubble 

Jet Direct

 Compatible 

Bubble Jet Printers

Summary of Contents for CDI-M164-010

Page 1: ... directe Guía del usuario de impresión directa You don t even need a computer Just connect your camera to your printer and print Vous n avez pas besoin d ordinateur Imprimez en raccordant directement l appareil photo à l imprimante No necesita un ordenador Simplemente conecte la cámara a la impresora e imprima Direct Print User Guide ...

Page 2: ...ra to the Printer 6 Disconnecting the Camera and the Printer 8 Printing with SELPHY CP series Printers 9 Printing 9 Easy Print 9 Print after Changing the Print Settings 9 Selecting Print Settings 11 Selecting the Number of Copies 11 Setting the Print Style 11 Setting the Printing Area Trimming 13 Printing by Specifying the Print Size ID Photo Print 17 Printing Movies Movie Print 19 Printing with D...

Page 3: ...Canon Inc Other names and products not mentioned above may be registered trademarks or trademarks of their respective companies Copyright 2004 Canon Inc All rights reserved Disclaimer No part of this guide may be reproduced transmitted transcribed stored in a retrieval system or translated into any language in any form by any means without the prior written permission of Canon Canon reserves the r...

Page 4: ...g is operated from the camera Various Printing Operations Can Be Performed Multiple pictures can be printed at once DPOF print setting Prints to cover the entire surface of the paper Or prints with a border Add the date Specify which portion of the image to print Trimming 09 09 2004 Some settings may not be selectable for Non Canon printers ...

Page 5: ...mages of the same dimensions can be printed on a single sheet of paper p 36 This function is not available on some printers Moreover the DPOF print setting function allows you to separately print different images by specifying the number of frames to be printed per image DPOF print settings This function allows you to preset the images and the number of copies using the camera button controls The ...

Page 6: ...elow Printer Connection cable Canon Printers SELPHY CP series 1 PictBridge Compliant 2 Canon Direct Print Compatible Interface cable supplied with the camera 3 DS series PictBridge Compliant Interface cable supplied with the camera Bubble Jet Printers PictBridge Compliant Interface cable supplied with the camera Bubble Jet Direct Compatible Confirm the user guide for the printer ...

Page 7: ...nterface cable supplied with the camera PictBridge Compliance This camera complies with the industry standard PictBridge This allows you to also connect your camera to non Canon PictBridge compliant printers and print images with simple operations using the camera buttons PictBridge PictBridge is an industry standard for direct printing that allows you to print images without using a computer by d...

Page 8: ... camera to the printer with a cable confirm the cable type on page 4 Turn the printer s power on Set the camera to Playback mode and turn the power on Depending on the camera model the camera s power will automatically turn on when the printer s power is turned on The following operations are not available during a camera printer connection Movie playback Language settings that use the SET button ...

Page 9: ...ng the button lights in blue The button blinks during printing Icon Next refer to the sections indicated page 9 Printing with SELPHY CP series Printers page 25 Printing with PictBridge Compliant Bubble Jet Printers PIXMA series SELPHY DS series page 43 Printing with Bubble Jet Direct Compatible Bubble Jet Printers When using a Non Canon printer page 46 Printing with Non Canon PictBridge Compliant ...

Page 10: ...ut by the cable Turn the camera s power off Detach the cable from the camera Pull out the cable while holding the connector plug Do not pull out by the cable For the latest information regarding connections between Canon printers and cameras please refer to the following URL http web canon jp Imaging BeBit e html http www canon com pictbridge ...

Page 11: ...ge the print settings before printing 1 Make sure that displays in the upper left corner of the LCD monitor 2 Display the images you wish to print and press the button If you wish to change the print settings see Print after Changing the Print Settings below 1 Make sure that displays in the upper left corner of the LCD monitor Printing with SELPHY CP series Printers ...

Page 12: ...when printing only one copy of an image If you are printing more than one copy or more than one image you can cancel the rest of the printing by pressing the SET button Once the current print is finished a confirmation dialog appears Select OK and press the SET button Printing Errors An error message appears if an error occurs for some reason during the printing process Select Stop or Resume and p...

Page 13: ... 1 In the print order screen select Copies and specify the number of copies You can specify from 1 to 99 prints 1 Image Standard Prints one image per page Multiple 2 Prints eight copies of the same image on one page ID Photo Prints a specified print size p 17 Borders Borderless Prints right to the edges of the paper Bordered Prints with a border Date On Adds the date to the print Off Prints withou...

Page 14: ... allowing you to check the portion that will be cropped If you select an image which has had the shooting date embedded in it using a camera with the Postcard Print mode Date in the Style menu will be set to Off If you set Date to On dates will appear twice on the printed image When printing multiple prints the borders and the date cannot be set Images are printed without any date or borders Pract...

Page 15: ...nt order screen select Trimming and press the SET button The trimming frame will appear at the center of the image If a trimming setting has already been selected for the image the frame will appear around the previously selected portion The trimming setting screen differs depending on the camera model Check which of the following screens appear before selecting settings Steps 2a and 3a Trimming F...

Page 16: ...cancels the trimming setting When printing an image that has been magnified using the trimming option the image quality may become coarser and grainier depending on the level of magnification If this happens the trimming frame displays in red Moving the Trimming Frame Move the trimming frame using the omni selector or the up down right and left buttons Rotating the Trimming Frame You can rotate th...

Page 17: ... option the image quality may become coarser and grainier depending on the level of magnification If this happens the trimming frame displays in red Rotating the Trimming Frame You can rotate the trimming frame using the left and right buttons Moving the Trimming Frame Press the SET button and use the up down right and left buttons to move the trimming frame Pressing the SET button again allows yo...

Page 18: ...f change the camera mode or detach the connection cable The date or part of the date in images shot in Date Stamp mode with a camera that has the Postcard Print mode may not be printed properly depending on the trimming setting The selected image paper and border settings determine the shape of the trimming frame Please use the LCD monitor to set the trimming settings The trimming frame may not di...

Page 19: ...the photo The print size can be specified for only L Large resolution images in the camera connected to the printer 1 In the print order screen select Style and press the SET button 2 Select Image then select ID Photo Specify the print size by selecting the length of the long side and the short side then press the SET button Specify the size by selecting the length of the long side first then the ...

Page 20: ...ding on the camera model Follow the steps according to the screen that displays on your camera 4 Press the SET button to close the setting menu 1 4 inch 1 5 inch 1 8 inch 2 0 inch 1 8 inch 2 0 inch z Selectable combination Available print size 20 mm 25 mm 30 mm 35 mm 40 mm 45 mm 50 mm 25 mm 30 mm 35 mm 40 mm 45 mm 50 mm 55 mm 60 mm 70 mm Short Side Long Side Trimming Frame ...

Page 21: ...ings for another image When you close the Print mode when you turn the camera power off change the camera mode or detach the connection cable The shape of the trimming frame varies depending on the specified paper size Use the LCD monitor to specify the print size settings The trimming frame may not display correctly on a TV screen 1 Select the movie you want to print then press the SET button If ...

Page 22: ...may not be possible to play back or print movies shot with a different camera The number of printed movie frames per sheet of paper is determined by the paper size shown as follows Depending on the number of seconds in the movie there are cases when the number of frames indicated below will not be printed Credit card size 20 frames L size 42 frames Postcard size 63 frames Wide size 63 frames ...

Page 23: ...e In this section we will explain how to print several images already specified with DPOF print settings 1 In the Play menu select Print Order and press the SET button 2 Select Print and press the SET button 3 Set the print style settings as required See Setting the Print Style p 11 A print style cannot be set if Set up on the screen in Step 2 is set to Index ...

Page 24: ...print with the Style menu in Step 3 When the print type is set to Index the date cannot be printed When the print type is set to Standard the file number cannot be printed The ID photo print function cannot be used The maximum number of images printed on one page in the Index print type depends on the selected paper size Credit card size 20 images L size 42 images Postcard size 63 images Wide size...

Page 25: ...n select OK in the print order menu and reprint starting from the first image If printing is canceled because the camera battery is depleted you are recommended to power the camera with a compact power adapter sold separately If you are using a battery pack or batteries please use either a fully charged battery pack or new batteries After replacing the spent battery pack or batteries turn the came...

Page 26: ...aper and ink do not match The paper and ink are from different sets Paper Jam The paper jammed during printing Paper has been changed Paper was changed after the print menu was displayed Recharge the printer battery The printer s battery pack is depleted Communication Error The printer is experiencing a data transmission error Readjust trimming You attempted to print the image with a different sty...

Page 27: ... printer 1 Make sure that displays in the upper left corner of the LCD monitor 2 Display the images you wish to print and press the button If you wish to change the print settings see Print after Changing the Print Settings Printing with PictBridge Compliant Bubble Jet Printers PIXMA series SELPHY DS series ...

Page 28: ...pears Depending on the printer model some setting options may not display 3 Select print settings as needed 4 Select Print and press the SET button The image will start to print and when it is completely finished the display will revert to the standard playback mode If you press the MENU button the display will revert to the standard playback mode and printing will not take place Sets the date On ...

Page 29: ...rinting Errors An error message appears if an error occurs for some reason during the printing process When the error is resolved printing will automatically resume If printing does not resume select Continue and press the SET button If Continue cannot be selected select Stop press the SET button and restart the print job See List of Messages p 40 for details On printers equipped with an operation...

Page 30: ... Print Effect paper setting Paper Size Paper Type and Layout options are available On printers equipped with an operation panel you can change the settings for those items set to Default using the printer s operation panel The setting contents of the Default option differ depending on the printer model For details please refer to the printer user guide 1 Select and set On Off or Default If you sel...

Page 31: ... information to deliver beautiful prints Off Prints without any effects VIVID Prints more vibrant colors such as the green of trees or the blue of the sea or sky than the On option NR Prints with a noise reduction effect VIVID NR Prints using both the VIVID and NR options Default Print settings differ according to your printer model 1 Select and choose a print effect option 1 Select and set the nu...

Page 32: ...rimming and press the SET button The trimming frame will appear at the center of the image If a trimming setting has already been selected for the image the frame will appear around the previously selected portion The trimming setting screen differs depending on the camera model Check which of the following screens appear before selecting settings Steps 2a and 3a Trimming Frame Steps 2b and 3b a b...

Page 33: ...e beyond its maximum size cancels the trimming setting When printing an image that has been magnified using the trimming option the image quality may become coarser and grainier depending on the level of magnification Moving the Trimming Frame Move the trimming frame using the omni selector or the up down right and left buttons Rotating the Trimming Frame You can rotate the trimming frame by press...

Page 34: ...nified using the trimming option the image quality may become coarser and grainier depending on the level of magnification Rotating the Trimming Frame You can rotate the trimming frame using the left and right buttons Moving the Trimming Frame Press the SET button and use the up down right and left buttons to move the trimming frame Pressing the SET button again allows you to change the size of th...

Page 35: ...change the camera mode or detach the connection cable The date or part of the date in images shot in Date Stamp mode with a camera that has the Postcard Print mode may not be printed properly depending on the trimming setting The selected image paper size and border settings determine the shape of the trimming frame Please use the LCD monitor to set the trimming settings The trimming frame may not...

Page 36: ...ears 2 Select a paper size and press the SET button The following paper sizes are available 4 u 6 5 u 7 or 13 u 18 cm 8 5 u 11 or A4 CreditCard A3 13 u 19 or A3 and Default Some sizes are not available with certain cameras and printer models The paper type setting screen appears Paper sizes vary according to region ...

Page 37: ...ected The Page Layout screen appears 4 Select a layout The following print effects can be selected Photo Prints on Photo Paper Plus Glossy paper Fast Photo Prints on Photo Paper Pro paper Default Print settings differ according to your printer model Bordered Prints with a border Borderless Prints right to the edges of the paper Default Print settings differ according to your printer model ...

Page 38: ...uctions on DPOF print setting method 2 up 2 images height 1 x width 2 of the same dimensions are arranged on a single sheet of paper 4 up 4 images height 2 x width 2 of the same dimensions are arranged on a single sheet of paper 9 up 9 images height 3 x width 3 of the same dimensions are arranged on a single sheet of paper 16 up 16 images height 4 x width 4 of the same dimensions are arranged on a...

Page 39: ...tings 5 Select a layout and press the SET button This ends the paper settings operations The display returns to the print order screen With printers equipped with an operation panel when Plain Paper is selected with the printer and Default is selected in the camera s Paper Type images will print with borders even if Borderless was selected with the camera 1 In the Play menu select Print Order and ...

Page 40: ...dard playback mode If the MENU button is pressed the display will revert to the Print Order screen in Step 2 and printing will not take place To print the date set the Date setting in Set up on the screen in Step 2 to On You cannot set the date in Step 3 When the print type is set to Index both the date and file number cannot be printed depending on the printer When the print type is set to Standa...

Page 41: ...irst image If printing is canceled because the camera battery is depleted you are recommended to power the camera with a compact power adapter sold separately If you are using a battery pack or batteries please use either a fully charged battery pack or new batteries After replacing the spent battery pack or batteries turn the camera power on again Printing Errors An error message appears if an er...

Page 42: ...l printing After removing the paper set some paper again and press the RESUME CANCEL button on the printer Paper Error The paper is not correctly set in the printer Also open the paper output tray if it is closed No Ink The ink tank has run out of ink or there is no ink tank in the printer Low ink level The ink tank needs to be replaced soon Prepare a new ink tank If you select Continue in the err...

Page 43: ... Adjust the paper thickness lever to the proper position Printer cover open Close the printer cover securely No print head No print head is installed in the printer Hardware Error Check whether or not an error other than a paper or ink error has occurred Also check the camera s battery charge File Error You tried to print an image that is not compatible with PictBridge Some images that have been r...

Page 44: ...se consult the dealer where you purchased your printer or your nearest Canon Customer Support center listed in the Contact List provided with the printer Check print settings Unprintable settings are included Select Continue on the error screen to display the print order screen Check the print settings only the printable settings appear on the screen change the settings if necessary then print aga...

Page 45: ...s and precautions differ as listed below See pages 10 and 22 1 Make sure that displays in the upper left corner of the LCD monitor If displays refer to Printing with PictBridge Compliant Bubble Jet Printers PIXMA series SELPHY DS series p 25 You cannot print movies or images recorded in the RAW format Printing with Bubble Jet Direct Compatible Bubble Jet Printers ...

Page 46: ... automatically resume If printing does not resume select Continue and press the SET button If Continue cannot be selected select Stop press the SET button and restart the print job With printers equipped with an operation panel the error number displays on the panel Please refer to the printer user guide for the remedies corresponding to the error numbers Paper Select the paper size from the follo...

Page 47: ...Off If you set Date to On dates will appear twice on the printed image To print the date set the Date setting in Set up on the screen in Step 2 to On You cannot set the date to print with the Style menu in Step 3 When the print type is set to Index both the date and file number cannot be printed When the print type is set to Standard the file number cannot be printed The ID photo print function ca...

Page 48: ...s p 25 to print your images However the following menu options cannot be set Print Effect p 29 VIVID NR VIVID NR Paper Size p 34 A3 13 x 19 and 5 x 7 or 13 x 18cm 1 Make sure that displays in the upper left corner of the LCD monitor Please also refer to the user guide that came with your printer Printing with Non Canon PictBridge Compliant Printers ...

Page 49: ...CD monitor during a connection The paper size is set with the printer Print Options Selectable with the Camera SELPHY CP series Printers Bubble Jet Direct Compatible Bubble Jet Printers Number of Prints 1 to 99 Style Image 1 image Multiple ID Photo Paper Card 1 Card 2 Card 3 Letter LTR or A4 Borders Bordered Borderless Date Trimming Movies Movie Print ...

Page 50: ...ies When appears on the camera s LCD monitor during a connection Some settings are not available with certain cameras and printers Print Options Selectable with the Camera Date Off On Default Print Effect Off On Default VIVID NR VIVID NR Number of Prints 1 to 99 Trimming ...

Page 51: ... be specified by selecting 4 x 6 in the paper size setting Paper Settings Paper Size 1 4 u 6 5 u 7 or 13 u 18 cm 8 5 u 11 or A4 CreditCard A3 13 u 19 or A3 Default Paper Type Photo Fast Photo Default Layout Bordered Borderless 2 up 2 4 up 2 9 up 2 16 up 2 Default ...

Page 52: ...MEMO ...

Page 53: ...MEMO ...

Page 54: ...MEMO ...

Reviews: