64
Setting the White Balance
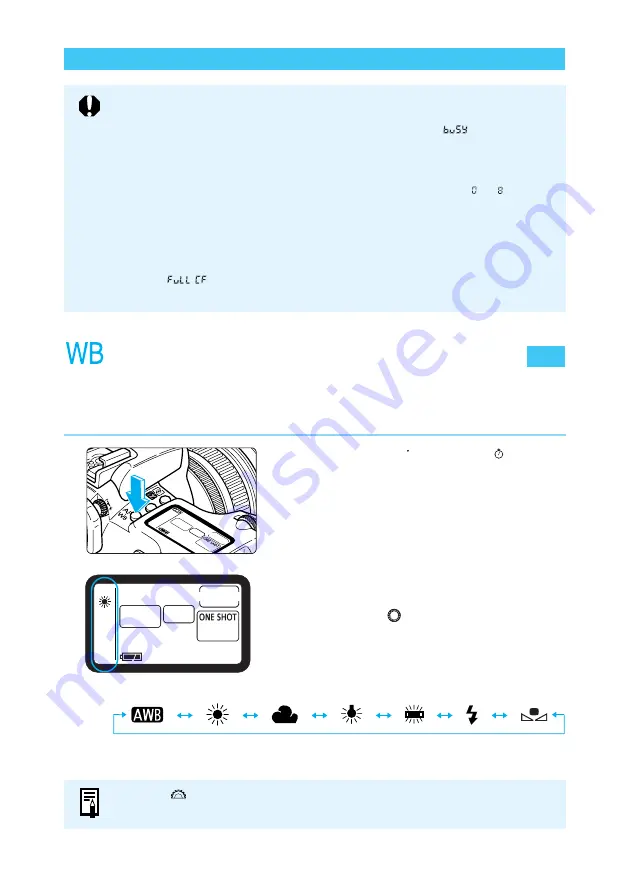
The EOS D60 has seven white balance settings, Auto, Daylight, Cloudy, Tungsten, Fluores-
cent, Flash, and Custom. In the Basic Zone the Auto setting is selected automatically, while in
the Creative zone you can select any of the seven white balance settings.
1
Press the <
AF
WB
> button. (
6
)
2
Select the white balance setting.
●
Set the Quick Control Dial switch to <ON>.
●
Turn the <
> dial.
●
Press the shutter button down halfway to
return to ready-to-shoot mode.
Auto Daylight Cloudy Tungsten Fluorescent Flash Custom
Selecting a Drive Mode
●
During continuous shooting, the captured images are first stored in the camera's
internal memory and then successively transferred to the CF card. When the
internal memory becomes full during continuous shooting, “
” will be
displayed on the LCD panel and in the viewfinder and the camera cannot take
any more pictures. As the captured images are transferred to the CF card, you
will be able to take more pictures. Press the shutter button halfway to check in
the viewfinder the current remaining number of maximum shots ( to ) for
continuous shooting. Note that this number will be displayed even when there is
no CF card in the camera, so make sure a CF card is in the camera.
●
If you press the shutter button halfway before all the images in the internal
memory are transferred to the CF card (access lamp blinking), the image
transfer to the CF card will stop temporarily.
●
When “
” is displayed in the viewfinder and on the LCD panel, replace
the CF card after the access lamp stops blinking.
Turn the <
> dial to select the AF mode (
→
54).


